

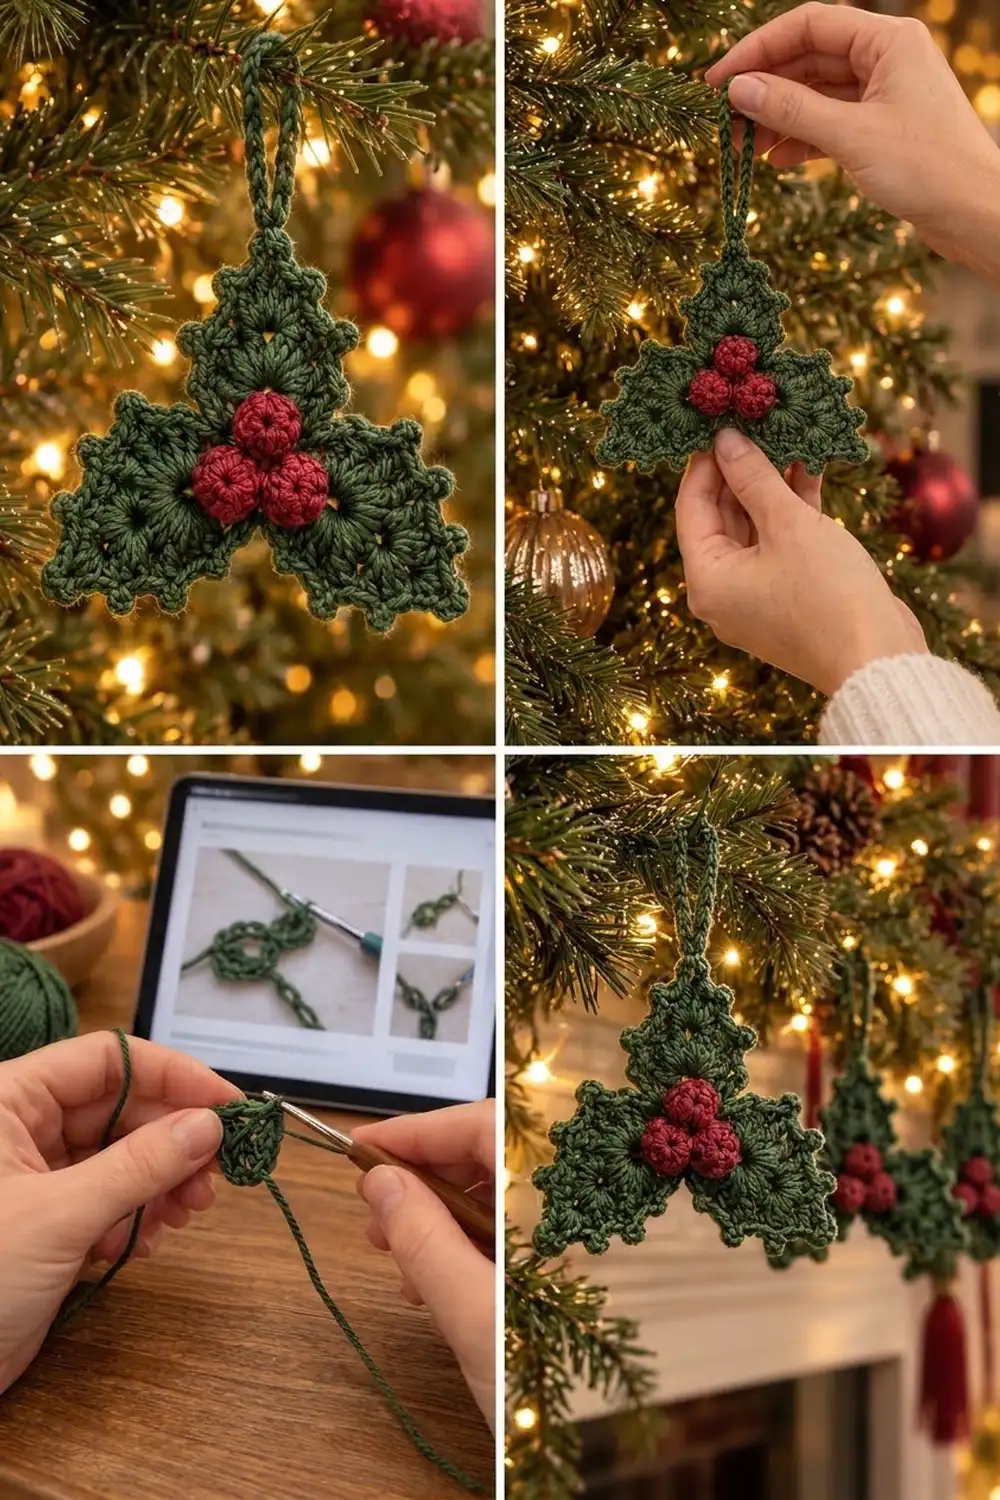
The Hollyberry Trio is a small hanging holly ornament made from three pointed green leaves and a cluster of three round red berries. The leaves meet at their corners to form one triangular trefoil. A picot edge gives every side the spiky, scalloped outline of a real holly leaf.
The colors are classic and simple. Deep forest green is used for the leaves, edging and hanging loop, and a rich cranberry red for the berries. Each leaf grows from a small center ring with radiating double crochet spokes, so it looks lacy and light even at ornament size.
This pattern uses US crochet terms. The finished ornament measures about 4.5 in (11.4 cm) wide and 4 in (10.2 cm) tall, not counting the loop. The loop adds about 3 in (7.6 cm).
Construction is simple. You crochet three triangular leaves in rounds and join them corner to corner. Then you work a continuous two-round border around the whole outline, adding the hanging loop as you go. Finally, you make three stuffed berries and sew them over the center.
Finished Size and Construction
- Finished size: about 4.5 in (11.4 cm) wide x 4 in (10.2 cm) tall, plus a 3 in (7.6 cm) loop
- Skill level: Advanced beginner
- Terminology: US crochet terms
- Yarn weight: DK (light worsted, category 3)
- Hook: 3.5 mm (E-4)
- Number of pieces: 3 leaves + 3 berries, assembled into 1 ornament
- Layout: 3 leaves in a triangle, tips pointing up, down-left and down-right
- Leaf size: 1.75 in (4.4 cm) per side after Round 3
- Size before border: about 3.5 in (8.9 cm) per side of the joined triangle
- Border depth: about 0.4 in (1.0 cm), including picots
Materials
Choose a smooth, tightly plied DK yarn. Cotton or a cotton blend gives the crispest picots and blocks well. Acrylic also works but needs gentler blocking. Avoid fuzzy or very splitty yarns, because the picots and spokes lose definition.
- Color A, forest green: 15 g, about 35 m (38 yd)
- Color B, cranberry red: 5 g, about 12 m (13 yd)
These quantities include a comfortable margin for a test leaf and for tails. One ornament actually uses closer to 9 g of green and 3 g of red.
Tools:
- 3.5 mm (E-4) crochet hook
- Tapestry needle
- Scissors
- 2 locking stitch markers
- Small pinch of polyester fiberfill or matching red yarn scraps
- Rustproof pins and a foam blocking mat
Abbreviations (US Terms)
- ch: chain
- sl st: slip stitch
- sc: single crochet
- dc: double crochet
- sc2tog: single crochet 2 together
- sp: space
- st(s): stitch(es)
- MR: magic ring
Special stitches:
- Picot: ch 3, sl st in 3rd ch from hook. A picot does not count as a stitch.
- Junction sc2tog: insert hook in the joined corner ch-2 sp of the first leaf, pull up a loop. Insert hook in the joined corner ch-2 sp of the next leaf, pull up a loop. Yarn over and draw through all 3 loops. Counts as 1 st.
Gauge and Checkpoints
Exact gauge is not critical for an ornament. It does control how the three leaves fit together and how well the berries cover the center. Make one leaf first and measure it before making the others.
- After Round 1: the ring measures about 1 in (2.5 cm) across.
- After Round 2: each side measures about 1.25 in (3.2 cm), corner to corner.
- After Round 3: each side measures about 1.75 in (4.4 cm), corner to corner.
- Berry: about 0.75 in (1.9 cm) in diameter.
If your leaf is more than 0.25 in (0.6 cm) too big per side, go down to a 3.25 mm hook. If it’s too small, go up to a 3.75 mm hook. Change the hook, not the stitch counts, because the border math depends on 7 dc per side.
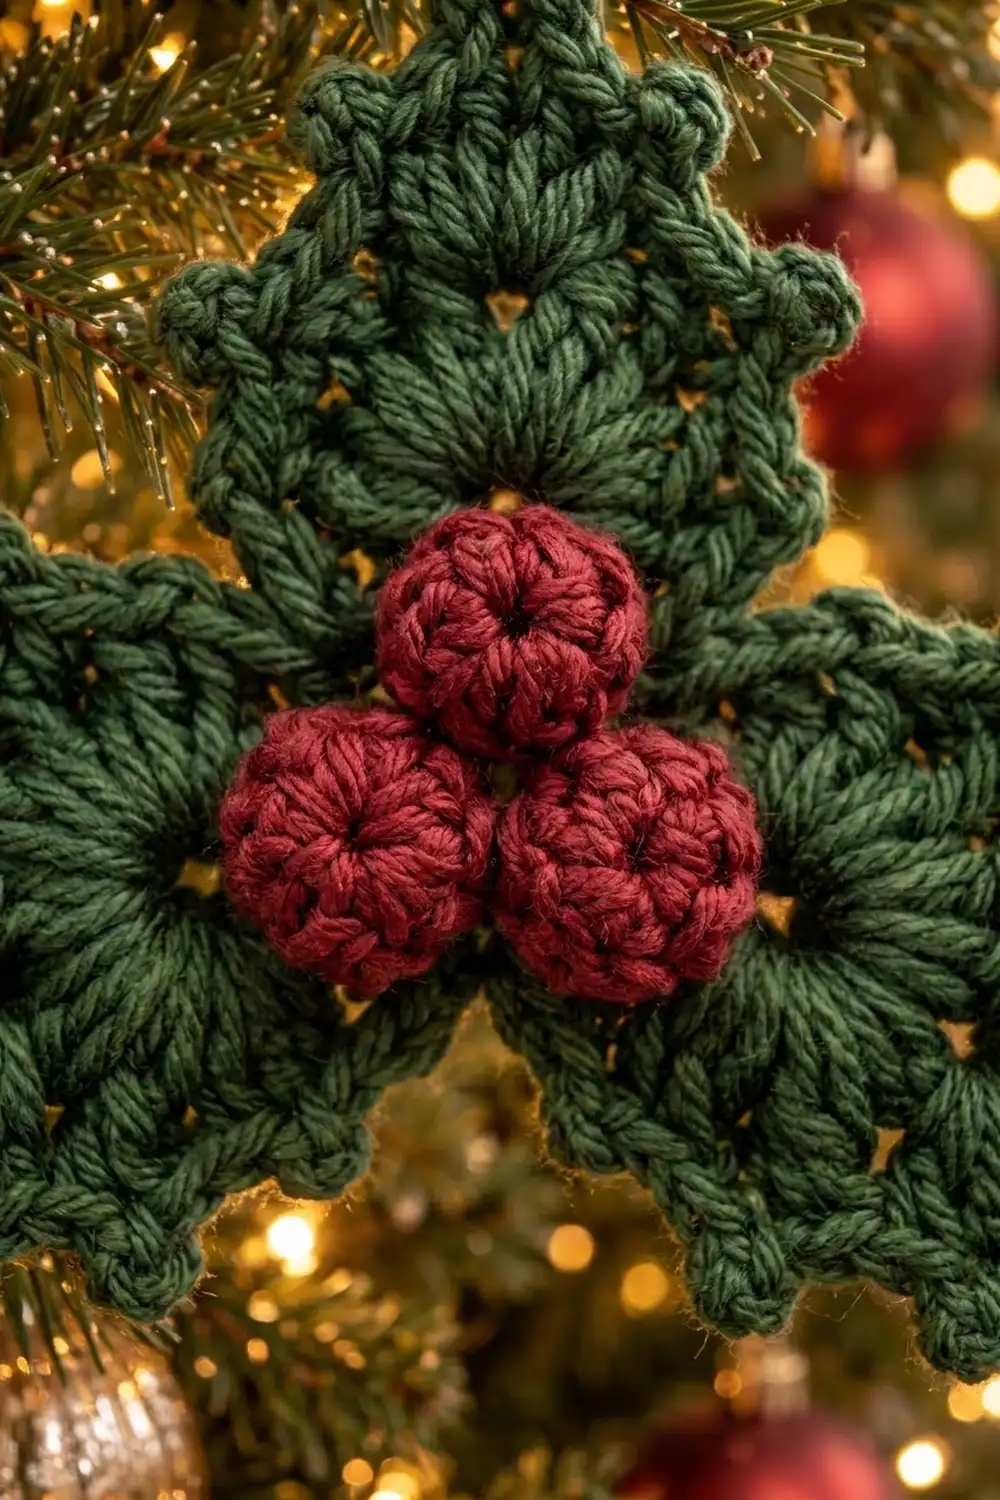
Leaf (Make 3)
Use Color A. Do not turn at the end of any round.
Round 1: Make a MR. Ch 3 (counts as dc), then work 11 dc in the ring. Pull the ring snug, leaving a small center hole. Sl st to the top of the beginning ch-3. (12 dc)
These 12 dc form the radiating spokes in the middle of the leaf.
Round 2 (growth round): Ch 5 (counts as dc + ch 2), dc in the same st, dc in next 3 sts, (dc, ch 2, dc) in next st, dc in next 3 sts; rep from * once more. Sl st to the 3rd ch of the beginning ch-5. (15 dc and 3 ch-2 corner sps; 5 dc per side)*
Each side counts its 2 corner dc plus the 3 dc between them: 1 + 3 + 1 = 5. With 3 sides, that gives 3 x 5 = 15 dc.
Round 3 (growth round): Sl st into the first ch-2 sp. Ch 5 (counts as dc + ch 2), dc in the same sp, dc in next 5 dc, (dc, ch 2, dc) in next ch-2 sp, dc in next 5 dc; rep from * once more. Sl st to the 3rd ch of the beginning ch-5. (21 dc and 3 ch-2 corner sps; 7 dc per side)*
Each side now has 1 + 5 + 1 = 7 dc, and 3 x 7 = 21. Fasten off, leaving an 8 in (20.3 cm) tail on each leaf for joining.
Mark the tip: Choose one ch-2 corner as the leaf tip and place a stitch marker there. The other 2 corners are the junction corners. The side between the junction corners is the base, which faces the center of the ornament.
Berry (Make 3)
Use Color B. Work in continuous spiral rounds and mark the first st of each round.
Round 1: Make a MR, work 6 sc in the ring. (6 sc)
Round 2 (growth round): 2 sc in each st around. (12 sc)
Round 3: Sc in each st around. (12 sc)
Round 4: Sc in each st around. (12 sc)
Round 5: Sc2tog 6 times. (6 sts)
Before the opening closes fully, stuff the berry firmly with a small pinch of fiberfill or red yarn scraps. Fasten off with a 10 in (25.4 cm) tail. Thread the tail through the front loops of the last 6 sts and pull it closed, keeping the rest of the tail for sewing. The berry should be a firm ball about 0.75 in (1.9 cm) across.
Make All Pieces
Before you assemble the ornament, check that you have:
- Color A: 3 leaves, each with 21 dc and 3 ch-2 corners, tip marked
- Color B: 3 stuffed berries, each about 0.75 in (1.9 cm) across
Lay the pieces out right side up like this:
            /\
           /L1\        L1 = top leaf, tip up
          /____\
         J  B   J      J = junction corner (2 ch-2 sps joined)
        /\     /\      B = berry over center
       /L2\B B/L3\     L2 = left leaf, tip down-left
      /____\ /____\    L3 = right leaf, tip down-right
            J
Together the three leaves make one large triangle. Their bases surround a small, upside-down triangular opening in the center, which the berries will cover.
Joining
Method: whipstitch, corner to corner, using the leaf tails.
Stitch-to-stitch logic: Each junction joins exactly one ch-2 corner sp to one ch-2 corner sp. No side stitches are sewn together, so all 7 dc on each outer side stay free for the border.
- Place L1 above L2 so that the left junction corner of L1 touches the top junction corner of L2.
- With the L1 tail, whipstitch through both ch-2 sps 3 times. Then take 1 small stitch through the neighboring corner dc of each leaf to keep the point from twisting.
- Join L2 to L3 at their bottom junction corners in the same way.
- Join L3 to L1 at the remaining junction corners.
- Weave in the tails along the base dc, but do not pull the central opening closed.
Tension: Pull each whipstitch just snug enough that the two corners touch without overlapping. If you pull too tightly, the leaves cup toward each other. If you stitch too loosely, the border sc2tog will gape.
Size checkpoint: Lay the joined piece flat. Each side of the large triangle should measure about 3.5 in (8.9 cm), tip to tip. Two leaf sides of 1.75 in (4.4 cm) each meet at a junction: 1.75 + 1.75 = 3.5 in (8.9 cm).
Border
Border gauge: In this yarn and hook, 4 sc measure about 1 in (2.5 cm) along the edge. Round 2 adds about 0.4 in (1.0 cm) of depth, including picots.
The border runs around the outer outline only. Each side of the large triangle has 2 leaf sides (7 dc each) and 1 junction. There is 1 tip at each of the 3 corners.
Round 1 (sc round): With Color A, join with a sl st in the ch-2 tip sp of L1. Ch 1, then work 3 sc in the same sp. Repeat around: sc in each of the next 7 dc, junction sc2tog across the 2 joined ch-2 sps, sc in each of the next 7 dc, 3 sc in the next tip ch-2 sp. On the last repeat, leave out the final 3 sc, because you worked them at the start. Sl st to the first sc.
Count per side: 7 + 1 + 7 = 15 sts, plus 3 sc at each tip.
Total: (3 x 15) + (3 x 3) = 45 + 9 = 54 sts.
Round 2 (picot and hanging loop round): Ch 1. Start with the top tip: sc in the first tip sc, (sc, ch 25, sc) in the center tip sc, sc in the next tip sc. The ch-25 forms the hanging loop in place of a picot. Then work the rest of the round using these sections:
- Leaving a tip: sc in next sc, [picot, sc in next 2 sc] 3 times. (7 sc, 3 picots)
- Junction: sl st in the sc2tog. This keeps a deep valley between the leaves.
- Approaching a tip: [sc in next 2 sc, picot] 3 times, sc in next sc. (7 sc, 3 picots)
- Lower tips: sc in first tip sc, (sc, picot, sc) in center tip sc, sc in next tip sc. (4 sc, 1 picot)
Work around in this order:
- Top tip, leaving side, junction, approaching side.
- Lower tip, leaving side, junction, approaching side.
- Lower tip, leaving side, junction, approaching side.
Sl st to the first sc and fasten off.
Round 2 count: 42 side sc are worked 1 per st. The 9 tip sc are also worked 1 per st, with 3 extra sc added (1 at each tip center). That gives 42 + 9 + 3 = 54 sc, plus 3 sl sts, 20 picots and 1 ch-25 loop.
Covering the loop: Join Color A at the base of the loop. Work 30 sc over the ch-25 loop so it looks like a cord. Sl st at the base and fasten off. The finished loop hangs about 3 in (7.6 cm) long.
Why the math works: Every leaf keeps exactly 7 dc on each of its 2 outer sides, and each junction combines 2 corner sps into 1 st. That makes the border identical on all 3 sides, with 15 sts per side in Round 1 and the same picot pattern in Round 2. Each tip gains 1 st, which is enough to turn the point without cupping. The junction sl sts pull the valleys in, creating the holly outline.
Final Blocking
- Weave in all the green ends. Leave the berry tails for now.
- Mist the ornament with water until it is evenly damp. For acrylic, hold a steam iron 1 in (2.5 cm) above the surface instead.
- Pin it flat on the mat, right side up. Pin the 2 lower tips 4.5 in (11.4 cm) apart, then pin the top tip 4 in (10.2 cm) above the bottom edge.
- Pin each picot outward so it stands as a sharp point.
- Press the junction valleys gently inward with your fingertips.
- Let it dry completely, usually 2 to 4 hours.
- Unpin, then sew on the berries. Sewing them after blocking keeps them round.
Attaching the berries: Arrange the berries in a tight triangle over the opening, with 1 berry above and 2 below. Using each berry tail, sew through the base dc of the nearest leaves and through the neighboring berries. Take small stitches into the underside of each berry so the stitches don’t show. Weave in the ends on the back.
Final Quality-Control Checklist
- Each leaf has 21 dc, with 7 dc per side.
- All 3 junctions are joined corner to corner only.
- Border Round 1 has 54 sts, with 15 per side.
- Border Round 2 has 54 sc, 20 picots, 3 sl sts and 1 loop.
- The ornament lies flat and measures about 4.5 in (11.4 cm) wide and 4 in (10.2 cm) tall.
- The loop measures about 3 in (7.6 cm) and is centered on the top tip.
- The berries sit firmly over the center, and no opening shows from the front.
- All ends are woven in on the back.
Troubleshooting
The leaf curls into a cup: Your Round 3 tension is too tight. Go up a hook size for Rounds 2 and 3 only.
The leaf ruffles: Check that you worked exactly 3 dc (Round 2) or 5 dc (Round 3) between the corners.
There’s a gap at a junction: Add 1 more whipstitch through both ch-2 sps before working the border.
The picots lean sideways: Make sure you sl st into the 3rd ch from the hook, not into the sc below.
The loop twists: Spread the 30 sc evenly along the full length of the chain.
The berries are lumpy: Add the stuffing in small amounts, and roll each berry between your palms before closing it.
The center opening shows: Take an extra stitch from each berry into the base dc of the leaves.
Care
Hand wash in cool water with mild soap, roll in a towel to press out the water, and dry flat, reshaping the picots while damp. Store the ornament flat in tissue so the loop and tips keep their shape.
Final Notes
Each measurement builds on the one before. A 1 in (2.5 cm) ring grows to leaf sides of 1.25 in (3.2 cm), then 1.75 in (4.4 cm). Three leaves joined at their corners make a triangle about 3.5 in (8.9 cm) per side. The 54-st picot border brings the finished ornament to about 4.5 in (11.4 cm) wide by 4 in (10.2 cm) tall, with a 3 in (7.6 cm) loop. Check your first leaf and keep the corners neat, and the rest will follow.
Happy crocheting!