

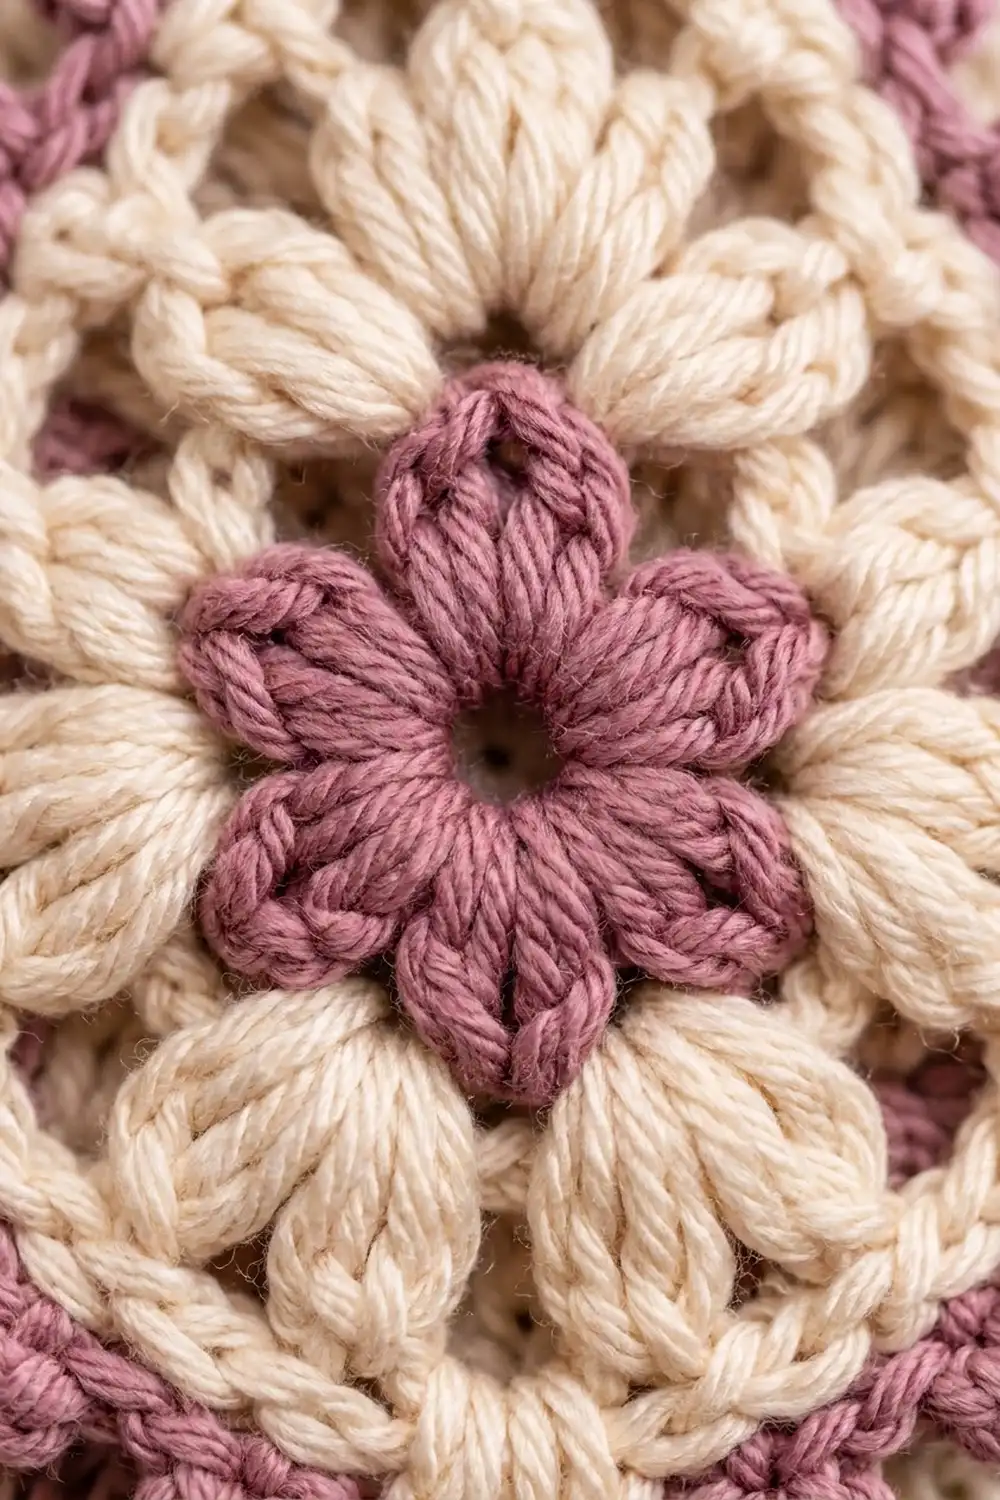
The Rosy Raindrop is a small, flat Christmas ornament with a soft vintage look. A dusty mauve flower sits in the middle, framed by plump cream puff petals, a lacy openwork ring and a mauve picot edge. The two points, one at the top and one at the bottom, give it a raindrop or pointed-oval shape that hangs neatly on a branch.
The color palette is just mauve and cream. It looks warm on a traditional tree and still fits with a neutral or pastel theme. You can make one in an evening, and a set of them makes a nice gift-topper collection.
This pattern uses US crochet terms. The finished ornament measures about 3.25 in (8.3 cm) wide and 4.5 in (11.4 cm) tall, not counting the hanging loop, which adds about 2 in (5.1 cm).
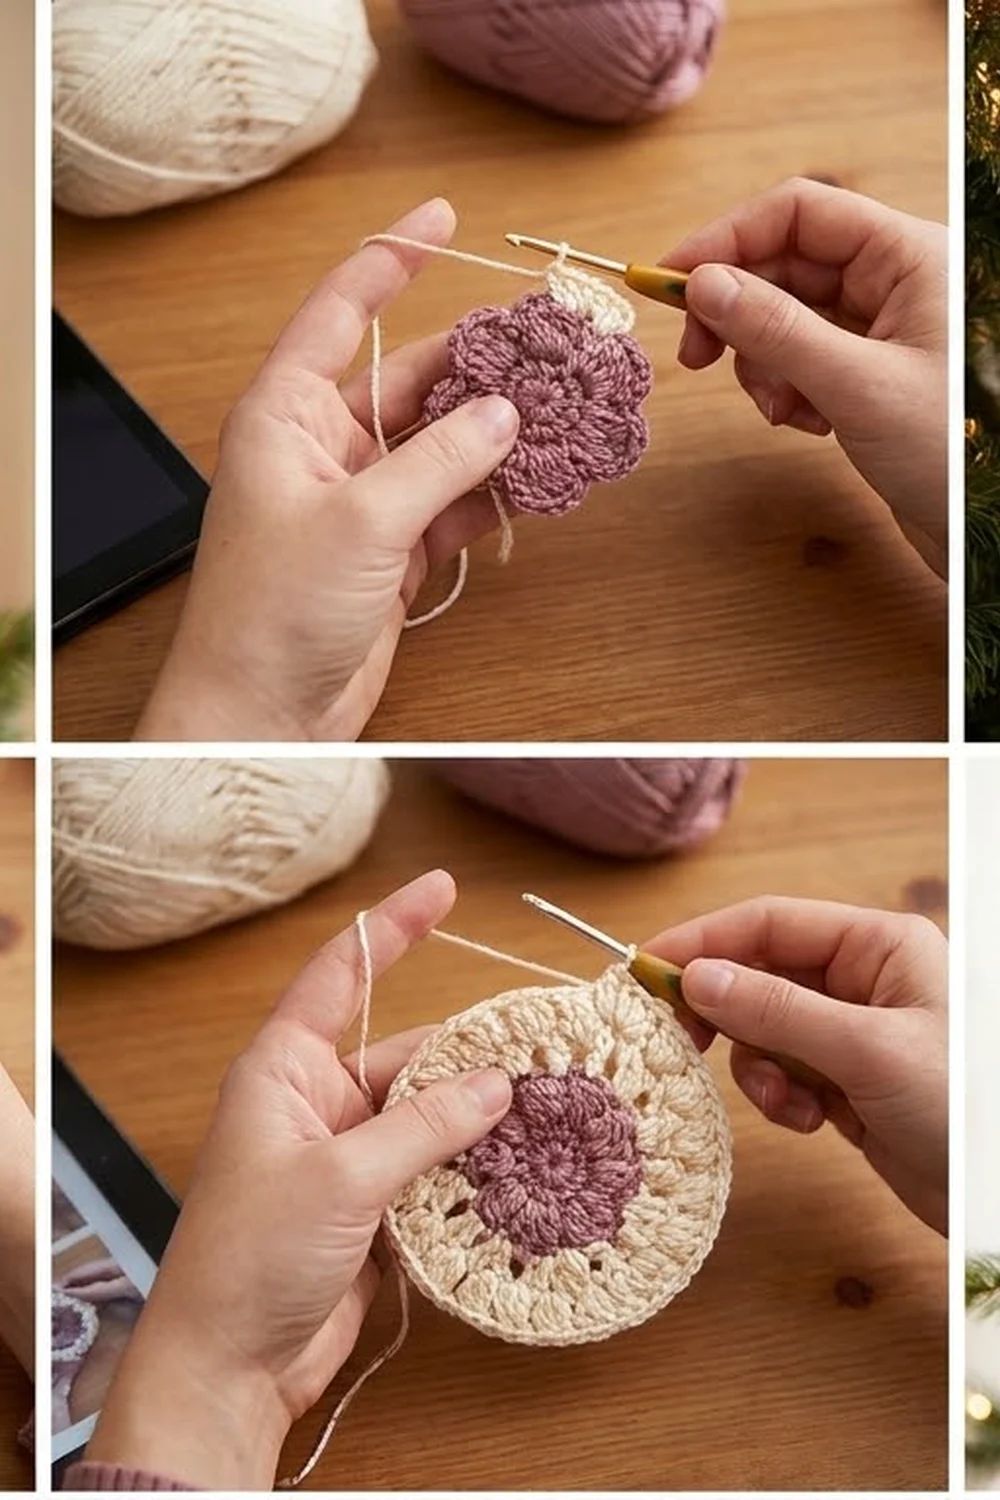
You crochet the whole ornament in joined rounds, starting from a magic ring. The flower comes first. Next you add a ring of cream puffs worked behind the petals, then a shaping round where taller stitches create the two points. A solid cream band and a two-round mauve border finish the piece, and you add the loop last.
Finished Size and Construction
- Finished size: 3.25 in (8.3 cm) wide × 4.5 in (11.4 cm) tall, excluding loop
- Skill level: Easy-intermediate (puff stitches, working behind petals)
- Terminology: US crochet terms
- Yarn weight: DK (light worsted, #3)
- Hook: 3.5 mm (E-4)
- Number of pieces: 1 (single-piece ornament)
- Layout: One pointed oval, worked in the round from the center out
- Size before border (after Rnd 7): 2.75 in (7.0 cm) wide × 4 in (10.2 cm) tall
- Border depth: 0.25 in (0.6 cm) on every side (Rnds 8–9)
Materials
Yarn: Use a smooth DK cotton or cotton blend. Cotton holds the puff stitches crisply, shows the picots clearly and keeps its shape on the tree. Acrylic works too, but the result will be softer and a little less defined.
- Color A, dusty mauve: about 6 g / 15 m (16 yd)
- Color B, cream: about 10 g / 25 m (27 yd)
These amounts are for one ornament and include a small margin for swatching and weaving in ends. If you plan a set of six, a 50 g ball of each color is more than enough.
Tools:
- 3.5 mm (E-4) crochet hook
- Tapestry needle
- Scissors
- Stitch marker
- Rustproof pins and a foam blocking mat
- Spray bottle with water
- Ruler or measuring tape
Abbreviations (US Terms)
- ch – chain
- sl st – slip stitch
- sc – single crochet
- hdc – half double crochet
- dc – double crochet
- tr – treble crochet
- sp(s) – space(s)
- st(s) – stitch(es)
- MR – magic ring
- Rnd – round
Special stitches:
- Puff stitch (puff): [Yo, insert hook in the indicated space, yo, pull up a loop to about 0.25 in (0.6 cm) tall] 3 times (7 loops on hook). Yo and pull through all 7 loops, then ch 1 to close. The closing ch 1 is not counted as a stitch.
- Beginning puff (beg puff): Ch 2, then [yo, insert hook, yo, pull up a loop] 2 times (5 loops on hook). Yo, pull through all loops, ch 1 to close. This counts as 1 puff.
- Picot: Ch 3, sl st in the 3rd ch from the hook.
Gauge and Checkpoints
Gauge isn’t critical for an ornament, but it decides whether the shape comes out balanced. Make one complete ornament before you start a set, and measure it at each of these checkpoints:
- After Rnd 3 (flower): 1.5 in (3.8 cm) across, measured petal tip to petal tip
- After Rnd 5 (puff ring): 2.25 in (5.7 cm) across
- After Rnd 7 (cream band): 2.75 in (7.0 cm) wide × 4 in (10.2 cm) tall, point to point
- After Rnd 9 (border): 3.25 in (8.3 cm) wide × 4.5 in (11.4 cm) tall
- Border gauge: about 6 sc = 1 in (2.5 cm) along the edge
If your flower is too big (more than 1.6 in / 4.1 cm), go down to a 3.25 mm hook. If it’s too small (less than 1.4 in / 3.6 cm), go up to a 3.75 mm hook. Check at Rnd 3 so you don’t have to rip out the whole ornament later.
Pattern
Rnd 1 (Color A – mauve)
Make a MR. Ch 1, work 12 sc into the ring. Pull the ring tight, but leave a small hole about 0.25 in (0.6 cm) across, which becomes the open flower center. Sl st to the first sc.
Stitch count: 12 sc.
Rnd 2 (Color A)
Ch 1, sc in the same st, ch 3, skip next st. Sc in next st, ch 3, skip next st. Repeat from * 4 more times. Sl st to the first sc.
Stitch count: 6 sc and 6 ch-3 sps.
Rnd 3 (Color A – petals)
Sl st into the first ch-3 sp. In the ch-3 sp work (sc, hdc, 2 dc, hdc, sc). Repeat in each of the remaining 5 ch-3 sps. Sl st to the first sc and fasten off Color A.
Stitch count: 6 petals, 36 sts (6 sts per petal).
Checkpoint: The flower should measure 1.5 in (3.8 cm) across and lie flat.
Rnd 4 (Color B – cream, back loops)
Fold the petals forward so you can see the Rnd 2 sc behind them. Join Color B with a sc in any Rnd 2 sc. Ch 4, passing the chain behind the next petal, then sc in the next Rnd 2 sc. Repeat from * 4 more times, then ch 4 and sl st to the first sc.
Stitch count: 6 sc and 6 ch-4 loops. Each loop sits right behind one mauve petal.
Rnd 5 (Color B – puff ring)
Sl st into the first ch-4 loop. Work a beg puff, ch 2, puff in the same loop, ch 2. In the next ch-4 loop work (puff, ch 2, puff, ch 2). Repeat from * 4 more times. Sl st to the top of the beg puff.
Stitch count: 12 puffs and 12 ch-2 sps.
Checkpoint: The piece should be a flat circle 2.25 in (5.7 cm) across, with cream puffs peeking out between and behind the mauve petals.
Rnd 6 (Color B – shaping and openwork)
Number the ch-2 sps 1 to 12 in the direction you’re working. Sp 1 is the space right after the beg puff and becomes the top point. Sp 7 becomes the bottom point.
Sl st into sp 1. Ch 4 (counts as tr), ch 3, tr in sp 1 (top point made). Then work:
- Ch 3, dc in sp 2
- Ch 3, hdc in sp 3
- Ch 3, sc in sp 4
- Ch 3, hdc in sp 5
- Ch 3, dc in sp 6
- Ch 3, (tr, ch 3, tr) in sp 7 (bottom point made)
- Ch 3, dc in sp 8
- Ch 3, hdc in sp 9
- Ch 3, sc in sp 10
- Ch 3, hdc in sp 11
- Ch 3, dc in sp 12
- Ch 3, sl st to the top of the beg ch-4
Stitch count: 14 sts (4 tr, 4 dc, 4 hdc, 2 sc) and 14 ch-3 sps. Two of those sps are the point sps and 12 are regular sps.
The stitches are tallest at the points and shortest at the sides, so the circle stretches into a pointed oval. Each side gets 5 regular stitches between the point trebles.
Rnd 7 (Color B – solid band)
Ch 1. In the top point ch-3 sp work (2 sc, ch 2, 2 sc). Sc in the next tr. [3 sc in next ch-3 sp, sc in next st] 6 times. The last st of this repeat is the first tr of the bottom point. In the bottom point ch-3 sp work (2 sc, ch 2, 2 sc). Sc in the next tr, then repeat from * once more. The final sc of the round goes in the top of the beg ch-4. Sl st to the first sc and fasten off Color B.
Count per side: 2 point sc + 1 sc in tr + 24 sc from the 6 repeats + 2 point sc = 29 sc.
Stitch count: 58 sc (29 per side) and 2 ch-2 point sps.
Checkpoint: The piece should measure 2.75 in (7.0 cm) wide × 4 in (10.2 cm) tall. If the sides ripple, your 3-sc groups are too loose, so work them more snugly. If the points curl, your trebles are too short, so make the tr a little taller.
Border
The border has two Color A rounds. It adds 0.25 in (0.6 cm) all the way around, which brings the piece from 2.75 × 4 in (7.0 × 10.2 cm) to 3.25 × 4.5 in (8.3 × 11.4 cm).
Border gauge: about 6 sc = 1 in (2.5 cm) along the edge. Each side is roughly 5.3 in (13.5 cm) of curved edge, which fits 31 sc comfortably.
Rnd 8 (Color A – sc round)
Join Color A with a sl st in the top point ch-2 sp. Ch 1, (sc, ch 2, sc) in the same sp. Sc in each of the next 29 sts. Work (sc, ch 2, sc) in the bottom point ch-2 sp, then sc in each of the next 29 sts. Sl st to the first sc.
Count per side: 1 point sc + 29 sc + 1 point sc = 31 sc.
Stitch count: 62 sc (31 per side, each side including its 2 point sc) and 2 ch-2 point sps.
Rnd 9 (Color A – picot round)
Sl st into the top point ch-2 sp. Ch 1, (sc, picot, sc) in the same sp. Then work the first side:
- Sc in next 2 sts
- [Picot, sc in next 3 sts] 9 times
- Picot, sc in next 2 sts
This uses 2 + 27 + 2 = 31 sts, and each side gets 10 picots.
Work (sc, picot, sc) in the bottom point ch-2 sp, then repeat the side sequence once more. Sl st to the first sc and fasten off.
Stitch count: 66 sc (31 per side + 2 at each point) and 22 picots (10 per side + 1 at each point).
Why the math works: Rnd 7 has 29 sc per side. Rnd 8 adds one sc on each side of every point, so each side has 31 stitches, and those 2 extra stitches per side keep the points flat instead of cupping. Then 31 splits into 2 + (9 × 3) + 2. That spaces the picots evenly every 3 stitches, with the same 2-stitch gap at both ends of each side, so both halves of the ornament match.
Hanging Loop (Color B)
Join Color B with a sl st in the top point picot. Ch 30, then sl st in the same picot to close the loop. To strengthen it, turn and work 1 sl st in each ch around the loop, then sl st in the picot again. Fasten off.
The loop is about 4.25 in (10.8 cm) around and hangs about 2 in (5.1 cm) above the top point.
Final Blocking
- Weave in all ends on the back. Run them along the stitches of the matching color so they don’t show through the openwork.
- Spray the ornament with water until it’s evenly damp, but not dripping.
- Lay it face up on the blocking mat and gently shape it into a pointed oval.
- Pin the top and bottom points 4.5 in (11.4 cm) apart.
- Pin the widest part of the sides 3.25 in (8.3 cm) apart.
- Put a pin through each picot so it stands out from the edge and looks round.
- Pinch the mauve petals and cream puffs gently with your fingers to make them plump again.
- Leave the ornament to dry completely, usually 6–8 hours.
- For an ornament that will hang a lot, you can lightly mist it with fabric stiffener before it dries.
Final Quality-Control Checklist
- The ornament measures 3.25 in (8.3 cm) wide × 4.5 in (11.4 cm) tall.
- The flower has 6 even mauve petals around a small open center.
- There are 12 cream puffs, two behind each petal.
- Rnd 6 has 14 stitches and 14 ch-3 sps.
- Rnd 7 has 29 sc on each side.
- Rnd 8 has 31 sc on each side.
- There are 10 picots on each side plus 1 at each point (22 in all).
- The two halves are mirror images of each other.
- The loop is secure and comes out of the exact top point.
- The ornament lies flat, and no ends show from the front.
Troubleshooting
The flower cups or ruffles: Your tension changed between rounds. Redo Rnd 3 with a more even tension, or go down half a hook size for Rnds 1–3.
The puffs lean or look flat: Pull every loop up to the same height before closing, and remember the ch 1 that closes each puff.
The shape stays round instead of pointed: In Rnd 6, check that you used tr at sp 1 and sp 7, and sc at sp 4 and sp 10. Pull the trebles up nice and tall.
The points look blunt: Make sure you worked the ch-2 in Rnds 7–8 and the picot in Rnd 9 at each point.
The border waves: Your border hook is too large, or you added stitches. Count 29 sc per side in Rnd 7 and 31 per side in Rnd 8.
One side is longer than the other: Recount Rnd 6. Each side must have exactly 5 regular stitches between the point trebles.
The loop twists: Before blocking, roll the loop between your fingers in the opposite direction from the twist.
Care
Store the ornament flat in tissue paper between seasons. If it needs cleaning, hand wash it gently in cool water, press out the water in a towel, and pin it back to the blocked size to dry.
Final Notes
The measurement chain is simple. The flower should measure 1.5 in (3.8 cm) after Rnd 3 and the puff ring 2.25 in (5.7 cm) after Rnd 5. The shaped band should be 2.75 × 4 in (7.0 × 10.2 cm) after Rnd 7, and the bordered ornament 3.25 × 4.5 in (8.3 × 11.4 cm) after Rnd 9. If you hit each checkpoint, every ornament in your set will match. Make one, check the numbers, and then fill the tree.
Happy crocheting!