

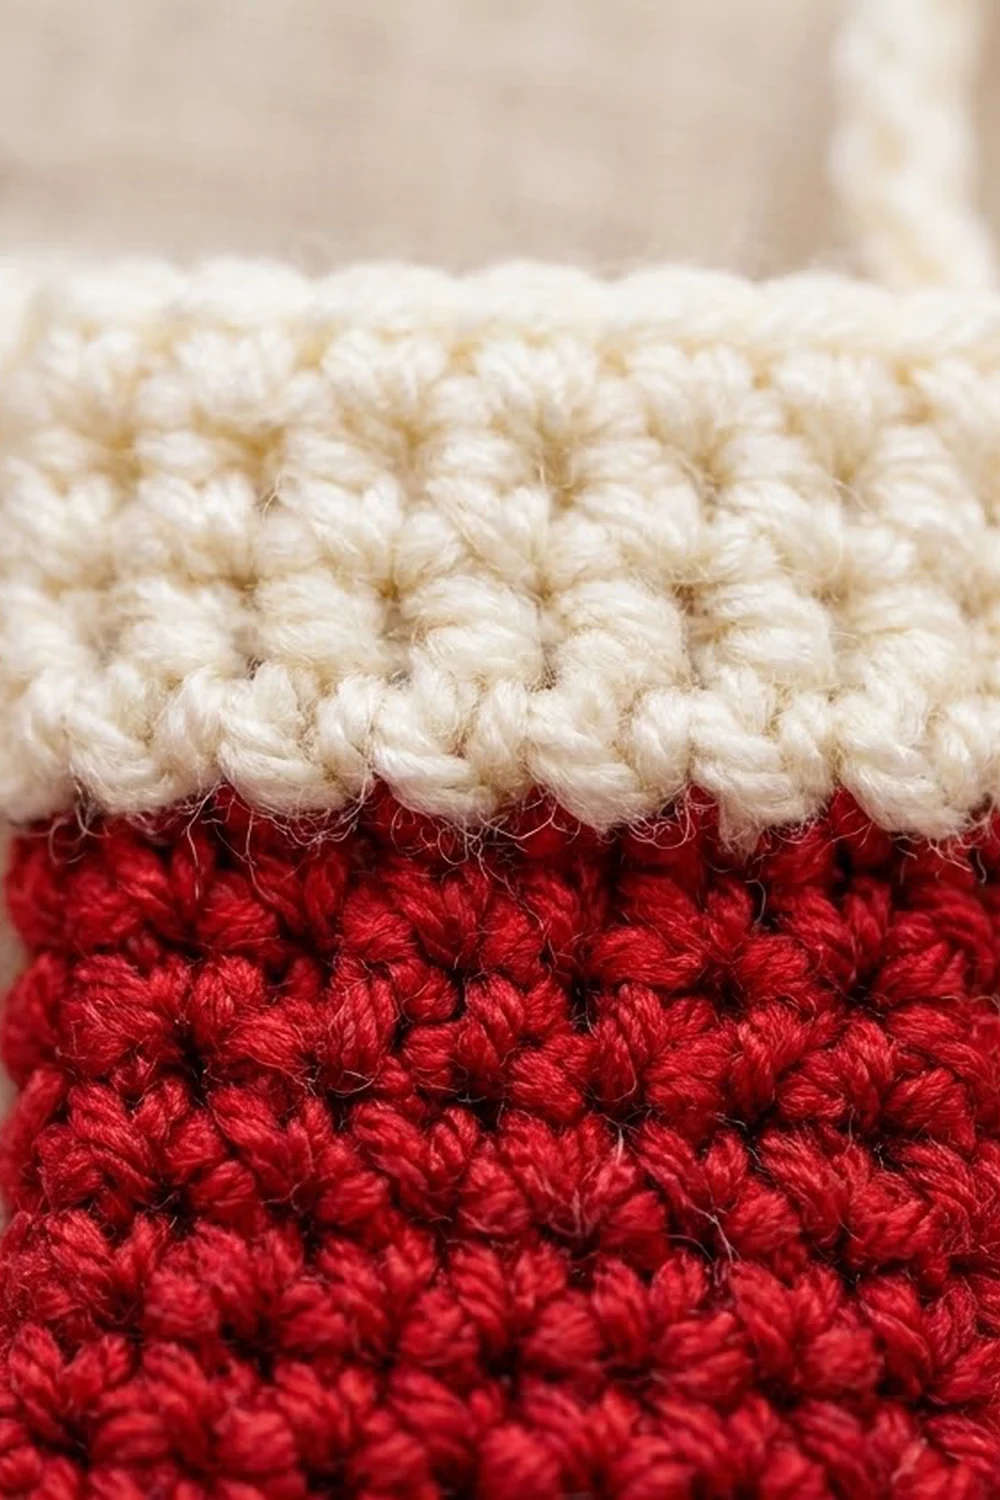
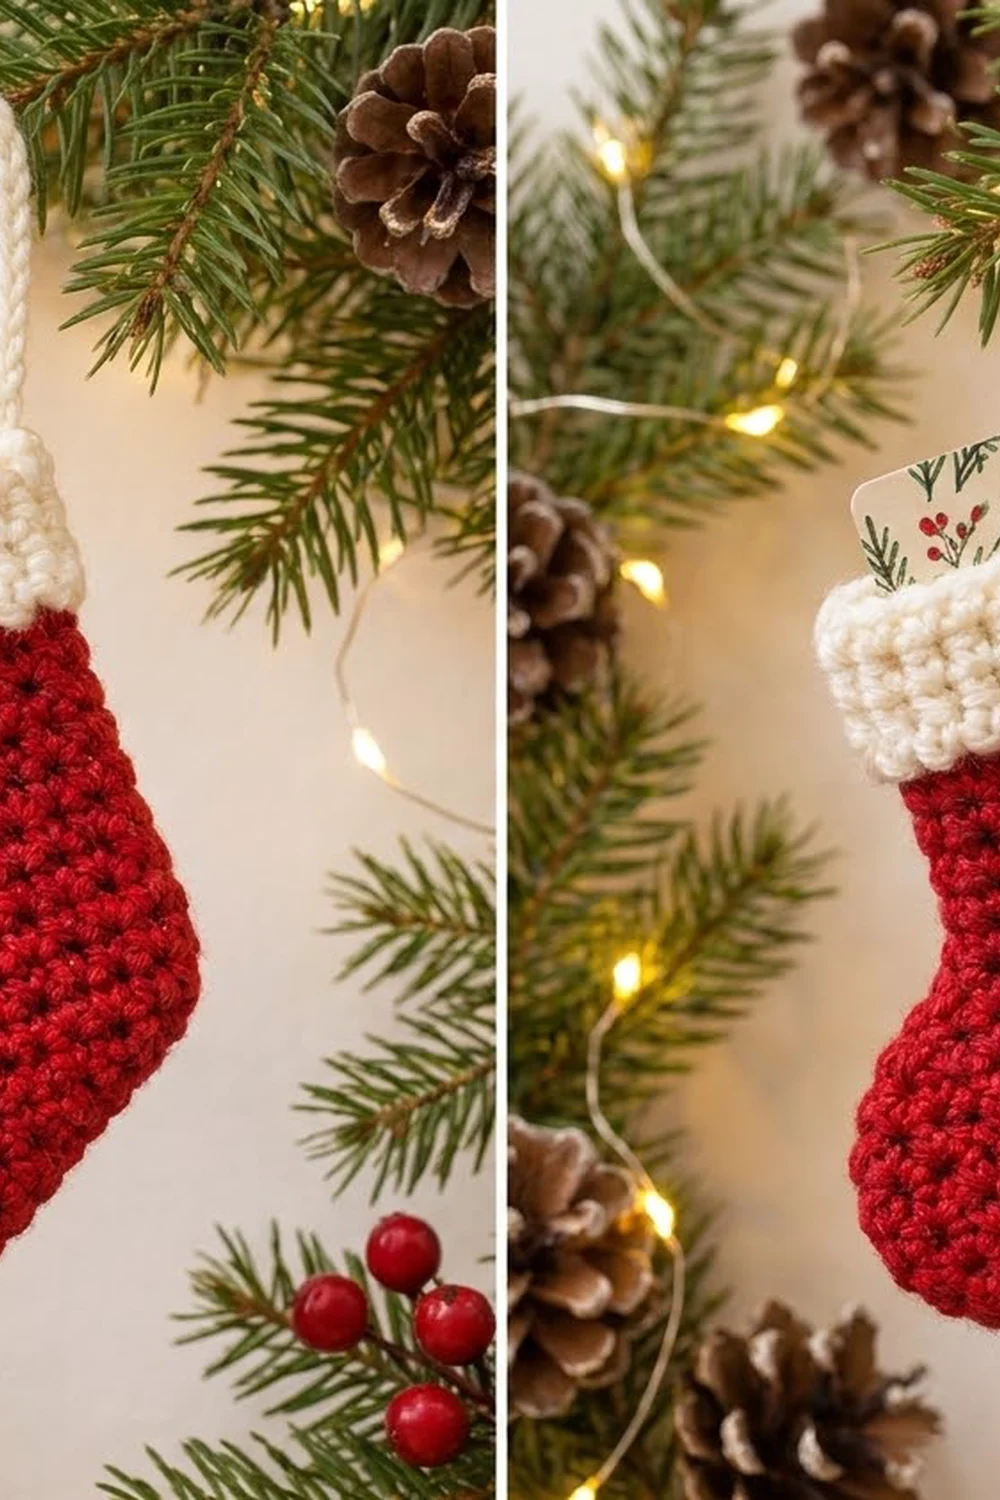
This mini stocking is small enough to hang on a tree branch or a peg rail, and it is deep enough to hold a tiny gift card, a folded note or a wrapped candy. The body is classic Christmas red worked in dense single crochet, so the fabric looks pebbly and firm. A soft cream cuff sits on top, and a matching loop lets you hang it.
The style is simple and traditional: a straight leg, a rounded foot with the toe pointing to one side, and a cuff that flares out slightly past the leg. Everything is worked in single crochet, so the stocking keeps its shape and nothing falls out of the pocket.
This pattern uses US crochet terms. The finished stocking measures about 4.6 in (11.7 cm) tall from sole to cuff top and 3.6 in (9.1 cm) across the foot. The loop adds about 1.25 in (3.2 cm) above the cuff.
Construction overview: you crochet two flat panels in rows, one the mirror image of the other. You then single crochet them together around the heel, sole and toe, leaving the top open. Next you work the cream cuff in rounds around the opening, and you finish with the hanging loop. You only sew in ends; there is no other sewing.
Finished Size and Construction
- Finished size: 4.6 in (11.7 cm) tall × 3.6 in (9.1 cm) wide at the foot, without the loop
- Skill level: Easy / advanced beginner
- Terminology: US crochet terms
- Yarn weight: Worsted (#4)
- Hook: 4.0 mm (G-6)
- Number of pieces: 1 finished ornament (2 body panels joined, with the cuff and loop worked directly onto it)
- Layout: A single stocking. Front and back panels are placed wrong sides together.
- Panel size: 3.3 in (8.4 cm) wide at the foot × 3.4 in (8.6 cm) tall
- Size before border: 3.3 in × 3.4 in (8.4 cm × 8.6 cm) per panel
- Border (joining edge) depth: about 1/8 in (0.3 cm) on each side and 0.2 in (0.5 cm) at the sole
- Cuff depth: 1 in (2.5 cm)
Materials
Yarn: Use a smooth worsted-weight acrylic or cotton with good stitch definition. Something around 200 m per 100 g works well. Avoid fuzzy yarns because they hide the pebbly single crochet texture.
- Red (body): 8 g, about 16 m
- Cream (cuff and loop): 4 g, about 8 m
These quantities include a margin of roughly 20% for the gauge swatch and weaving in ends.
Tools:
– 4.0 mm (G-6) crochet hook
– Tapestry needle
– 2 locking stitch markers
– Scissors
– Ruler or tape measure
– Blocking mat and pins, plus a spray bottle
Abbreviations (US Terms)
- ch – chain
- sc – single crochet
- sc2tog – single crochet 2 together: insert hook in next st, yarn over, pull up a loop; insert hook in next st, yarn over, pull up a loop; yarn over and pull through all 3 loops on hook (1 stitch decreased)
- sl st – slip stitch
- st(s) – stitch(es)
- rnd – round
- RS / WS – right side / wrong side
- 2 sc in next – increase: work 2 sc into the same stitch
Special technique, sc through both layers: Insert the hook through the matching edge stitch or row end of the front panel and then the back panel, and complete the sc as usual.
Gauge and Checkpoints
Gauge: 9 sc and 10 rows = 2 in (5.1 cm), which is 4.5 sts and 5 rows per inch.
Swatch: Ch 19 and work 18 sc per row for 20 rows. The swatch should measure 4 in × 4 in (10.2 cm × 10.2 cm). Measure it flat without stretching.
The best gauge test is to make the first panel. It is small, and it tells you everything you need to know.
Checkpoints:
– After Row 3: The panel is 15 sts wide and measures 3.3 in (8.4 cm).
– After Row 10: The panel measures 2 in (5.1 cm) tall.
– After Row 17: The panel measures 3.4 in (8.6 cm) tall, and the leg measures 2.4 in (6.1 cm) wide.
– After joining: The body measures 3.6 in (9.1 cm) tall and 3.6 in (9.1 cm) across the foot.
– After the cuff: The total height is 4.6 in (11.7 cm), and the cuff measures 2.9 in (7.4 cm) wide laid flat.
If your panel is too big by more than 1/8 in (0.3 cm), go down to a 3.75 mm hook. If it is too small, go up to a 4.5 mm hook. Tight fabric matters here because a loose stocking lets small items slip through the stitches.
Front Panel
Work in red. Turn at the end of every row. The ch 1 at the start of each row does not count as a stitch.
Row 1: Ch 12, sc in 2nd ch from hook and in each ch across. (11 sc)
Row 2: Ch 1, 2 sc in first st, sc in next 9 sts, 2 sc in last st. (13 sc)
Row 3: Ch 1, 2 sc in first st, sc in next 11 sts, 2 sc in last st. (15 sc)
These two increase rows round off both the heel and the toe of the sole.
Rows 4–6: Ch 1, sc in each st across. (15 sc)
Place a marker at the end of Row 6. This edge is the toe edge. Row 7 starts here.
Row 7: Ch 1, sc2tog, sc in next 13 sts. (14 sts)
Row 8: Ch 1, sc in next 12 sts, sc2tog. (13 sts)
Row 9: Ch 1, sc2tog, sc in next 11 sts. (12 sts)
Row 10: Ch 1, sc in next 10 sts, sc2tog. (11 sts)
All four decreases fall on the toe edge. This makes the slope where the top of the foot meets the leg. The heel edge stays straight.
Rows 11–17: Ch 1, sc in each st across. (11 sc)
Fasten off and weave in the ends. The panel measures 3.3 in (8.4 cm) at its widest and 3.4 in (8.6 cm) tall.
Back Panel (Mirrored)
Work Rows 1–6 exactly as for the Front Panel. (15 sc)
Place a marker at the beginning of Row 6, meaning the edge where Row 6 started. This edge is the toe edge of the back panel.
Row 7: Ch 1, sc in next 13 sts, sc2tog. (14 sts)
Row 8: Ch 1, sc2tog, sc in next 12 sts. (13 sts)
Row 9: Ch 1, sc in next 11 sts, sc2tog. (12 sts)
Row 10: Ch 1, sc2tog, sc in next 10 sts. (11 sts)
Rows 11–17: Ch 1, sc in each st across. (11 sc)
Fasten off. Hold the two panels wrong sides together. The toes should point the same way and the edges should match row for row. If the toes point in opposite directions, the back panel was not mirrored.
Border: Joining Edge
The red joining round is both the seam and the border of the body.
Border gauge: Same as the body: 4.5 sc per inch along the stitch edges and 1 sc per row end along the sides.
Hold the panels wrong sides together, with the front panel facing you. Work every stitch through both layers.
Joining Rnd (red): Join red with a sc at the top corner of the heel edge, in the row end of Row 17.
- Heel side: Work 1 sc in each row end down to Row 1. That is 17 sc, including the first one.
- Sole: Work 2 sc in the first foundation st, sc in the next 9 foundation sts, then 2 sc in the last foundation st. (13 sc)
- Toe side: Work 1 sc in each row end from Row 1 up to Row 17. (17 sc)
Total: 17 + 13 + 17 = 47 sc. Do not join across the top. Fasten off and weave in the end. The 11 top sts of each panel stay open to form the pocket.
Why the math works: Each row is 0.2 in (0.5 cm) tall and each sc is about 0.22 in (0.56 cm) wide. One sc per row end therefore lies flat, with a very slight firm gather that keeps the seam neat. On the sole, the 11 foundation sts get 11 sc. One extra sc at each bottom corner (11 + 2 = 13) turns the rounded heel and toe without cupping. The toe-side decreases do not change the row-end count, which is still 17.
Checkpoint: The body now measures 3.6 in (9.1 cm) tall and 3.6 in (9.1 cm) across the foot. The leg measures about 2.7 in (6.9 cm) wide.
Cuff
Work in cream, in joined rounds, with the RS facing and without turning. The ch 1 at the start of each round does not count as a stitch.
Rnd 1 (conversion round): Join cream with a sc in the top of the heel-side seam sc. Sc in each of the 11 top sts of the front panel. Sc in the top of the toe-side seam sc. Sc in each of the 11 top sts of the back panel. Sl st to the first sc.
Count: 22 sc (1 per existing top st) + 2 sc (1 in each seam) = 24 sc.
Rnd 2: Ch 1, sc in next 11 sts, 2 sc in next st; repeat from * once more. Sl st to the first sc. (26 sc)
Rnds 3–5: Ch 1, sc in each st around, sl st to the first sc. (26 sc)
Do not fasten off.
The cuff measures 1 in (2.5 cm) deep. Laid flat, it is 13 sts or 2.9 in (7.4 cm) wide, so it sits just slightly wider than the 2.7 in (6.9 cm) leg. That small difference gives the gentle flare you see on the finished stocking.
Hanging Loop
Continue with cream from the end of Rnd 5. You should be at the heel-side seam.
Loop: Ch 14, then sl st into the first sc of Rnd 5 to form the loop. Work 20 sc into the ch-14 loop space, covering the chain completely. Sl st into the same base st. Fasten off and weave the tail down into the cuff.
The finished loop stands about 1.25 in (3.2 cm) above the cuff. If the sc stitches bunch up, push them along the chain. If gaps show, add 1–2 more sc.
Final Blocking
- Weave in any remaining tails and run each one through both layers so they stay hidden inside the seam.
- Lightly mist the stocking with water until it is damp, not wet.
- Slide a piece of card cut to about 2.4 in × 3 in (6.1 cm × 7.6 cm) into the pocket. This keeps the layers apart and flattens the leg.
- Pin the stocking to the mat at 3.6 in (9.1 cm) tall to the cuff base and 3.6 in (9.1 cm) across the foot.
- Shape the heel and toe curves with your fingers so they are smooth.
- Pin the cuff flat at 2.9 in (7.4 cm) wide, and pin the loop upright.
- Let it dry completely. Then remove the pins and the card.
For acrylic, you can steam lightly with the iron held well above the fabric. Never press the iron onto the yarn.
Final Quality-Control Checklist
- Body total height to the cuff base is 3.6 in (9.1 cm).
- Foot width is 3.6 in (9.1 cm).
- Total height including the cuff is 4.6 in (11.7 cm).
- The toes of both panels point the same way, and the edges line up row for row.
- The joining round has 47 sc: 17 + 13 + 17.
- Cuff Rnd 1 has 24 sc, and Rnds 2–5 have 26 sc each.
- The pocket opening is clear, and the top of the body is not stitched shut.
- The loop is firmly anchored at the heel-side seam and fully covered in sc.
- All ends are woven in and invisible from both sides.
Troubleshooting
The toe points the wrong way on one side. The back panel was not mirrored. Remake it, following the Back Panel decrease placement.
The seam ruffles. You have too many sts along the sides. Work exactly 1 sc per row end, and use a hook one size smaller for the joining round.
The seam pulls and puckers the panels. Your tension is too tight. Go up one hook size for the joining round only.
The cuff flares too much. Skip the Rnd 2 increases and work 24 sc in every round.
The cuff is tighter than the leg. Check that you worked 1 sc into each seam in Rnd 1, for 24 sts total.
A visible jog at the round joins. Start every round at the heel-side seam so the joins sit hidden behind the loop.
A card slips through the stitches. Your fabric is too loose. Remake with a smaller hook to match gauge.
Care
Hand wash in cool water with mild soap, gently squeeze out the water, and dry flat in shape. Do not tumble dry, because this can distort the small curves of the heel and toe.
Final Notes
The measurement chain is short and easy to check. The gauge of 4.5 sts and 5 rows per inch gives panels of 3.3 in × 3.4 in (8.4 cm × 8.6 cm). The 47-stitch joining round brings the body to 3.6 in × 3.6 in (9.1 cm × 9.1 cm). The 26-stitch cuff adds 1 in (2.5 cm), for a finished height of 4.6 in (11.7 cm), and the loop rises 1.25 in (3.2 cm) above that. If each checkpoint matches, the stocking will hold its shape and its little surprise.
Happy crocheting!