

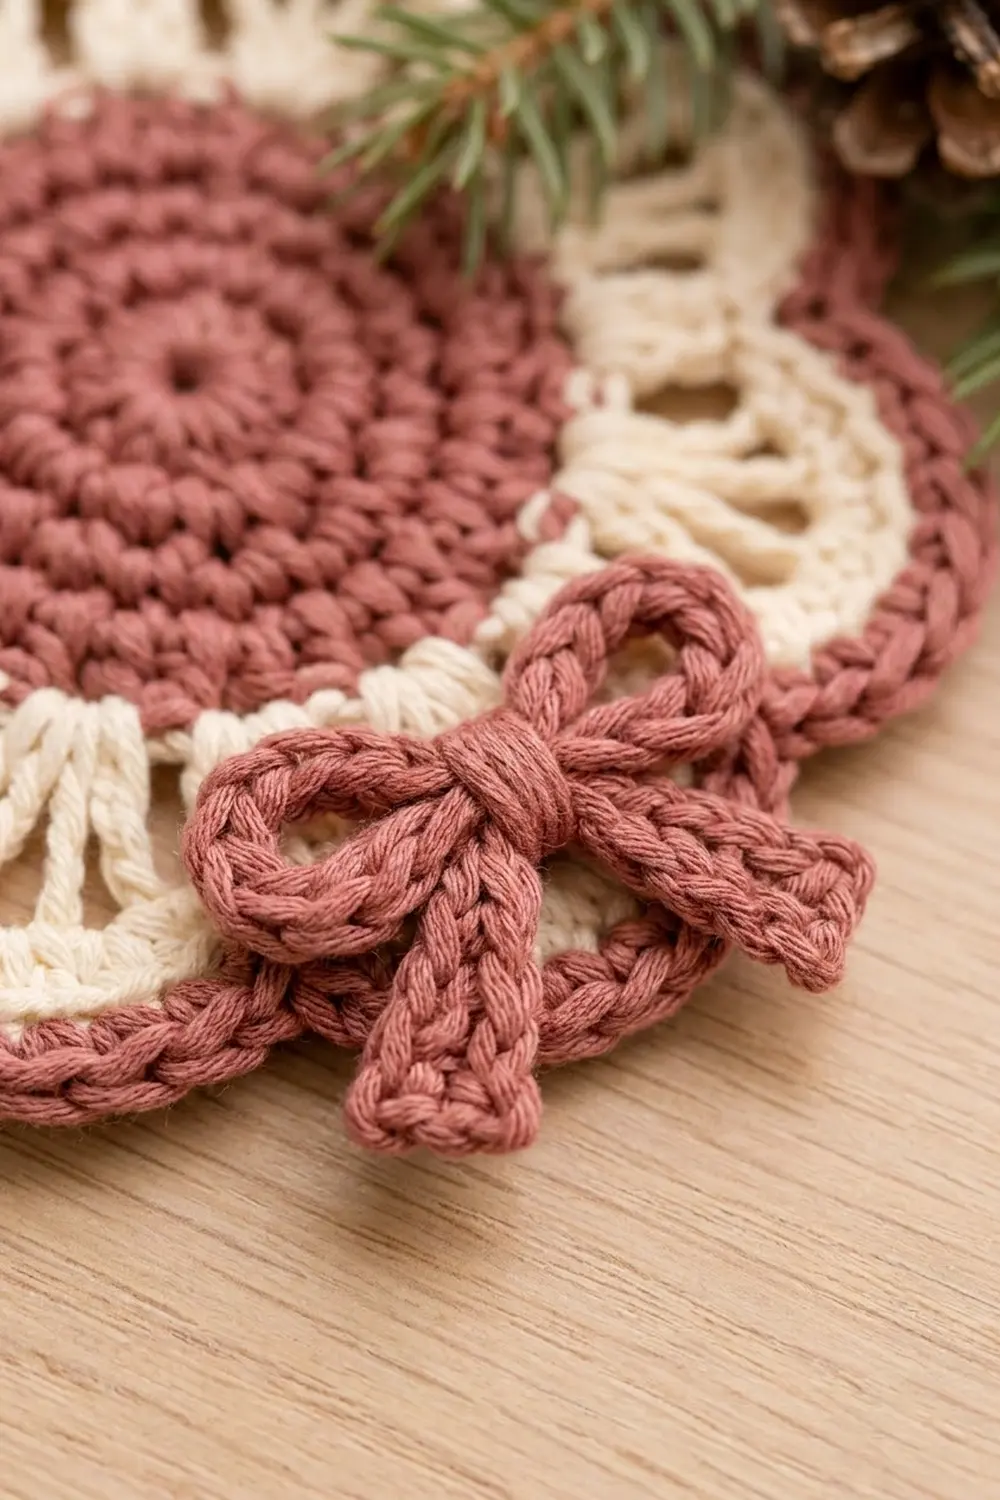
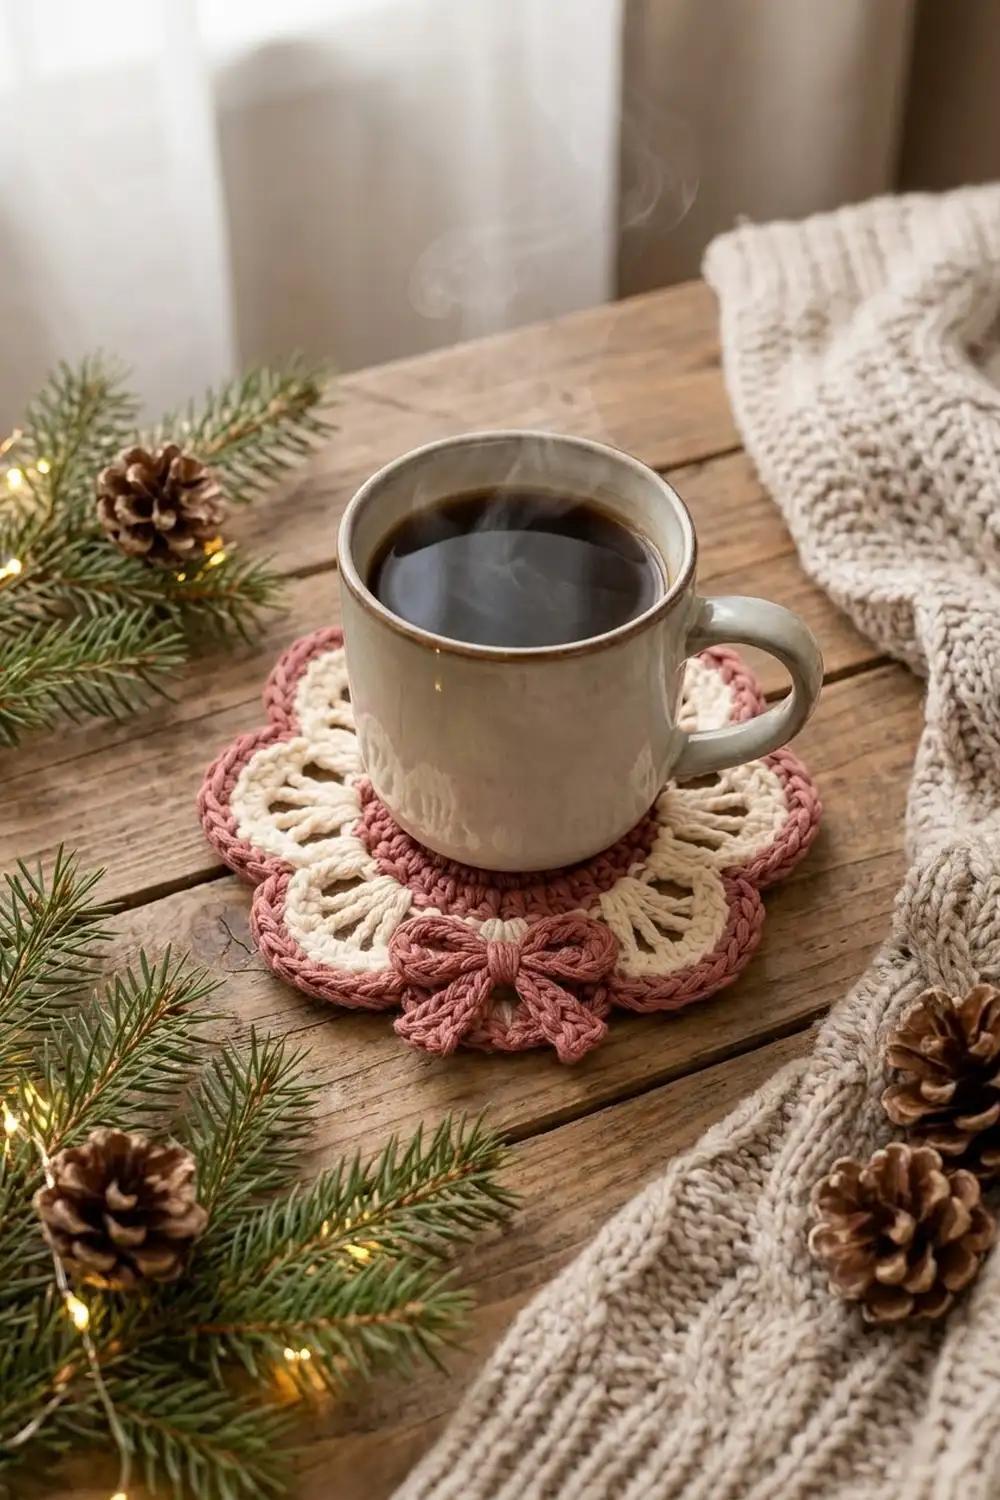
The Rosy Blossom Coaster is a scalloped flower coaster with a vintage, cozy look. A solid dusty-rose center sits inside a cream ring of openwork fans. Each fan is topped with a soft cream arch, and the whole flower is outlined in a braided rose edge. A small rose bow at the bottom makes it a Christmas piece.
The palette is two colors only: dusty rose and cream. Together they look like peppermint and cocoa without being loud, so the coasters work on a holiday table and still look right in January.
This pattern uses US crochet terms. The finished coaster measures 6 in (15.2 cm) across, from the tip of one petal to the tip of the opposite petal.
The coaster is worked in one piece, in the round. Five hdc rounds make the rose center. Three cream rounds build the loops, fans and scallops, and two rose rounds make the border. The bow is crocheted separately from three small strips and sewn on at the end.
Finished Size and Construction
- Finished size: 6 in (15.2 cm) in diameter, petal tip to petal tip
- Skill level: Easy to Intermediate
- Terminology: US crochet terms
- Yarn weight: Worsted (#4) cotton
- Hook: 4.0 mm (G-6)
- Number of pieces: 1 coaster body plus 1 bow appliqué (made from 3 small strips)
- Layout: Single round motif with 10 petals; bow centered over the bottom petal valley
- Center disc size: 3.5 in (8.9 cm) after Round 5
- Size before border: 5.5 in (14.0 cm) after Round 8
- Border depth: 0.25 in (0.6 cm) per side, adding 0.5 in (1.3 cm) to the diameter
Materials
Yarn: Use a smooth, mercerized or combed worsted-weight cotton. Cotton absorbs moisture, handles warm mugs well and shows stitch definition clearly. Avoid acrylic for coasters, because it can soften or glaze under hot cups.
- Color A – Dusty Rose: 20 g / 34 m (37 yd), for the center, border and bow
- Color B – Cream: 15 g / 26 m (28 yd), for the petal rounds
The amounts are based on a cotton of about 100 g / 170 m and include a margin of roughly 30% for gauge swatches and weaving in. One coaster uses about 15 g of rose and 10 g of cream.
Tools:
– 4.0 mm (G-6) crochet hook
– Tapestry needle
– Scissors
– Stitch marker
– Rust-proof pins and a blocking mat or folded towel
– Spray bottle with clean water
Abbreviations (US Terms)
- ch – chain
- sl st – slip stitch
- sc – single crochet
- hdc – half double crochet
- dc – double crochet
- st(s) – stitch(es)
- sp – space
- BLO – back loop only
- beg – beginning
- rep – repeat
Special stitch – Fan: In the same ch-4 space, work dc, (ch 1, dc) 4 times. That gives 5 dc and 4 ch-1 spaces, which spread out like spokes.
Standing sc: Put a slip knot of the new color on the hook, insert the hook in the stitch, yarn over and pull up a loop, then yarn over and pull through both loops.
Gauge and Checkpoints
Gauge is not critical for a coaster, but it controls whether the petals lie flat. Make one complete coaster before you plan a set, and measure at each checkpoint.
- Round 3 (rose): 2.25 in (5.7 cm) across
- Round 5 (rose center): 3.5 in (8.9 cm) across
- Round 6 (cream loops): about 4 in (10.2 cm) across
- Round 7 (fans): about 5 in (12.7 cm) across
- Round 8 (scallops): 5.5 in (14.0 cm) across
- Round 10 (border): 6 in (15.2 cm) across
- Bow strip: 18 sc = 4 in (10.2 cm)
If your center is too big (more than 3.75 in / 9.5 cm after Round 5), or ripples, change to a 3.75 mm hook. If it is too small (under 3.25 in / 8.3 cm), or cups upward, change to a 4.5 mm hook. Fix the center before you go on. Every later round depends on its 50 stitches lying flat.
Pattern
Center Disc (Color A – Dusty Rose)
Start with a magic ring. The beginning ch 2 does not count as a stitch in any round. Join each round with a sl st to the first hdc.
Round 1: Ch 2, work 10 hdc into the ring. Pull the ring closed, then sl st to the first hdc. (10 hdc)
Round 2: Ch 2, 2 hdc in each st around, sl st to join. (20 hdc)
Round 3: Ch 2, hdc in next st, 2 hdc in next st, rep from * 9 more times, sl st to join. (30 hdc)
Checkpoint: 2.25 in (5.7 cm) across.
Round 4: Ch 2, hdc in next 2 sts, 2 hdc in next st, rep from * 9 more times, sl st to join. (40 hdc)
Round 5: Ch 2, hdc in next st, 2 hdc in next st, hdc in next 3 sts, 2 hdc in next st, rep from * 8 more times, hdc in last 2 sts, sl st to join. (50 hdc)
The increases in Round 5 are staggered so the disc stays round rather than turning into a decagon. Check that the disc is 3.5 in (8.9 cm) across, then fasten off Color A.
Petal Ring (Color B – Cream)
The 50 center stitches divide into 10 groups of 5, with one petal per group.
Round 6 (loops): Join Color B with a standing sc in any st. Ch 4, skip next 4 sts, sc in next st, rep from * 8 more times, ch 4, skip last 4 sts, sl st to first sc. (10 sc and 10 ch-4 spaces)
Check: 10 sc plus 4 skipped sts in each of the 10 groups = 10 + 40 = 50, so the round uses every stitch of Round 5 exactly once.
Round 7 (fans): Sl st into the first ch-4 sp. Ch 3 (counts as dc), then (ch 1, dc) 4 times in the same sp. Sc in next sc. Fan in next ch-4 sp, sc in next sc, rep from * 8 more times. The last sc goes into the joining sc of Round 6. Sl st to the top of the beg ch-3. (10 fans: 50 dc, 40 ch-1 spaces, 10 sc)
These fans make the radiating cream spokes. Each fan grows from a narrow ch-4 base, so the dc spread outward and leave thin openings between them.
Round 8 (scallops): Sl st into the first ch-1 sp of the fan. 2 sc in first ch-1 sp, 3 hdc in next ch-1 sp, 3 hdc in next ch-1 sp, 2 sc in last ch-1 sp, sl st in the sc between fans. Rep from * 9 more times. For the remaining 9 repeats, skip the dc stitches as you move along the fan. On the last repeat, the sl st lands in the final sc of Round 7. Sl st into the first sc to join. (100 sts plus 10 valley sl sts = 110 sts)
Per petal: 2 sc + 3 hdc + 3 hdc + 2 sc = 10 sts, plus 1 sl st in the valley. The taller hdc in the middle make each solid cream scallop arch.
Checkpoint: 5.5 in (14.0 cm) across. Fasten off Color B.
Border (Color A – Dusty Rose)
Border gauge: The border should add 0.25 in (0.6 cm) all the way around, for a finished diameter of 6 in (15.2 cm).
There are no straight sides on a round coaster, so the counts below are per petal. Each petal works like one side of a square.
Round 9: Join Color A with a standing sc in the first sc of any petal. Sc in next sc. (2 sc in next hdc, sc in next hdc) 3 times, sc in next 2 sc, sl st in valley sl st. At the start of the next petal, sc in next 2 sc, then rep the bracketed section. Continue around all 10 petals and sl st to the first sc to join.
- Per petal: 2 sc + 9 sc over the 6 hdc + 2 sc = 13 sc, plus 1 valley sl st = 14 sts
- Round total: 10 × 14 = 140 sts (130 sc and 10 sl sts)
Round 9 works 1 stitch into each of the 10 petal stitches, plus 3 extra on the curve: 10 + 3 = 13 sc per petal. The valley sl st has no extra.
Round 10 (braided edge): Sl st in BLO of each st around, keeping the tension even but relaxed. (140 sl sts)
Fasten off with an invisible join.
Why the math works: The border sits about 0.25 in (0.6 cm) farther out than the scallops, so its arc over the curved top of each petal is longer. Adding 3 extra stitches over the 6 hdc (50% more on the curve) gives enough length for the arch. Only the 2 sc on each side of the petal are worked 1 to 1, because they sit along the straighter flank of the scallop. The valley keeps a single sl st, which pulls it in and keeps the edge between petals sharp. Round 10 has no increases, because a BLO sl st round adds texture without adding height.
Bow Appliqué (Color A – Dusty Rose)
The bow measures about 2 in (5.1 cm) wide and 1.5 in (3.8 cm) tall, tails included.
Loop strip: Ch 19. Sc in the 2nd ch from the hook and in each ch across. (18 sc, 4 in / 10.2 cm long) Fasten off and leave an 8 in (20.3 cm) tail. Sew the short ends together to make a ring. Flatten the ring with the seam at the center back, which gives two loops of about 1 in (2.5 cm) each.
Tail strip: Ch 11. Sl st in the 2nd ch from the hook and in each ch across. (10 sl sts, about 1.25 in / 3.2 cm long) Make 2.
Center wrap: Ch 5. Sc in the 2nd ch from the hook and in each ch across. (4 sc, about 0.75 in / 1.9 cm long)
Assembly: Pinch the flattened ring at its center. Lay the two tails behind it in an upside-down V. Wrap the center strip around all the layers, then sew its ends together at the back.
Attaching: Center the bow over the bottom petal valley so the loops overlap the cream scallops and the tails hang across the rose border. Use the 8 in (20.3 cm) tail to sew through the center wrap and the tip of each tail. Keep the stitches hidden in the back loops and do not sew through the coaster to the underside.
Final Blocking
- Weave in all ends on the back. For each end, change direction at least once, going through 3–4 stitches each way.
- Mist the coaster with water until it is damp but not soaked. If you prefer, hold a steam iron 1 in (2.5 cm) above it without touching the yarn.
- Lay it face up on the blocking mat.
- Pin the center disc flat to 3.5 in (8.9 cm) across.
- Pin each of the 10 petal tips so the full diameter measures 6 in (15.2 cm).
- Pin each valley so it points straight in toward the center.
- Use your fingertips to open the gaps between the fan spokes evenly.
- Leave it to dry completely, then remove the pins. Sew on the bow after blocking so it keeps its shape.
Final Quality-Control Checklist
- Center disc is flat and 3.5 in (8.9 cm) across
- There are exactly 10 petals and 10 fans of 5 dc each
- Every fan sits over its own ch-4 loop, with no loops skipped or doubled
- Each scallop has 10 sts, and each valley sl st sits in the sc between two fans
- The border has 13 sc per petal and 140 sts in each of Rounds 9 and 10
- Finished diameter is 6 in (15.2 cm), give or take 0.25 in (0.6 cm)
- The coaster lies flat with no cupping or ruffling
- The bow is centered over a valley and its tails are symmetrical
- No ends show on the front
Troubleshooting
The center cups upward. Your tension is tight. Use a larger hook, or check that each round has its full increase count.
The center ruffles. Your tension is loose, or you have extra stitches. Recount to 50 in Round 5 and go down a hook size if you need to.
The fans overlap or crowd. Your Round 6 chains are too short. Keep the ch-4 loops relaxed, or work ch 5 if your chains are very tight.
The scallops flip forward. You have too many stitches per scallop for your tension. Swap the 2 sc on each side for 1 sc + 1 sl st. This keeps 10 sts per petal, so the border counts don’t change.
The border wavers. Your BLO sl sts are too loose. Work Round 10 with a hook 0.5 mm smaller.
The bow droops. Add one more tack stitch through each loop end.
Care
Hand wash in cool water with mild soap, press out the water in a towel and dry flat, pinning the petals back into shape if needed. Do not tumble dry, because that can distort the scallops.
Final Notes
Each stage sets up the next one. The 50-stitch center (3.5 in / 8.9 cm) splits into 10 groups of 5. Those groups carry 10 ch-4 loops, the loops carry 10 fans, and the fans carry 10 scallops of 10 sts each (5.5 in / 14.0 cm). The border adds 3 stitches per petal on the curve and finishes at 6 in (15.2 cm). If each checkpoint matches, the coaster will lie flat and the petals will be even.
Happy crocheting!