
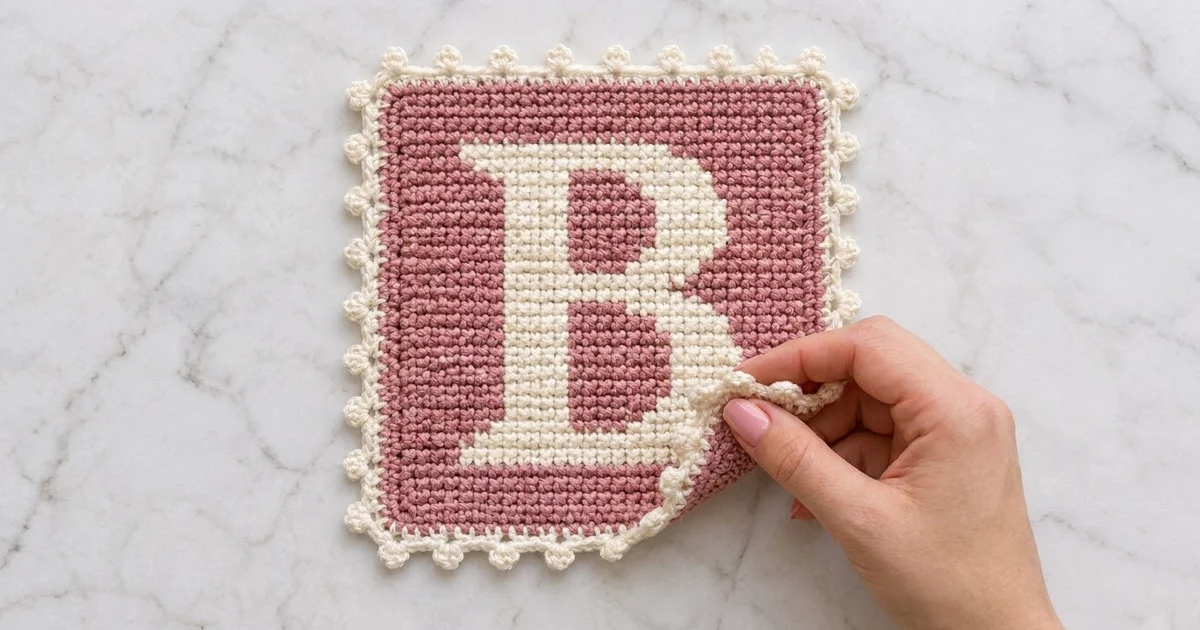
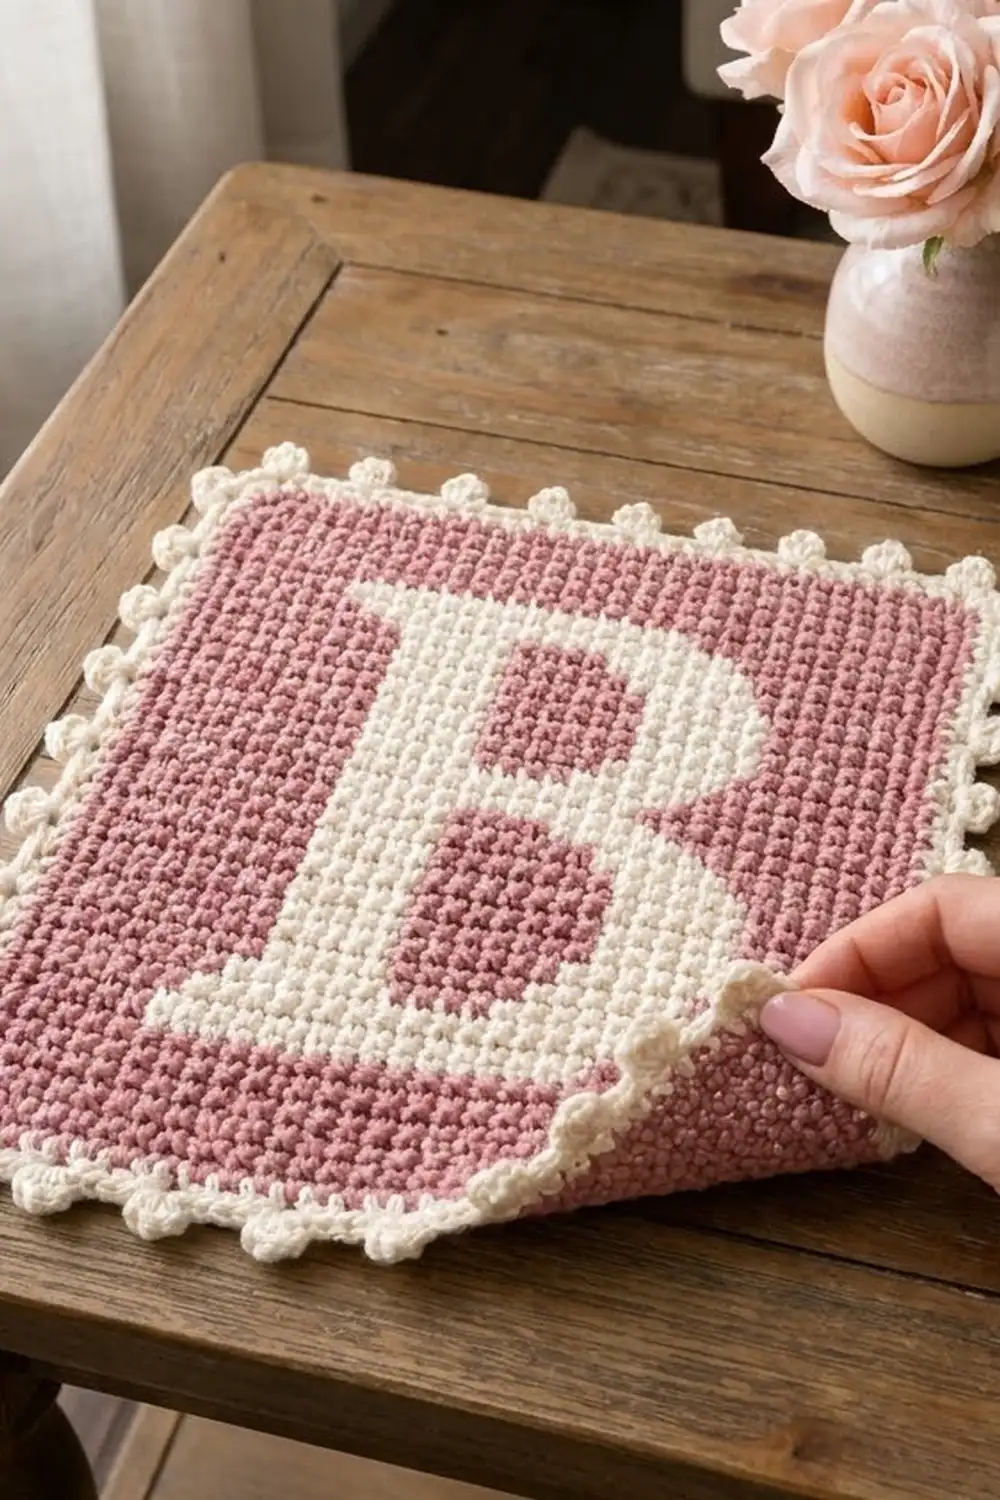
The Rosebud Monogram Square is a soft single crochet panel in dusty rose with a bold cream serif “B” in the center. A neat rose edging frames the letter, and a cream border of small rounded bobble-picots finishes the edge like a vintage postage stamp.
You can use it as a nursery wall hanging, a monogram coaster or mug rug, a pillow appliqué, or a personal gift for someone whose name starts with B. The two-color palette looks gentle and a little vintage, and dense cotton stitches make the letter sharp and easy to read.
This pattern uses US crochet terms. The finished square measures 7.5 x 7.5 in (19.1 x 19.1 cm) after blocking.
You’ll work the panel in rows of single crochet, using intarsia color changes for the letter. Next comes one round of rose single crochet edging, then two cream border rounds: a single crochet round and a bobble-picot round.
Finished Size and Construction
- Finished size: 7.5 x 7.5 in (19.1 x 19.1 cm)
- Skill level: Intermediate (intarsia color changes)
- Terminology: US crochet terms
- Yarn weight: DK (light worsted, category 3) cotton
- Hook: 4.0 mm (G-6)
- Number of pieces: 1
- Layout: Single square panel, no joining
- Panel size: 6 x 6 in (15.2 x 15.2 cm), 27 sts x 30 rows
- Size before border (after rose edging): 6.5 x 6.5 in (16.5 x 16.5 cm)
- Border depth: 0.5 in (1.3 cm) per side, cream
Materials
Yarn: Use a smooth DK cotton or cotton blend, about 120 m per 50 g. Cotton keeps the letter edges crisp and shows the picots well. Avoid fuzzy or very splitty yarns, because the color changes will blur.
- Dusty rose (R): 40 g / 96 m
- Cream (C): 25 g / 60 m
These quantities include a margin of about 20% for gauge swatching and weaving in ends.
Tools:
- 4.0 mm (G-6) crochet hook
- 5 small yarn bobbins (or butterflies of yarn)
- Tapestry needle
- Scissors
- 4 stitch markers
- Ruler or tape measure
- Blocking mat and rust-proof pins
- Spray bottle
Abbreviations (US Terms)
- ch – chain
- sc – single crochet
- dc – double crochet
- sl st – slip stitch
- st(s) – stitch(es)
- yo – yarn over
- RS / WS – right side / wrong side
- R / C – rose / cream
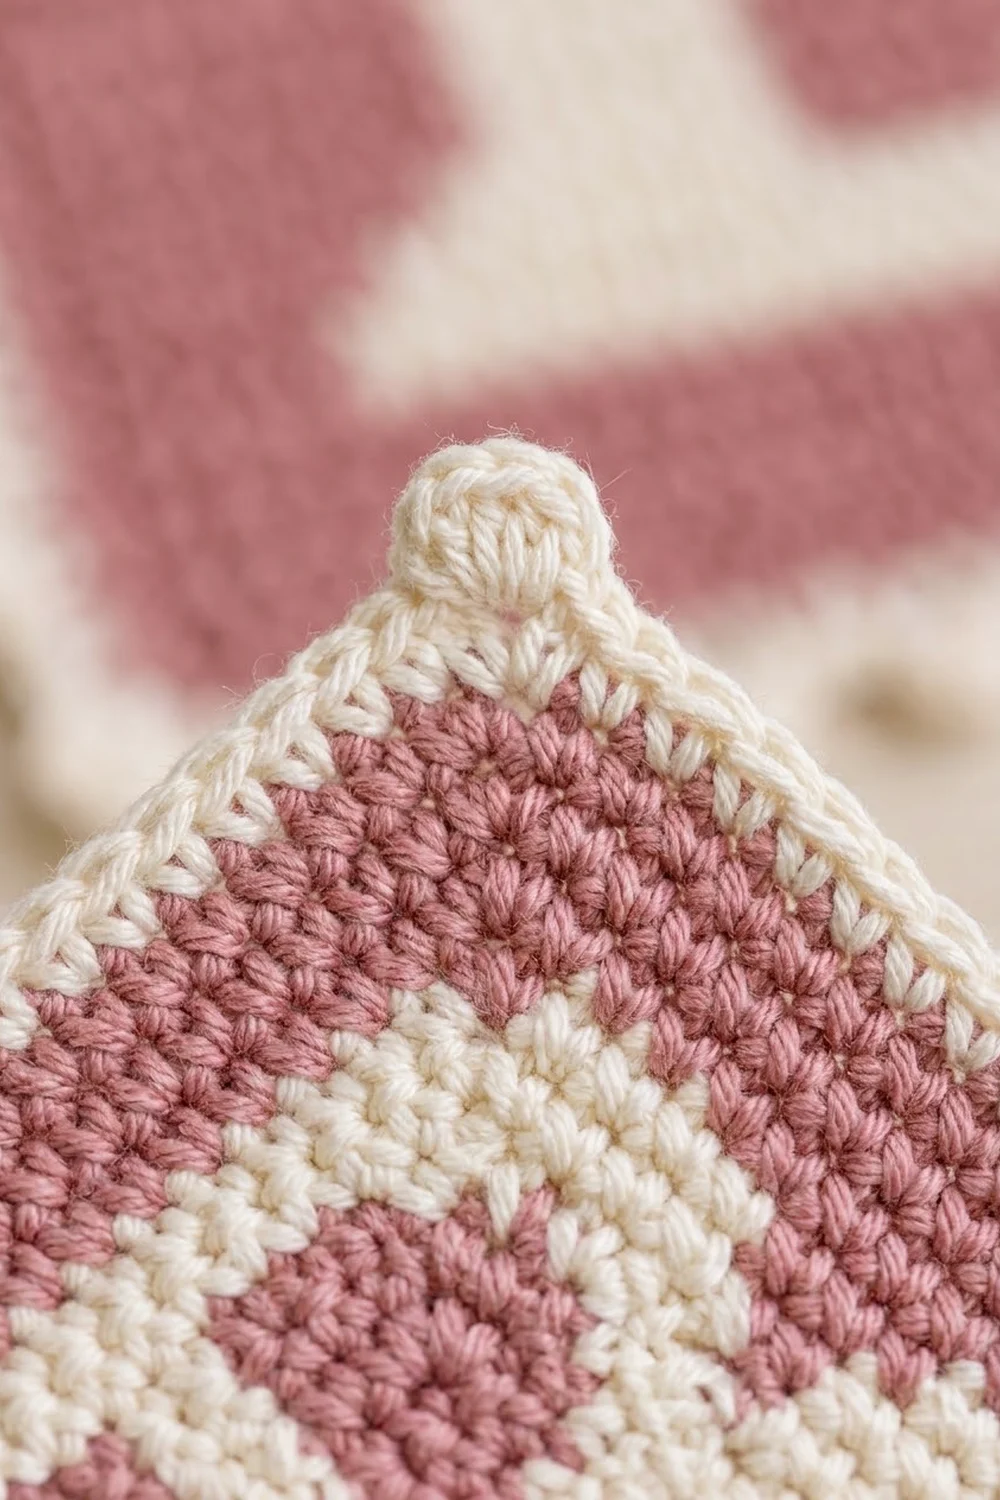
Special stitch – Bobble-Picot (bp): Sc in the next st, then ch 3. Yo, insert hook in 3rd ch from hook, yo, pull up a loop, yo, draw through 2 loops. Repeat from * to * once more (3 loops on hook). Yo, draw through all 3 loops, then sl st in the top of the sc you just made. Each bp counts as 1 st (its base sc).
Color change: Work the last st before the change until 2 loops remain on the hook, drop the old color, yo with the new color and draw through. Keep the dropped yarn on the WS.
Gauge and Checkpoints
Gauge: 18 sc x 20 rows = 4 x 4 in (10.2 x 10.2 cm) in sc worked in rows, before blocking.
Your square is a single piece, so the panel itself is your test. Check it at these points:
- After Row 1: width 6 in (15.2 cm).
- After Row 10: height 2 in (5.1 cm).
- After Row 20: height 4 in (10.2 cm).
- After Row 30: 6 x 6 in (15.2 x 15.2 cm).
- After rose edging: 6.5 x 6.5 in (16.5 x 16.5 cm).
- After border: 7.5 x 7.5 in (19.1 x 19.1 cm).
If your panel is too big (more than 6.25 in / 15.9 cm wide after Row 1), go down to a 3.75 mm hook. If it’s too small (under 5.75 in / 14.6 cm), go up to a 4.5 mm hook. Intarsia sections often come out a bit tighter, so check the height again at Row 20.
Main Panel
Wind 3 rose bobbins (left, center and right sections) and 2 cream bobbins (stem and bowl). Use one bobbin per color section. Don’t carry yarn across more than 2 sts.
How to read the rows: Odd rows are RS rows, worked right to left as seen from the front. Even rows are WS rows. The counts below are in working order, so just follow them from left to right as written. Ch 1 and turn at the end of every row. The turning ch never counts as a st.
With R, ch 28.
Row 1 (RS): Sc in 2nd ch from hook and in each ch across. (27 sts)
Rows 2–3: 27 R. (27 sts)
Row 4 (WS): 4 R, 15 C, 8 R. (27 sts)
Row 5: 6 R, 17 C, 4 R. (27 sts)
Row 6: 4 R, 18 C, 5 R. (27 sts) This finishes the bottom bar and the left serif.
Row 7: 4 R, 6 C, 5 R, 5 C, 7 R. (27 sts) This opens the lower bowl.
Row 8: 7 R, 5 C, 6 R, 6 C, 3 R. (27 sts)
Row 9: 3 R, 6 C, 6 R, 5 C, 7 R. (27 sts)
Row 10: 7 R, 5 C, 6 R, 6 C, 3 R. (27 sts) Checkpoint: 2 in (5.1 cm) tall.
Row 11: 3 R, 6 C, 6 R, 5 C, 7 R. (27 sts)
Row 12: 7 R, 5 C, 5 R, 6 C, 4 R. (27 sts)
Row 13: 5 R, 6 C, 4 R, 5 C, 7 R. (27 sts)
Row 14: 7 R, 14 C, 6 R. (27 sts) This is the middle bar.
Row 15: 7 R, 13 C, 7 R. (27 sts)
Row 16: 7 R, 14 C, 6 R. (27 sts)
Row 17: 6 R, 5 C, 4 R, 5 C, 7 R. (27 sts) This opens the upper bowl.
Row 18: 7 R, 5 C, 5 R, 5 C, 5 R. (27 sts)
Row 19: 5 R, 5 C, 5 R, 5 C, 7 R. (27 sts)
Row 20: 7 R, 5 C, 5 R, 5 C, 5 R. (27 sts) Checkpoint: 4 in (10.2 cm) tall.
Row 21: 5 R, 5 C, 5 R, 5 C, 7 R. (27 sts)
Row 22: 7 R, 5 C, 5 R, 5 C, 5 R. (27 sts)
Row 23: 6 R, 5 C, 4 R, 5 C, 7 R. (27 sts)
Row 24: 7 R, 14 C, 6 R. (27 sts)
Row 25: 6 R, 17 C, 4 R. (27 sts)
Row 26: 4 R, 16 C, 7 R. (27 sts)
Row 27: 9 R, 14 C, 4 R. (27 sts) This finishes the top bar and the left serif. Cut all cream bobbins and the extra rose bobbins, leaving 6 in (15.2 cm) tails.
Rows 28–30: 27 R. (27 sts) Don’t fasten off.
The panel has 810 sts in total: 299 cream and 511 rose.
Panel checkpoint: 6 x 6 in (15.2 x 15.2 cm). The bottom serif should stick out 3 sts to the left of the stem, and the lower bowl should reach 2 sts farther right than the upper bowl.
Rose Edging
You’ll work this round with RS facing, using the rose yarn still attached from Row 30.
Rnd 1 (R): Ch 1 and turn so the RS faces you. Work along the top edge: 3 sc in the first st, sc in the next 25 sts, 3 sc in the last st.
Rotate and work down the left side: sc in each row end, skipping the row ends of Rows 30, 24, 18, 12 and 6, for 25 sc.
Along the bottom, working into the free loops of the foundation chain: 3 sc in the first ch, sc in the next 25 ch, 3 sc in the last ch.
Work up the right side the same way as the left, for 25 sc. Sl st to the first sc. (112 sts: 4 sides x 25 sts + 4 corners x 3 sts)
Put a marker in the center sc of each corner. Counting both corner centers, each side now has 29 sts.
Fasten off. Checkpoint: 6.5 x 6.5 in (16.5 x 16.5 cm).
Cream Border
Border gauge: The border rounds work at the same 4.5 sts per in (1.8 sts per cm) as the panel. A 29-st side matches 6.5 in (16.5 cm).
Rnd 2 (C): Join C in any marked corner st. Ch 1 and work 3 sc in the same st. Sc in each st to the next marked corner st, 3 sc in the corner st. Repeat from * twice more, sc in each st to the end, then sl st to the first sc.
Count: 112 sts worked 1-per-existing-st + 8 extra sts at the corners = 120 sts. Each side has 31 sts counting both corner centers, or 29 sts between them. Move each marker to the new corner center st.
Rnd 3 (C): Ch 1. Bp in the marked corner st, sc in the next 2 sts, (bp in the next st, sc in the next 2 sts) 9 times. Repeat from * 3 more times, then sl st to the first st.
Count: 4 x (1 corner bp + 2 sc + 9 x 3 sts) = 4 x 30 = 120 sts (40 bp and 80 sc). That’s 11 bobble-picots per side when you count both corner bumps.
Fasten off.
Why the math works: Between the corner centers, each side has 29 sts. The bumps repeat over 3 sts, and 29 = 2 + 9 x 3. That means every side opens with 2 sc and closes with a bp and 2 sc, so the spacing around each corner bump matches on all four sides. Rnd 3 adds no stitches. Rnd 2’s corner increases already let the edge turn the corners flat, so the picot round only adds texture. The two cream rounds add 0.5 in (1.3 cm) per side. That takes 6.5 in (16.5 cm) to 7.5 in (19.1 cm).
Final Blocking
- Weave in all ends on the WS. Weave each color into its own color section so nothing shows through on the front.
- Lay the square RS up on the blocking mat.
- Spray it evenly until damp, not soaking.
- Pin the four corners to a 7.5 x 7.5 in (19.1 x 19.1 cm) square, measuring the diagonals so they’re equal.
- Pin the middle of each side, then add pins halfway between, placing them in the sc between bumps, never through a bobble-picot.
- Gently nudge the letter’s edges straight with your fingertips.
- Let it dry completely, then unpin.
Final Quality-Control Checklist
- The panel has 27 sts per row and 30 rows.
- The letter’s stem is 5 sts wide from Row 7 to Row 23.
- Rnd 1 has 112 sts with 3 sc at each corner.
- Rnd 2 has 120 sts and 31 sts per side, including both corners.
- Rnd 3 has 40 bobble-picots, 11 per side including corners.
- All sides measure 7.5 in (19.1 cm) and the diagonals are equal.
- No color is peeking through at any color change.
- All ends are woven in securely.
Troubleshooting
Cream shows through the rose (or the other way around): Make the color change on the last yo of the previous st, and keep the dropped yarn on the WS.
Holes where colors meet: Twist the two yarns once around each other on the WS before you pick up the new color.
The panel is taller than it is wide: Your row gauge is loose. Keep your yarn-overs snug, or use a smaller hook for the rows.
The edging ruffles: Skip one extra row end on each side in Rnd 1. Then adjust Rnd 2 so you still have 29 sts between corner centers.
The edging cups: Work 1 more sc per side in Rnd 1, then keep the side count at 29 sts by working 2 sc together once on each side.
Bobble-picots lean sideways: Make the sl st that closes each bp into the top of its base sc, not into the next st.
The bump spacing is off at a corner: Count your sides. You need 29 sts between markers before you start Rnd 3.
Care
Hand wash in cool water with a mild detergent, press out the water in a towel, and dry flat, reshaping it to 7.5 in (19.1 cm). Don’t tumble dry.
Final Notes
Your measurements build in four steps. The 27-st, 30-row panel measures 6 in (15.2 cm). The rose edging takes it to 6.5 in (16.5 cm). The cream sc round and bobble-picot round add 0.5 in (1.3 cm) per side for a final 7.5 in (19.1 cm) square. If gauge holds at each checkpoint, the finished size will be right. Once you’re comfortable with the letter rows, you can sketch other initials on the same 27 x 30 grid.
Happy crocheting!