
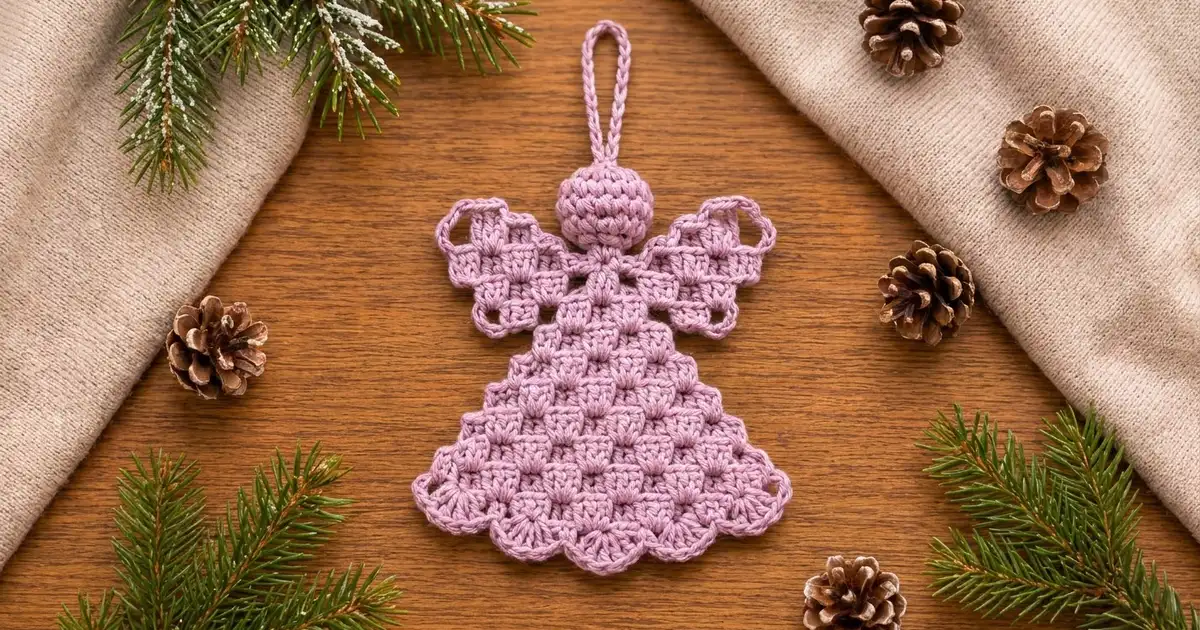
This little angel is a flat tree ornament with a puffy round head, a textured triangular skirt, and two lacy wings. The skirt and wings use offset groups of three double crochets, which gives a neat checkerboard “box” texture. A row of soft shell scallops finishes the hem.
The sample is worked in one color, a gentle lilac cotton, so the stitch texture does the decorating. It also looks lovely in white, cream, pale gold, or blush, and you can make a whole flock in different shades from one ball of each.
The pattern uses US crochet terms. The finished angel measures about 4.5 in (11.4 cm) tall without the hanging loop, about 6 in (15.2 cm) tall with the loop, and about 4.25 in (10.8 cm) wide at the hem.
Here is the construction in short: you crochet a small stuffed ball for the head, a granny-style triangle for the skirt (top down from the neck), and two small triangles for the wings. Next you add the scalloped border to the skirt and a picot-loop edging to each wing. Finally you sew everything together and add a chain hanging loop.
Finished Size and Construction
- Finished size: 4.5 in (11.4 cm) tall x 4.25 in (10.8 cm) wide; 6 in (15.2 cm) tall with the loop
- Skill level: Easy / advanced beginner
- Terminology: US crochet terms
- Yarn weight: DK (#3), cotton or cotton blend
- Hooks: 3.5 mm (E-4) for the flat pieces; 3.0 mm (C/D) for the head
- Number of pieces: 1 finished ornament, made from 4 components (head, skirt, 2 wings)
- Layout: head on top, wings behind the neck, skirt below
- Skirt size before border: 4 in (10.2 cm) wide x 3.2 in (8.1 cm) tall
- Skirt size after border: about 4.25 in (10.8 cm) wide x 3.6 in (9.1 cm) tall
- Border depth: scallops add about 0.4 in (1.0 cm) at the hem; side edging adds about 0.1 in (0.3 cm)
- Wing size after edging: about 2.25 in (5.7 cm) along the outer edge x 1.8 in (4.6 cm) long
- Head: about 1 in (2.5 cm) in diameter
Materials
Yarn: Use a smooth DK cotton or cotton blend. Cotton shows the box stitch texture clearly and holds its shape well on a tree. Steer clear of fuzzy or very soft acrylic, because it blurs the blocks and makes the wings droop.
- Lilac (main color): 15 g, about 32 m (35 yd)
This amount includes a safety margin of about 40%. A single angel uses around 9 g. One 50 g ball makes at least four angels.
Tools:
- 3.5 mm (E-4) crochet hook
- 3.0 mm (C/D) crochet hook
- Tapestry needle
- 1 stitch marker
- Small handful of polyester fiberfill
- Scissors
- Rustproof pins and a foam blocking mat
- Spray bottle with water (optional: light spray starch or fabric stiffener)
Abbreviations (US Terms)
- ch – chain
- sl st – slip stitch
- sc – single crochet
- dc – double crochet
- sc2tog – single crochet 2 together
- MR – magic ring
- st(s) – stitch(es)
- tch – turning chain
- sp – space
- RS – right side
Special stitch – Group: 3 dc worked into the same stitch or space. In this pattern, the ch-3 at the start of a row counts as the first dc of the first group, so “ch 3, 2 dc in first st” makes one complete group.
Shell: 5 dc worked into the same space.
Gauge and Checkpoints
The exact gauge is not critical for an ornament, but it controls how the wings fit the body. Make the skirt first and check it before you make the wings.
Gauge (3.5 mm hook): One group is about 0.5 in (1.3 cm) wide, and one row of dc is about 0.4 in (1.0 cm) tall.
Checkpoints:
- After Row 4 of the skirt: 2 in (5.1 cm) wide x 1.6 in (4.1 cm) tall
- After Row 8 of the skirt: 4 in (10.2 cm) wide x 3.2 in (8.1 cm) tall
- Finished wing triangle (before edging): 2 in (5.1 cm) along Row 4 x 1.6 in (4.1 cm) long
- Stuffed head: about 1 in (2.5 cm) across
If your pieces are too big, go down half a hook size (3.25 mm) and check that your dc stitches aren’t loose. If they are too small, go up to 3.75 mm or 4.0 mm. Change the head hook by the same amount so the proportions stay the same.
Head
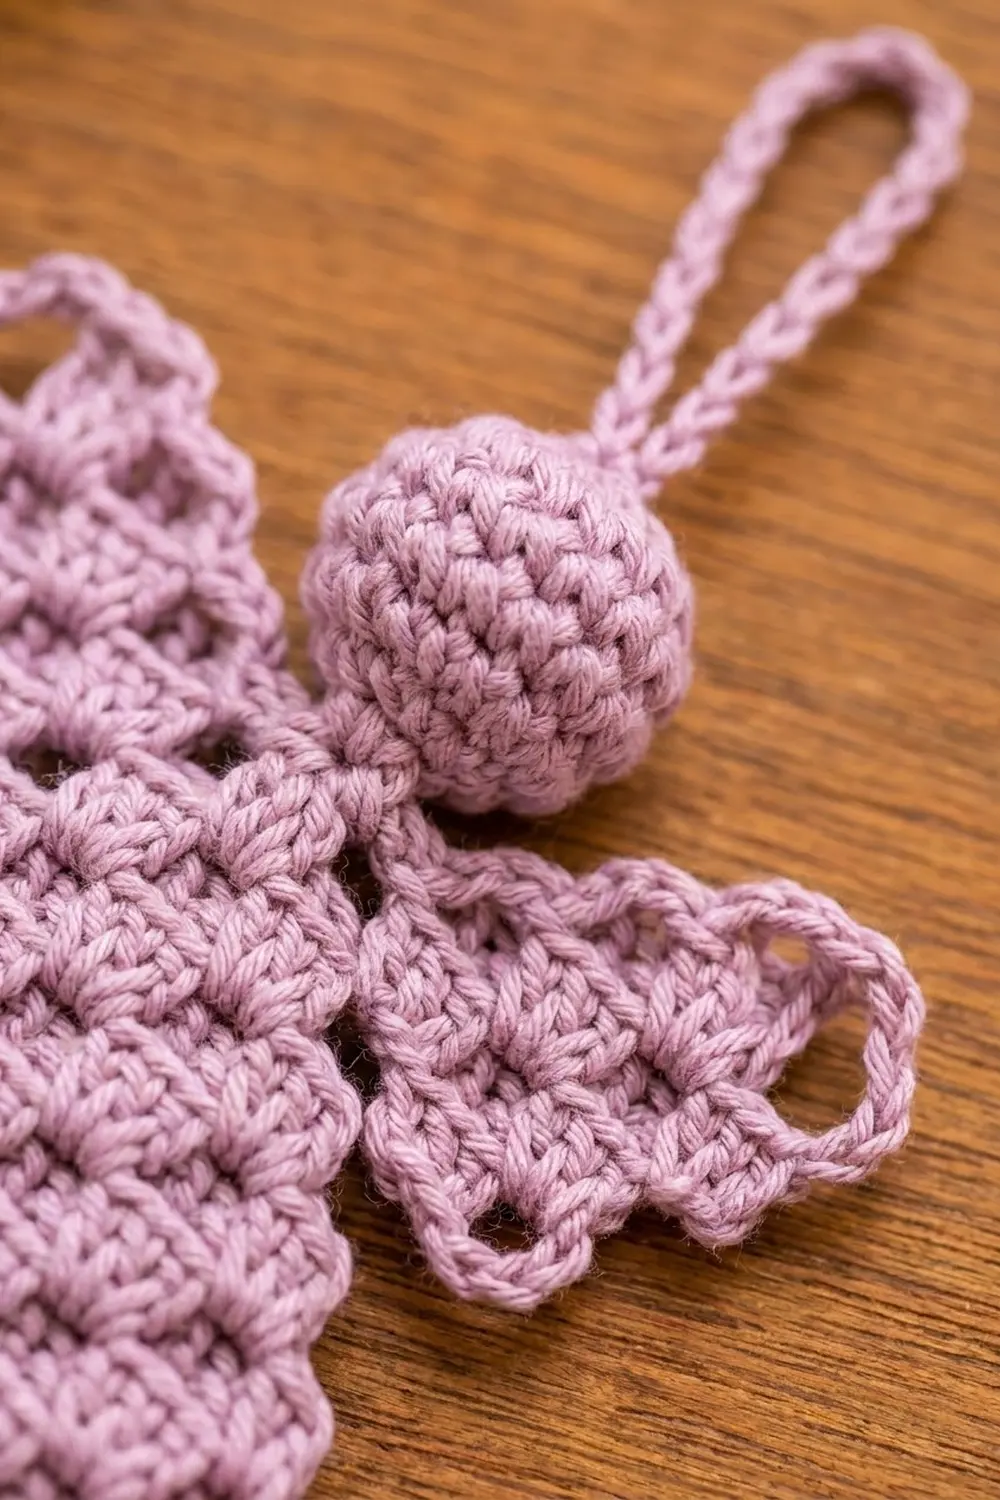
Use the 3.0 mm hook. Work in continuous spiral rounds and mark the first stitch of each round.
Rnd 1: 6 sc in MR. (6 sts)
Rnd 2: 2 sc in each st around. (12 sts)
Rnd 3: [Sc in next st, 2 sc in next st] 6 times. (18 sts)
Rnds 4–6: Sc in each st around. (18 sts per round)
Rnd 7: [Sc in next st, sc2tog] 6 times. (12 sts)
Stuff the head firmly so it becomes a smooth ball about 1 in (2.5 cm) across.
Rnd 8: Sc2tog 6 times. (6 sts)
Fasten off and leave an 8 in (20.3 cm) tail. Weave the tail through the front loops of the last 6 sts, pull it tight to close, and leave the tail hanging for sewing.
Skirt
Use the 3.5 mm hook. The skirt is a granny-style triangle worked in rows from the neck down. Each row adds one group, so the skirt widens by about 0.25 in (0.6 cm) on each side per row.
Row 1: Ch 4, 2 dc in 4th ch from hook. (1 group, 3 sts – the skipped ch-3 counts as the first dc.) The base of this row is the neck.
Row 2: Ch 3 (counts as dc), turn, 2 dc in first st, 3 dc in top of tch. (2 groups, 6 sts)
Row 3: Ch 3, turn, 2 dc in first st, 3 dc in sp between groups, 3 dc in top of tch. (3 groups, 9 sts)
Row 4: Ch 3, turn, 2 dc in first st, 3 dc in each of next 2 sps between groups, 3 dc in top of tch. (4 groups, 12 sts)
Checkpoint: about 2 in (5.1 cm) wide x 1.6 in (4.1 cm) tall.
Rows 5–8: Ch 3, turn, 2 dc in first st, 3 dc in each sp between groups across, 3 dc in top of tch.
- Row 5: 5 groups, 15 sts
- Row 6: 6 groups, 18 sts
- Row 7: 7 groups, 21 sts
- Row 8: 8 groups, 24 sts
In every row, the groups sit in the gaps between the groups of the row below. This offset creates the checkerboard box texture.
Checkpoint: about 4 in (10.2 cm) wide x 3.2 in (8.1 cm) tall. Do not fasten off; the border continues from here.
Wings (Make 2)
Use the 3.5 mm hook. Each wing is a small 4-row triangle worked exactly like the start of the skirt.
Rows 1–4: Work as Skirt Rows 1–4. (Row 4: 4 groups, 12 sts)
Do not fasten off; continue with the wing edging in the Border section.
Border
Border gauge: One round of sc along row ends adds about 0.1 in (0.3 cm). The 5-dc shells stand about 0.4 in (1.0 cm) tall.
Skirt Border (1 round)
Continue from the end of Skirt Row 8.
Rnd 1, hem: Ch 1, turn. (Sc, ch 3, sc) in first st for the corner loop. Skip next 2 sts, shell in sp between groups 1 and 2. Sc in center dc of next group, shell in next sp between groups. Repeat from * to * 5 more times. Skip next 2 sts, then (sc, ch 3, sc) in top of tch for the second corner loop.
Hem count: 7 shells (35 dc) + 6 center sc + 2 corner (sc, ch 3, sc) = 35 dc, 10 sc, 2 ch-3 loops.
Rnd 1, sides: Rotate to work along the row ends. Work 2 sc in each row end up the side to the neck. (8 rows x 2 = 16 sc.) Sl st in the base chain of Row 1. Work 2 sc in each row end down the other side. (16 sc.) Join with sl st to the first sc of the starting corner. Fasten off and weave in.
Total for Rnd 1: 35 dc + 42 sc (10 hem + 16 + 16) + 2 ch-3 loops + 1 sl st at the neck.
Why the math works: Row 8 has 8 groups, so it has 7 spaces between groups. One shell goes in each space, which gives exactly 7 symmetrical scallops. The 6 inner groups each anchor one center sc, and the 2 outer groups become the corner loops. On the sides, each dc row end is tall enough for 2 sc, so 16 sc per side lies flat without ruffling or pulling in.
Wing Edging (each wing, 1 round)
Continue from the end of Wing Row 4.
Rnd 1: Ch 1, turn. Sc in each of the 12 sts across Row 4. Ch 5 for the first outer corner loop. Work 2 sc in each row end down the side. (8 sc.) Ch 1 at the point. Work 2 sc in each row end up the other side. (8 sc.) Ch 5 for the second outer corner loop, and join with sl st to the first sc.
Count: 28 sc (12 + 8 + 8) + 2 ch-5 loops + 1 ch-1 at the point.
Fasten off. Leave a 10 in (25.4 cm) tail on one wing for sewing and weave in the tail on the other.
Why the math works: Row 4 has exactly 12 stitches, so 1 sc per stitch keeps the outer edge straight. The two ch-5 loops sit at the two wide corners and make the open loops at the wing tips. The point stays narrow, so the wing tucks neatly behind the neck.
Assembly and Hanging Loop
- Lay the skirt RS up. Place the head so it overlaps the neck sl st by about 0.1 in (0.3 cm). Sew it on firmly with the head tail, going around the neck twice.
- Turn the angel over. Place the wing points together at the center back, right behind Skirt Rows 1–2, with the Row 4 edges facing outward. Tilt each wing up slightly so its upper loop sits level with the middle of the head.
- Sew the wing points to each other and to the back of the skirt. Add a few stitches about 0.5 in (1.3 cm) out on each wing so the wings stay flat.
- Hanging loop: With the 3.5 mm hook, join yarn to the top of the head at the closed MR. Ch 24 (about 3 in / 7.6 cm) and sl st into the same spot. The loop hangs about 1.5 in (3.8 cm) above the head. Fasten off and weave the ends into the head.
Checkpoint: wingspan about 3.6 in (9.1 cm); full angel 4.5 in (11.4 cm) tall x 4.25 in (10.8 cm) wide at the hem.
Final Blocking
- Weave in all remaining ends. Hide them inside the head or in the dc posts.
- Pin the angel face down on a foam mat at 4.25 in (10.8 cm) wide across the hem and 3.6 in (9.1 cm) from the neck to the scallop tips.
- Pin each scallop into a smooth curve, and pin the two hem corner loops open.
- Pin each wing flat, and pin both ch-5 loops into open rounds.
- Mist the flat parts with water until they are damp but not soaked. Do not wet the stuffed head.
- To make it stiffer, lightly mist the wings and skirt with spray starch or diluted fabric stiffener.
- Let it dry completely, usually 6–12 hours, before you unpin it.
Final Quality-Control Checklist
- The skirt has 8 rows, and the last row has 24 sts in 8 groups.
- The hem has 7 even shells, with a ch-3 loop at each corner.
- Each side edge has 16 sc and lies flat.
- Each wing has 28 sc and 2 open ch-5 loops at the outer corners.
- The head is round, firmly stuffed, and about 1 in (2.5 cm) across.
- The wings are symmetrical and tilt upward by the same amount.
- The hanging loop is centered on the head and securely fastened.
- No ends are visible from the front.
- The angel measures 4.5 in (11.4 cm) x 4.25 in (10.8 cm).
Troubleshooting
The skirt edges curl or lean. Check that every row starts with “2 dc in first st” and ends with “3 dc in top of tch.” Missing either one breaks the triangle shape.
There are gaps between the groups. Gaps are normal in this stitch. If they look like holes, tighten your dc stitches or go down half a hook size.
The scallops look crowded or flat. Count the spaces in Row 8. You should have 7. If you count 6 or 8, a row has a missing or extra group.
The sides ruffle. Work 3 sc over every 2 row ends instead of 2 sc per row end.
Stuffing shows through the head. Use the smaller hook and stuff a little less firmly.
The wings flop forward. Add tacking stitches farther out on each wing, or use more stiffener.
Care
Hand wash in cool water with mild soap, press out the water in a towel, and reshape the angel flat to dry. Store flat or hanging, away from crushing, between seasons.
Final Notes
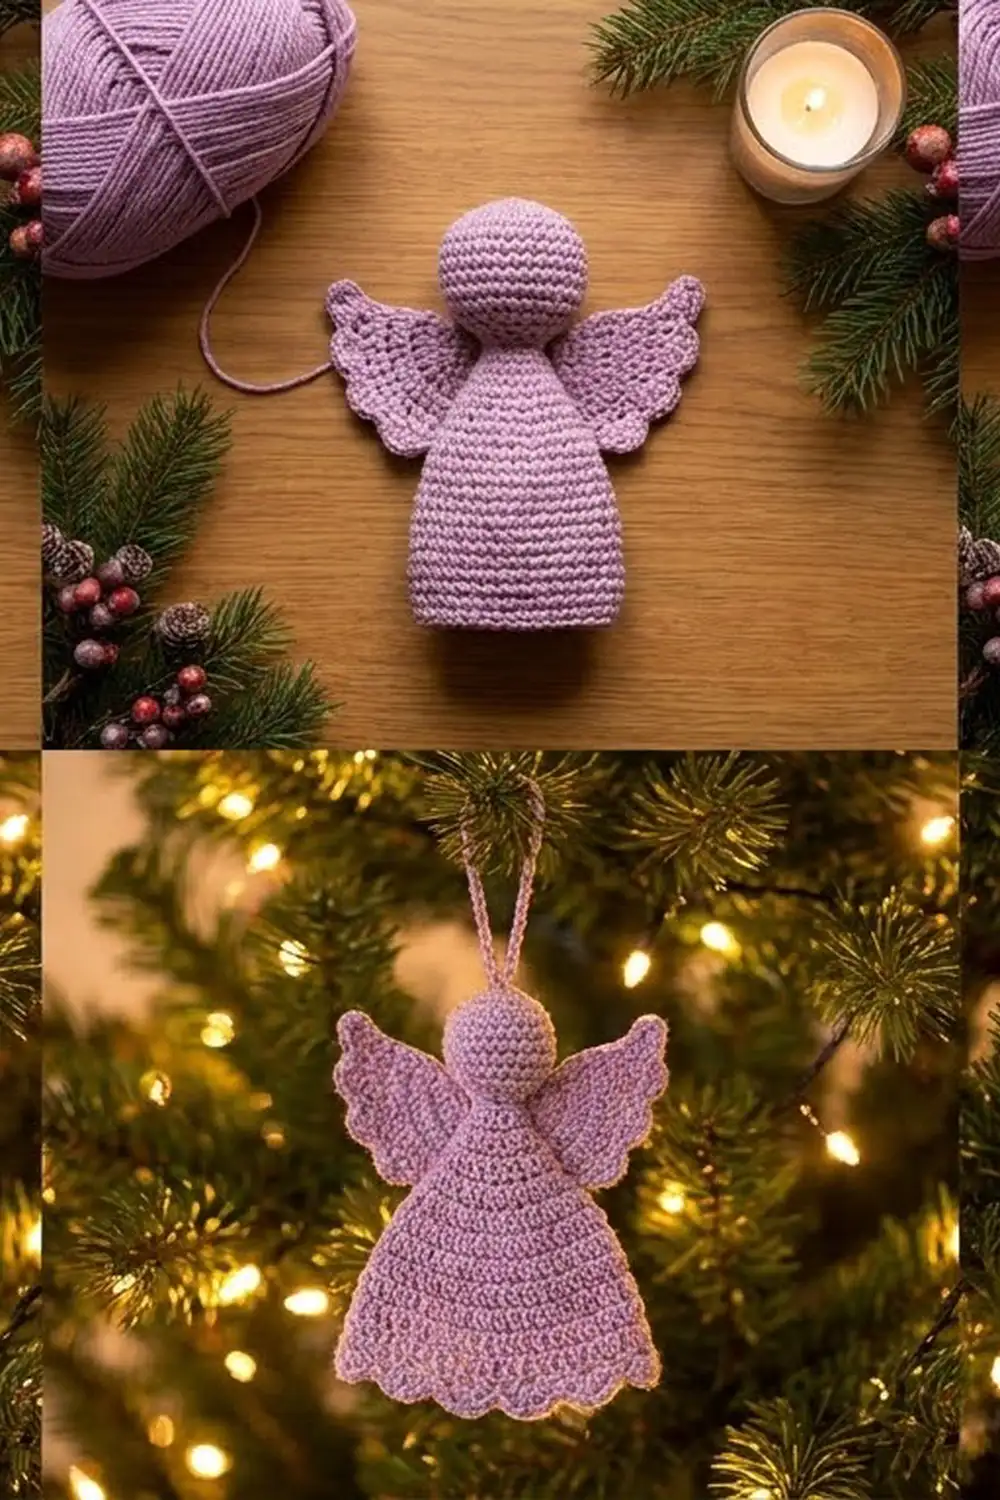
Here is the measurement chain to follow. Each group is 0.5 in (1.3 cm) wide and each row is 0.4 in (1.0 cm) tall. After 8 rows, the skirt is 4 in (10.2 cm) wide x 3.2 in (8.1 cm) tall. The scalloped border brings it to 4.25 in (10.8 cm) x 3.6 in (9.1 cm), and the 1 in (2.5 cm) head brings the angel to 4.5 in (11.4 cm) tall. If you match the gauge at Row 4, the rest of the measurements will follow.
Happy crocheting!