

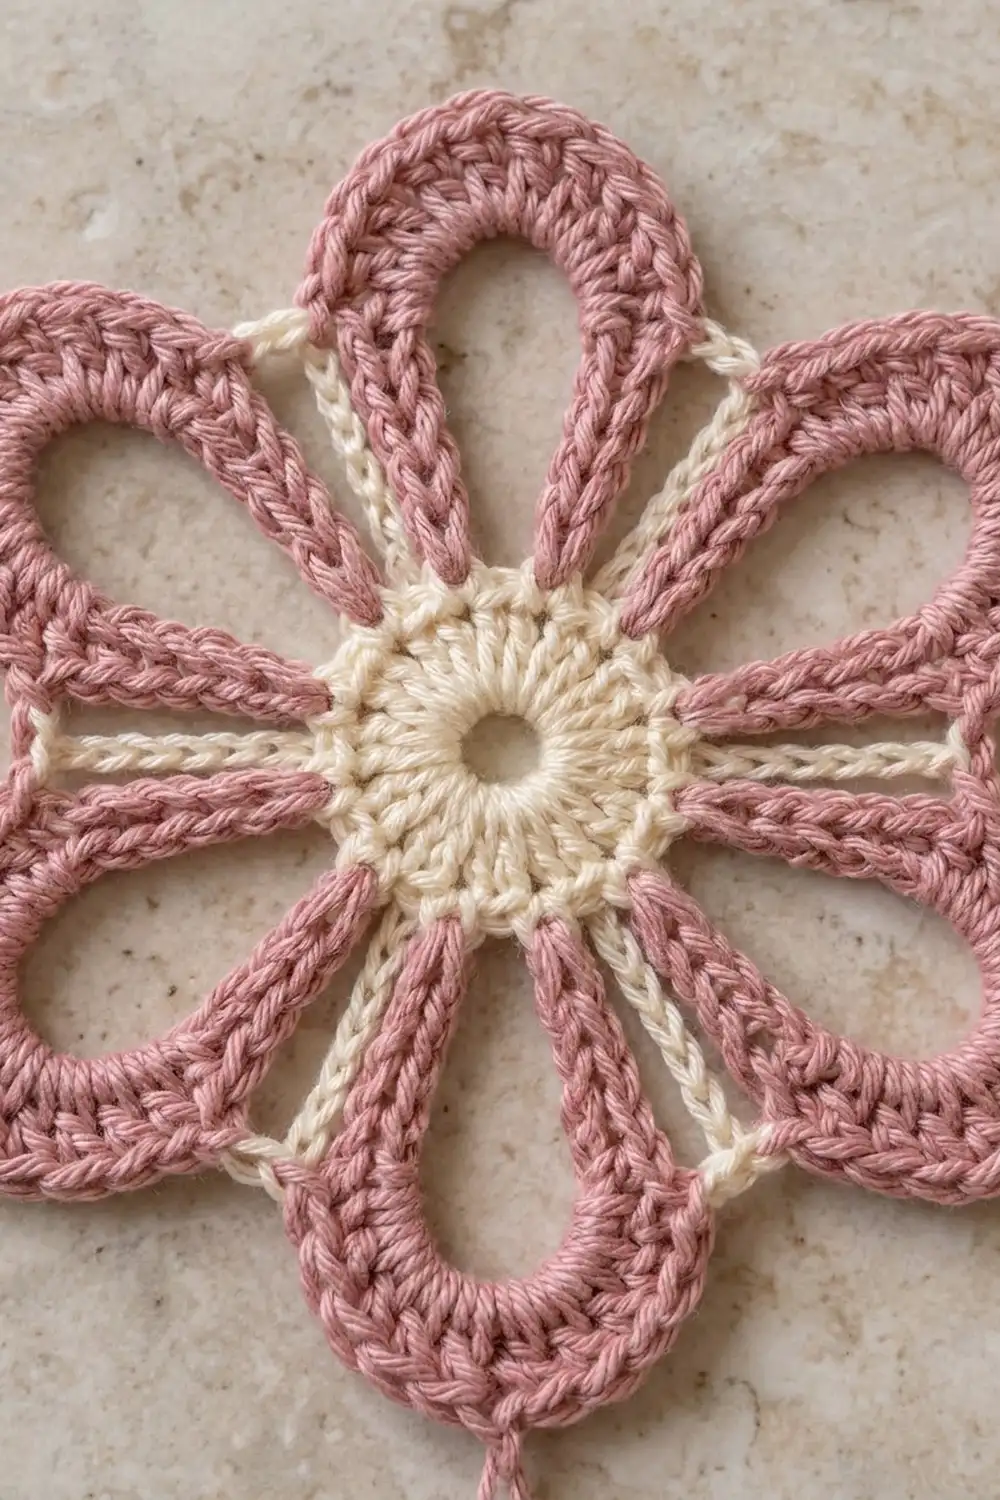
The Rosewood Loop Flower is an airy, eight-petal motif with a romantic vintage look. A small, solid cream center holds eight open teardrop petals in dusty rose. Each petal is a hollow loop wrapped in a thick, rounded band of stitches, so the flower looks bold even though most of it is open space.
The palette is soft and simple: a warm cream for the center and the little connecting bridges, plus a muted rose pink for the petals. The two colors contrast just enough to make the petal shapes stand out on any surface.
This pattern uses US crochet terms. The finished motif measures about 6.5 in (16.5 cm) across from petal tip to petal tip after blocking.
The motif is worked in the round. You make the cream center in two rounds, then switch to pink and chain eight long loops for the petals. Next you wrap each loop in a dense round of half double crochet. Last, you add eight tiny cream chain bridges that tie neighboring petals together and keep the flower in shape.
Finished Size and Construction
- Finished size: 6.5 in (16.5 cm) across, tip to tip, after blocking
- Skill level: Easy / advanced beginner
- Terminology: US crochet terms
- Yarn weight: DK / light (#3) cotton or cotton blend
- Hook: 3.5 mm (US E-4)
- Number of pieces: 1 single motif
- Layout: One round flower with 8 petals spaced evenly, 45 degrees apart
- Piece size: 6.5 in (16.5 cm) across
- Size before border: 6 in (15.2 cm) across the bare chain loops (Round 3)
- Border depth: The petal outline (Round 4) adds about 0.25 in (0.6 cm) on each side. The cream bridges (Round 5) sit inside the outline and add no width.
Materials
Yarn: Use a smooth DK cotton or cotton blend with good stitch definition. Mercerized cotton gives the crisp, rounded petal bands shown. Avoid fuzzy or very splitty yarns, because the long chain loops need to stay clean and even.
- Color A – Cream: 5 g, about 13 m (14 yd)
- Color B – Dusty Rose: 15 g, about 38 m (42 yd)
These quantities include a margin of about 20% for swatching, tails, and small tension differences.
Tools:
- 3.5 mm (US E-4) crochet hook
- 8 locking stitch markers
- Tapestry needle
- Scissors
- Blocking mat, rustproof pins, and a spray bottle
- Ruler or tape measure
Abbreviations (US Terms)
- ch – chain
- sl st – slip stitch
- sc – single crochet
- hdc – half double crochet
- dc – double crochet
- sk – skip
- st(s) – stitch(es)
- rep – repeat
- MR – magic ring
Special technique – working into a loop space: Insert the hook under the whole chain loop, not into the individual chains, and complete the stitch. The stitches cover the chain completely and slide along it, which gives the petals their smooth, solid band.
Gauge and Checkpoints
Exact gauge matters less here than it would for a garment, but it controls whether the petals lie flat. Make one test motif first and check it against the measurements below.
Gauge: Rounds 1–2 (the cream center) = 1.75 in (4.4 cm) across.
Checkpoints:
- After Round 1: The center measures 1 in (2.5 cm) across.
- After Round 2: The center measures 1.75 in (4.4 cm) across and lies flat.
- After Round 3: One ch-24 loop measures about 4.75 in (12.1 cm) along the chain. With the loops spread out, the motif is about 6 in (15.2 cm) across.
- After Round 4: Each outlined petal is about 1.25 in (3.2 cm) wide at its widest point and about 2.4 in (6.1 cm) long from the center edge to the tip. The motif measures about 6.5 in (16.5 cm) across.
- After Round 5: The cream bridges are about 0.6 in (1.5 cm) long and the petals sit evenly spaced without pulling.
If your center is too big (over 2 in / 5.1 cm), go down to a 3.25 mm hook. If it’s too small (under 1.5 in / 3.8 cm), go up to a 3.75 mm hook. If the center is on gauge but the petals ruffle, see Troubleshooting.
Pattern
Round 1 – Center (Color A, cream)
With Color A, make a magic ring.
Ch 3 (counts as first dc), work 15 dc into the ring. Join with a sl st to the top of the beginning ch-3. Pull the ring closed, but leave a small hole about 0.125 in (0.3 cm) across, as in the photo.
Stitch count: 16 dc.
Round 2 – Center Increase (Color A)
Ch 3 (counts as first dc), 1 dc in the same st. Work 2 dc in each remaining st around. Join with a sl st to the top of the beginning ch-3.
Stitch count: 32 dc (16 sts, each worked twice).
Fasten off Color A and weave in the tail on the wrong side. Check that the center is 1.75 in (4.4 cm) across.
Round 3 – Petal Loops (Color B, dusty rose)
Join Color B with a sl st in any dc of Round 2.
Ch 1 (does not count as a stitch). *Sc in the same/next st, ch 24, sk next 2 sts, sc in next st; rep from * 7 more times. Join with a sl st to the first sc.
Each petal uses exactly 4 stitches of Round 2: 1 sc, 2 skipped, 1 sc. Eight petals × 4 sts = 32 sts, so the round fits Round 2 exactly with no gaps or crowding. The last sc of one petal sits right beside the first sc of the next.
Stitch count: 16 sc and 8 ch-24 loops.
Lay the motif flat and fan the loops into a star. Each loop should measure about 4.75 in (12.1 cm) along the chain.
Round 4 – Petal Outline (Color B)
This round is the petal “border.” It turns each bare chain loop into the thick teardrop band.
Border gauge: 36 hdc fit snugly around one ch-24 loop. That is 1.5 hdc per chain, which is enough to cover the chain completely and curve around the tip without ruffling.
You start this round on the first sc of petal 1. For each petal, the sts are: sc (start), ch-24 loop, sc (end), then the next petal’s start sc.
Ch 1 (does not count). *Work 36 hdc into the next ch-24 loop space, sl st in the end sc of that petal, sl st in the start sc of the next petal; rep from * 7 more times, ending the last repeat with a sl st in the end sc of petal 8. Join with a sl st to the first sc of the round.
Stitch count: 288 hdc (8 petals × 36 hdc) plus 16 sl sts (2 per petal).
While working each loop, spread the hdc evenly:
- First leg: hdc 1–12
- Around the tip: hdc 13–24
- Second leg: hdc 25–36
Push the stitches along the chain as you go so they sit close together. The two legs of each petal will meet near the center, forming the double-stem look.
Fasten off Color B and weave in the ends through the hdc band.
Why the math works: The tip of each petal is between hdc 18 and 19, the exact middle of 36. Hdc 10 and hdc 27 are each 8–9 stitches away from the tip on opposite shoulders. Because those points are symmetrical, the bridges in Round 5 pull every petal evenly and the flower stays round.
Marking the Bridge Points
Count the hdc on each petal clockwise from the first leg (1 to 36). Place a marker in hdc 27 of every petal.
Hdc 10 of the next petal clockwise faces that marker across the gap. Count it as you work each bridge.
Round 5 – Cream Bridges (Color A)
Each bridge is worked separately, so the cream doesn’t have to travel across the pink.
For each bridge: Join Color A with a sc in hdc 27 of one petal (the marked st), working through both loops. Ch 3, then sc in hdc 10 of the next petal clockwise. Fasten off.
Rep for all 8 gaps around the flower.
Count per bridge: 2 sc + 3 ch. Total: 8 bridges = 16 sc + 24 ch.
Each bridge should measure about 0.6 in (1.5 cm). Petals sit 45 degrees apart, and at this radius the gap between two outlined petals is about 0.6 in (1.5 cm), so a ch-3 bridges it without pulling the petals together or letting them flop.
Weave the cream tails into the pink band on the wrong side, following the hdc so they don’t show through.
Final Blocking
- Weave in all ends before blocking: 2 for the center, 2 for the petals, and 16 for the bridges.
- Wet block or spray block. Cotton responds best to a full soak. Soak the motif in cool water for 10 minutes, then press out the water gently in a towel. Don’t wring it.
- Draw a guide: On the blocking mat, mark a 6.5 in (16.5 cm) circle and divide it into 8 equal sections, 45 degrees apart.
- Pin the center flat so it measures 1.75 in (4.4 cm) across.
- Pin each petal tip on one of the 8 guide lines at the 6.5 in (16.5 cm) circle.
- Shape the petals: Put a pin inside each loop at its widest point to open it into a smooth teardrop about 1.25 in (3.2 cm) wide.
- Straighten the bridges so each lies flat and straight.
- Let it dry completely, usually 6–12 hours, before unpinning.
Final Quality-Control Checklist
- Center is 1.75 in (4.4 cm) across, lies flat, and has a small, neat hole.
- Round 2 has exactly 32 dc.
- There are exactly 8 petal loops, each made with ch 24.
- Each petal has exactly 36 hdc with no visible chain showing.
- The two legs of each petal sit side by side near the center.
- Each of the 8 cream bridges runs from hdc 27 of one petal to hdc 10 of the next.
- The motif measures 6.5 in (16.5 cm) across in every direction.
- All ends are woven in securely and none are visible on the right side.
Troubleshooting
Petals ruffle or wave: You have too many stitches or your hdc are too loose. Make sure you have exactly 36 per loop, and keep your hdc height even.
Chain shows through the petal band: You have too few stitches, or they are bunched together. Slide the hdc along the loop to spread them evenly, and recount.
Petals are different lengths: One chain loop is off by a stitch or two. Count every ch 24 carefully, using a marker on chain 12 if it helps.
Center cups upward: Round 2 is too tight. Go up a hook size for the center only, or relax your tension on the dc.
Center ripples: Your dc are too loose or there are extra stitches. Recount to 32.
Bridges pucker the petals: Your chains are too tight. Work the ch 3 slightly looser, or use ch 4 if your hdc band is wider than 1.25 in (3.2 cm).
Motif is lopsided after blocking: The bridges are attached to the wrong stitches. Check that every bridge goes from hdc 27 to hdc 10.
Care
Hand wash in cool water with a mild detergent, press out the water in a towel, and dry flat, pinning it back into shape if needed. Don’t tumble dry, because the long loops can stretch.
Final Notes
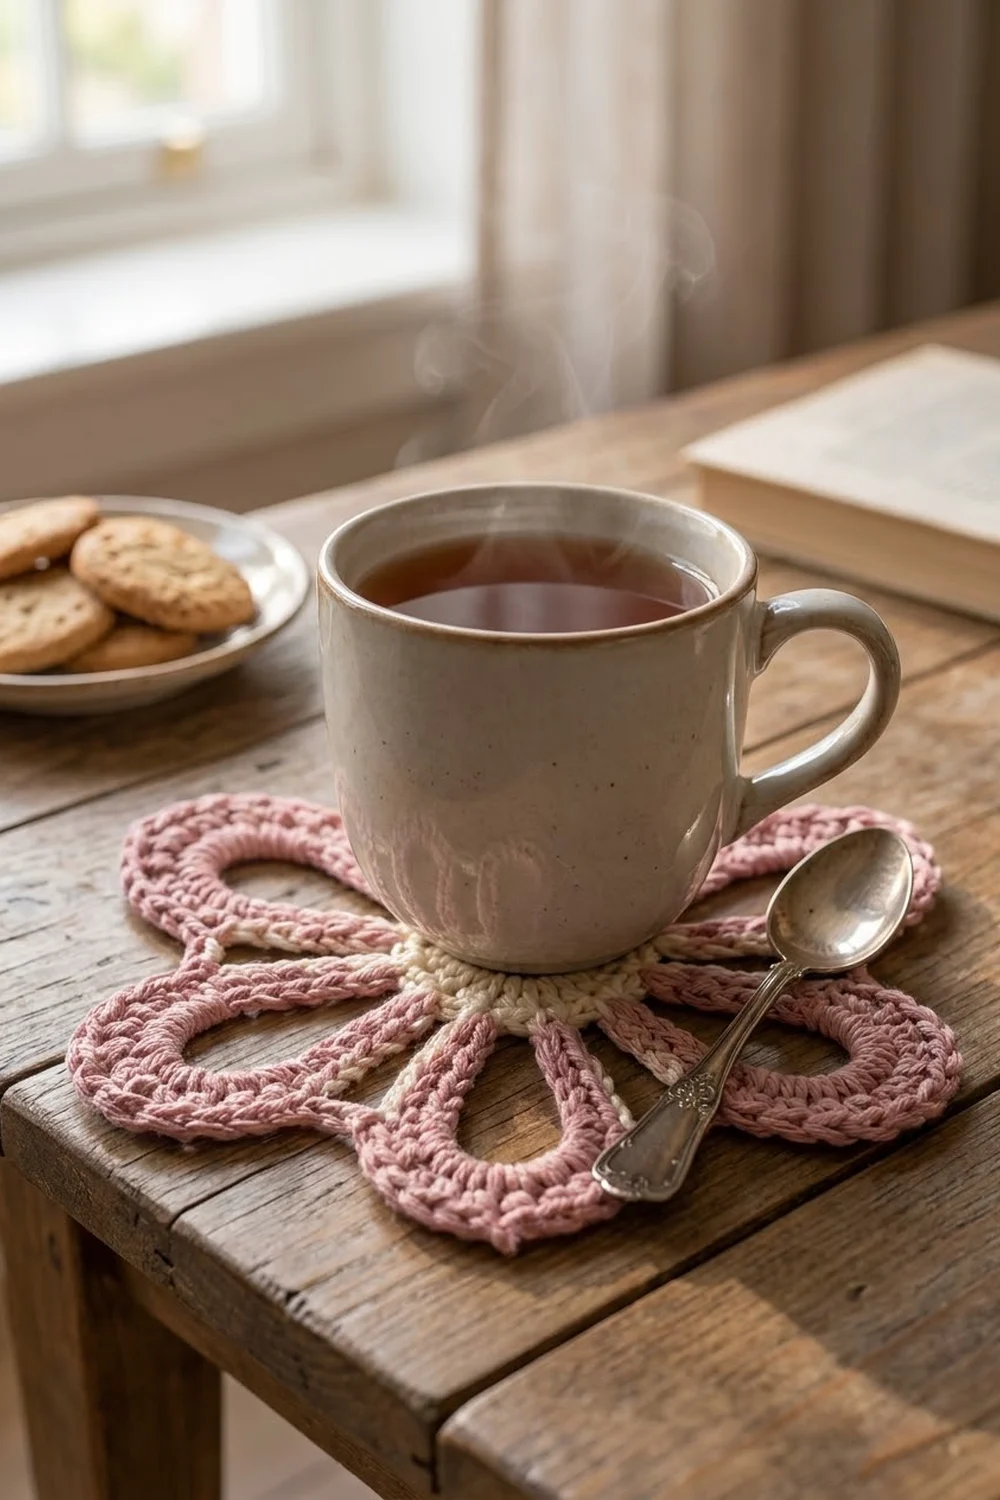
The measurements build on each other like a chain. A 1.75 in (4.4 cm) cream center has 32 stitches, and 8 petals use 4 stitches each. Eight ch-24 loops spread the motif to 6 in (15.2 cm). Then 36 hdc per petal add 0.25 in (0.6 cm) of solid band on each side, for a 6.5 in (16.5 cm) flower. Eight ch-3 cream bridges at hdc 27 and hdc 10 keep the petals evenly spaced.
If your center matches gauge, everything after it will fall into place. Take your time with the loop chains, keep the hdc even, and block carefully. The result is a light, lacy flower that’s pretty on its own.
Happy crocheting!