

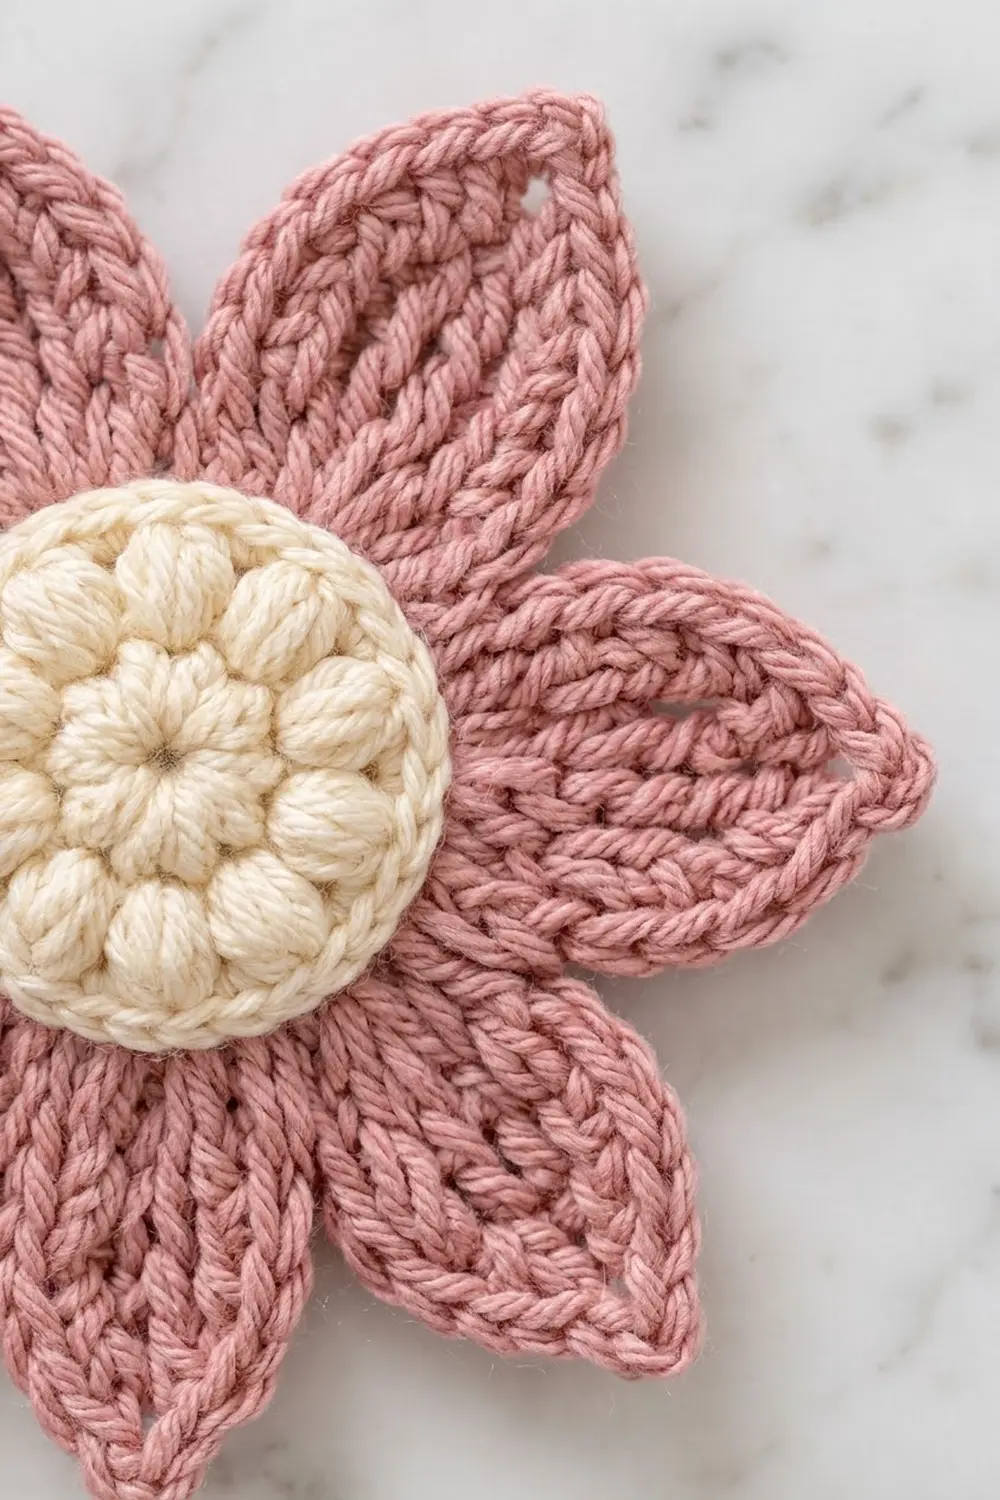
The Rosewood Daisy is a soft, romantic flower motif with a plump cream center and eight long, pointed petals in dusty rose. Each petal has a gentle center vein and a crisp outlined edge, so the flower looks tailored rather than ruffled.
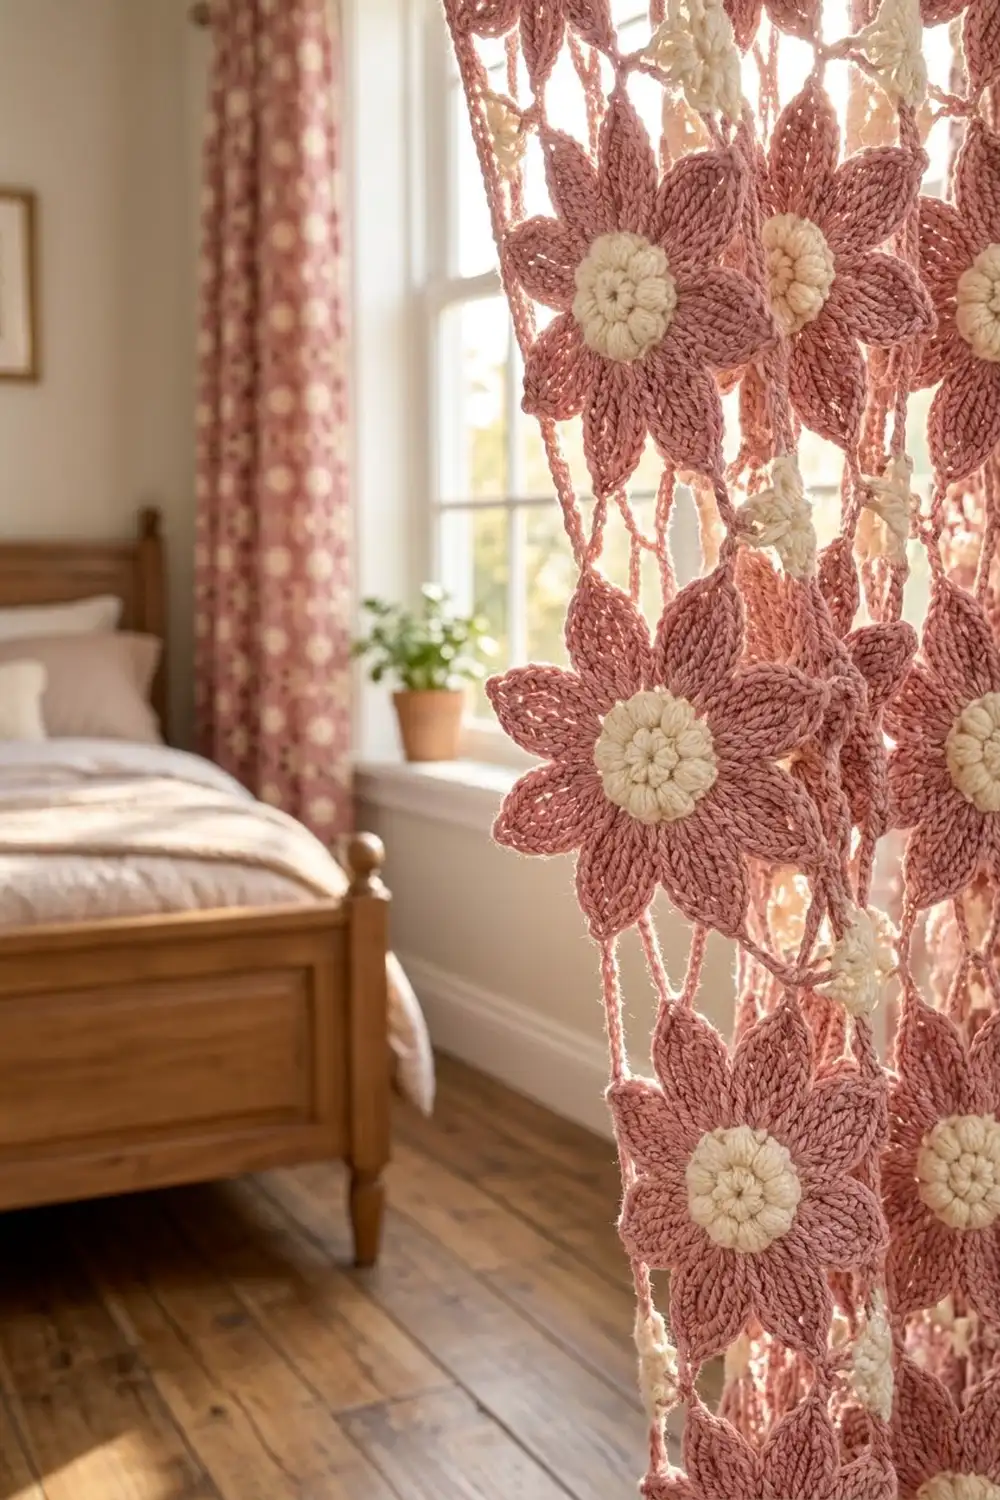
The look is vintage cottage: warm ivory against muted pink, with plenty of texture in a small space. It works as an appliqué, a coaster-sized accent, a gift-tag topper, or a motif to repeat in your own projects.
This pattern uses US crochet terms. The finished motif measures 5.25 in (13.3 cm) from petal tip to petal tip, with a center disc of 1.75 in (4.4 cm).
Construction is simple and continuous. You work a puff-stitch center in cream, change to pink to work a round of chain loops, then fill each loop with a pointed petal. A final single-crochet border outlines every petal and sharpens the tips.
Finished Size and Construction
- Finished size: 5.25 in (13.3 cm) tip to tip
- Skill level: Easy-intermediate
- Terminology: US crochet terms
- Yarn weight: DK (weight 3), cotton or cotton blend
- Hook: 4.0 mm (US G-6)
- Number of pieces: 1
- Layout: Single radial motif, 8 petals around a round center
- Center size: 1.75 in (4.4 cm) across
- Size before border: 5 in (12.7 cm) tip to tip
- Border depth: 0.125 in (0.3 cm) at each tip
- Petal length (finished): 1.75 in (4.4 cm) from the center edge to the tip
Materials
Yarn: Choose a smooth DK cotton or cotton blend for clear stitch definition and crisp petal points. Mercerized cotton gives the sharpest outline. A soft cotton-acrylic blend gives a slightly plumper puff center.
- Color A, Cream: 4 g, about 9 m (9.8 yd)
- Color B, Dusty Rose: 8 g, about 18 m (19.7 yd)
These quantities include a safety margin for a gauge swatch, weaving in ends, and minor tension differences.
Tools:
- 4.0 mm (US G-6) crochet hook
- Tapestry needle
- Scissors
- Stitch marker
- Rustproof pins and a blocking mat or folded towel
- Spray bottle with water
- Ruler or tape measure
Abbreviations (US Terms)
- ch – chain
- sl st – slip stitch
- sc – single crochet
- hdc – half double crochet
- dc – double crochet
- tr – treble crochet
- sk – skip
- sp – space
- st(s) – stitch(es)
- MR – magic ring
- yo – yarn over
Special stitch: Puff stitch (puff). (Yo, insert hook in the stitch, yo and pull up a loop to about 0.5 in / 1.3 cm tall) 3 times, giving 7 loops on the hook. Yo and pull through all 7 loops. Count each puff as 1 stitch.
Gauge and Checkpoints
Make the motif once as your test piece. A full motif uses so little yarn that it is the most accurate gauge swatch you can make.
Reference gauge: 18 sc and 20 rows = 4 in (10.2 cm) with a 4.0 mm hook.
Checkpoints:
- After Round 1: center measures 0.75 in (1.9 cm) across
- After Round 2: center measures 1.25 in (3.2 cm) across
- After Round 3: center measures 1.75 in (4.4 cm) across
- After Round 4: chain loops extend about 1 in (2.5 cm) beyond the center edge
- After Round 5: 5 in (12.7 cm) tip to tip
- After Round 6: 5.25 in (13.3 cm) tip to tip
If your center is too big (over 1.875 in / 4.8 cm after Round 3), go down to a 3.75 mm (US F-5) hook, or pull up shorter loops in your puffs.
If your center is too small (under 1.625 in / 4.1 cm after Round 3), go up to a 4.5 mm (US 7) hook.
Check the center before you start the petals. The petals scale with the center, so fixing it early keeps the whole motif on target.
Pattern
Center (Color A, Cream)
Round 1: Make a MR. Ch 1 (does not count as a stitch), work 8 sc into the ring. Pull the ring tight. Join with a sl st to the first sc. (8 sc)
Round 2: Ch 1 (does not count). Puff in next sc, ch 1; repeat from * 7 more times. Join with a sl st to the top of the first puff. (8 puffs + 8 ch-1 sps = 16 sts)
This is a growth round. The puffs make the raised clusters, and the ch-1 spaces keep them from crowding together.
Round 3: Ch 1 (does not count). Sc in the top of the next puff, 2 sc in the next ch-1 sp; repeat from * 7 more times. Join with a sl st to the first sc. (24 sc)
This is a conversion round: 16 sc worked one into each existing stitch or space (8 puffs + 8 ch-1 sps), plus 8 extra sc (the second sc in each ch-1 sp) = 24 sc. It gives the smooth outer edge of the cream disc.
Fasten off Color A, leaving a 6 in (15.2 cm) tail. Check that the center measures 1.75 in (4.4 cm) across. Expect a slight dome. That is part of the look.
Petal Foundation (Color B, Dusty Rose)
Round 4: Join Color B with a sl st in any sc of Round 3. Ch 1 (does not count), sc in the same st. Ch 10, sk next 2 sc, sc in next sc; repeat from * 6 more times. Ch 10, sk the last 2 sc, and join with a sl st to the first sc. (8 sc + 8 ch-10 loops)
Check the math: each repeat uses 3 Round 3 stitches (1 sc + 2 skipped). 8 repeats × 3 = 24, which matches Round 3 exactly.
Each ch-10 loop spans only 2 skipped stitches, so it folds into a long, narrow loop. That loop is the frame for one petal. When the petal stitches meet down the middle of the loop, they form the center vein.
Petals
Round 5: Do not turn. Work into the first ch-10 loop:
(Sc, hdc, 2 dc, 3 tr, ch 2, 3 tr, 2 dc, hdc, sc) all into the ch-10 loop, sl st in the next sc of Round 4; repeat from * 7 more times. The final sl st lands in the joining sc from Round 4.
Per petal: 14 sts (7 on each side) + 1 ch-2 tip sp, with 1 sl st in the valley.
Round total: 112 petal sts + 8 ch-2 tip sps + 8 valley sl sts.
Each half-petal builds from short to tall stitches (sc, hdc, dc, dc, tr, tr, tr), which gives the swelling leaf shape. The ch-2 at the top makes the sharp point.
Push the stitches together along each loop as you work so they cover the chain fully. Check that the motif measures 5 in (12.7 cm) tip to tip.
Border
The border is a single round of sc that outlines every petal. It adds 0.125 in (0.3 cm) at each tip, firms up the edges, and sharpens the points.
Border gauge: 18 sc = 4 in (10.2 cm), the same as the reference gauge. Work it at the same tension as your petals, not tighter.
Round 6: You should now be at the sl st in the valley between Petal 8 and Petal 1. Ch 1 (does not count).
Sc in each of the next 7 sts, (sc, ch 2, sc) in the ch-2 tip sp, sc in each of the next 7 sts, sl st in the next valley sl st; repeat from * 7 more times. The final sl st lands in the starting valley.
Per petal: 16 sc + 1 ch-2 tip sp, plus 1 valley sl st.
Round total: 128 sc + 8 ch-2 tip sps + 8 valley sl sts.
This is a conversion round. Per petal it has 14 sc worked one into each existing petal stitch, plus 2 extra sc at the tip, for 16 sc. Each valley sl st is worked one-for-one into the existing valley sl st. Across all 8 petals: 112 sc worked 1-per-stitch + 16 extra tip sc = 128 sc.
Why the math works: Each side of a petal had 7 stitches in Round 5 and gets exactly 7 sc in Round 6, so the sides lie flat with no ruffling or cupping. The only increases are the 2 sc around each tip, exactly where the edge has to turn a sharp corner. The valley sl st adds no height, so the petals stay clearly separated.
Fasten off, leaving a 6 in (15.2 cm) tail.
Final Blocking
- Weave in all ends on the wrong side. Run the cream tail around the back of the center and the pink tails along the back of the petal edges.
- Lay the motif right side up on a blocking mat or folded towel.
- Mist it evenly with water until damp but not dripping.
- Pin the center flat, and press gently to soften the dome if you prefer it less raised.
- Pin each petal tip through its ch-2 point. Space the 8 tips evenly so the flower measures 5.25 in (13.3 cm) tip to tip.
- Check opposite tips across four lines. All four measurements should match within 0.125 in (0.3 cm).
- Use your fingers to straighten each petal’s center vein so it runs straight from the center to the tip.
- Let it dry completely before unpinning, usually 4 to 8 hours.
Final Quality-Control Checklist
- Center measures 1.75 in (4.4 cm) across, with 8 distinct puffs.
- There are exactly 8 petals, evenly spaced.
- Each petal has 7 border sc on each side plus (sc, ch 2, sc) at the tip.
- No chain from Round 4 shows through the petal stitches.
- Each petal shows a visible center vein.
- All tips are sharp and pinned symmetrically.
- Motif measures 5.25 in (13.3 cm) tip to tip.
- All ends are woven in securely, with no tails visible on the front.
- The motif lies flat without cupping or ruffling.
Troubleshooting
Puffs look flat or messy: Pull each loop up to the same height before the final yo, and keep 3 wraps per puff.
Center cups upward strongly: Your Round 3 tension is tight. Go up half a hook size for the center, or block it firmly.
Center ruffles: Make sure you work exactly 2 sc per ch-1 sp, not 3.
Chain shows between petal stitches: Slide the stitches together along the loop as you work. If gaps persist, use a 9-chain loop instead.
Petals look stubby: Check that you are working full treble crochets, not double crochets, at the widest part.
Petals curl: Your border is too tight. Rework Round 6 with a relaxed tension, or block with extra pins along the petal sides.
Uneven petal spacing: Recount Round 4. Each repeat must skip exactly 2 sc.
Blunt tips: Make sure the ch-2 is worked in both Round 5 and Round 6, and pin through the point when blocking.
Care
Hand wash in cool water with mild detergent, press out the water in a towel, and dry flat. Reshape the petal tips while damp if needed.
Final Notes
The Rosewood Daisy follows a clear measurement chain. The cream center reaches 1.75 in (4.4 cm) after Round 3. The chain loops in Round 4 set the petal frames, and Round 5 fills them out to 5 in (12.7 cm) tip to tip. The border in Round 6 adds 0.125 in (0.3 cm) at each tip, for a finished 5.25 in (13.3 cm) flower.
The stitch counts follow the same logic: 8, then 16, then 24 stitches in the center, then 8 loops, then 14 stitches per petal, then 16 border sc per petal. If you hit each checkpoint, the motif comes out flat, symmetrical, and sharp-tipped every time.
Make one, block it well, and enjoy how much texture fits into such a small flower.
Happy crocheting!