

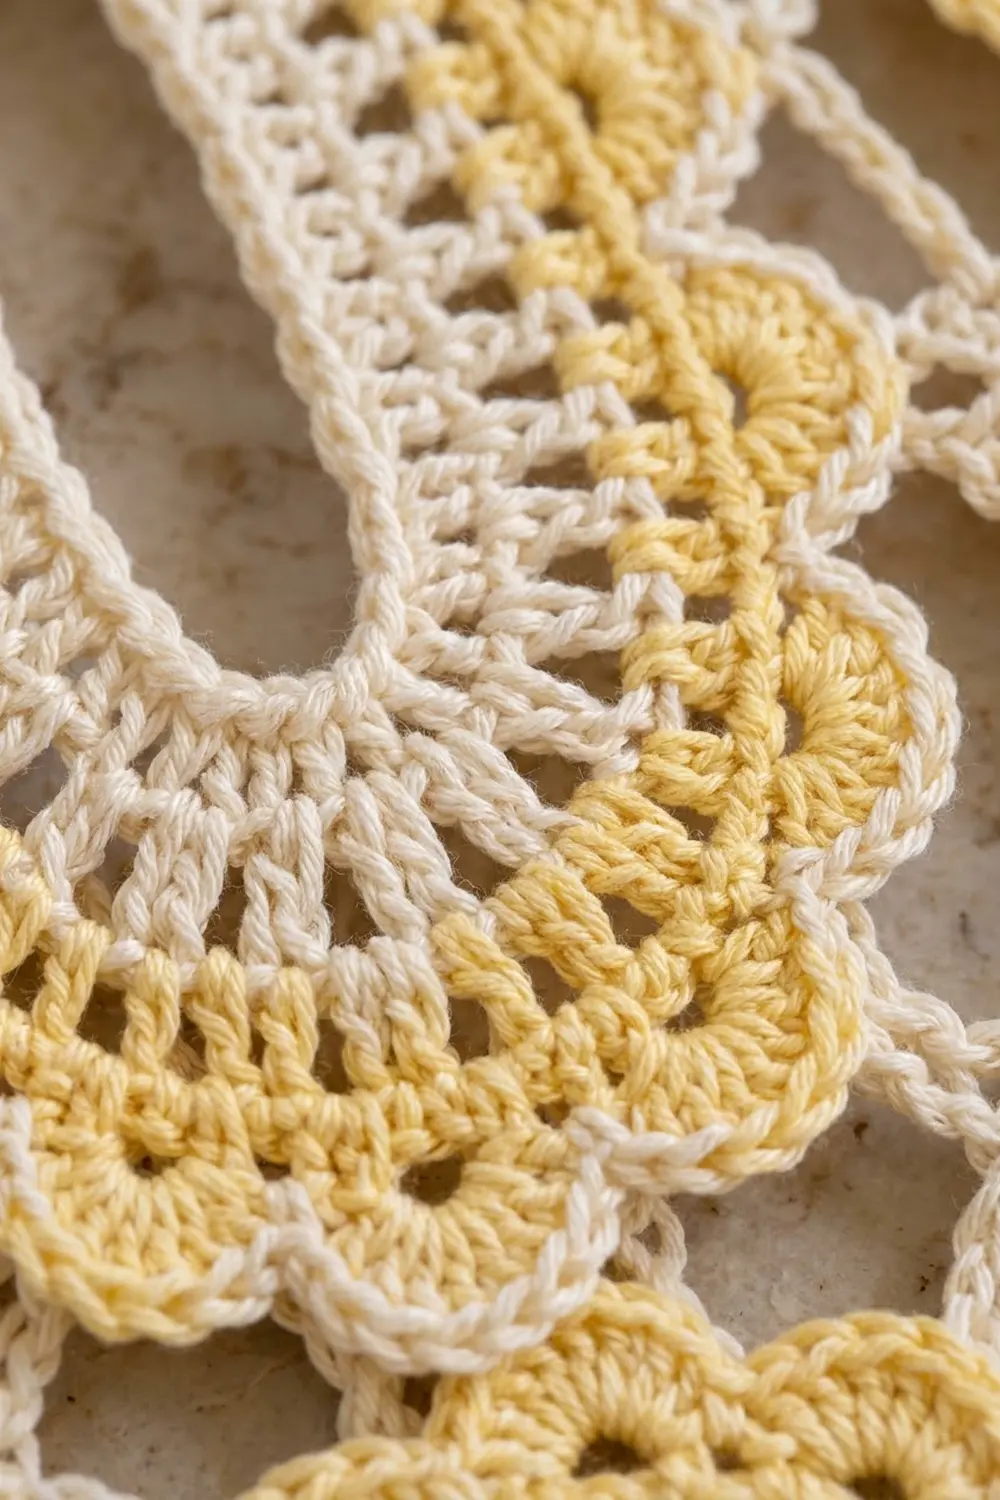
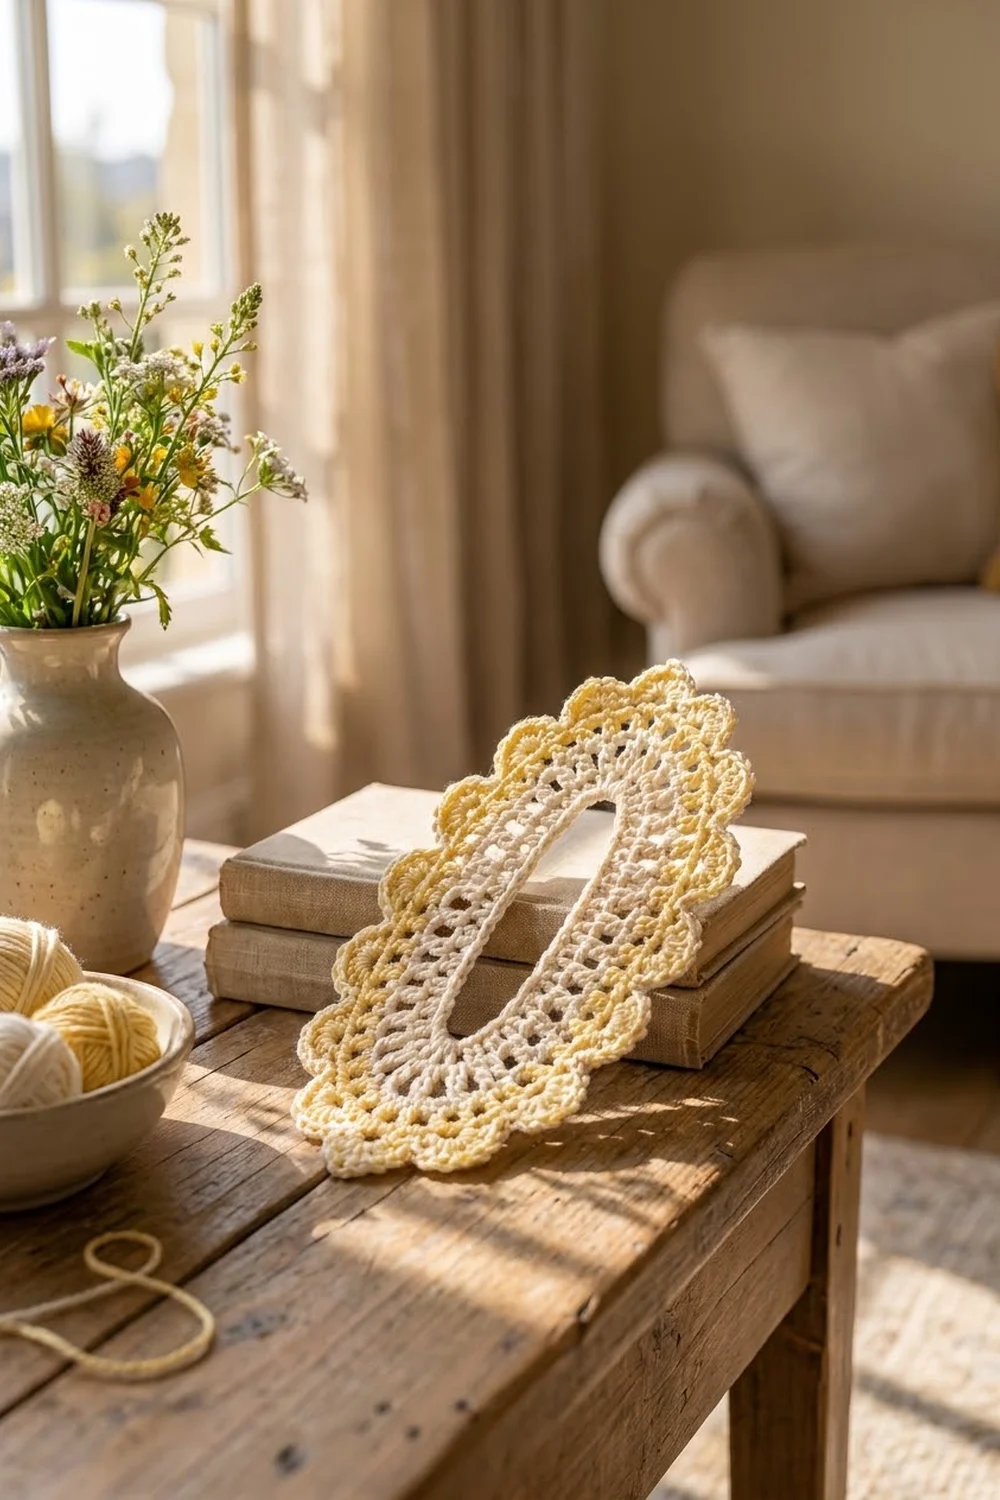
The Buttercream Lace Oval is a long, airy motif with a slim open center and a soft scalloped edge. It looks a little vintage, like an old tea-room doily, but it works up quickly in smooth cotton.
Two colors carry the design. Cream forms the center bands and the outline, and buttercup yellow fills the solid band and the scallops. Together they give a warm, sunny contrast without looking busy.
This pattern uses US crochet terms. The finished motif measures about 4.5 x 8 in (11.4 x 20.3 cm) after blocking.
You start with a chain ring and work in joined rounds around it. Increases go only at the two curved ends, so the long sides stay straight. Four body rounds build the oval, then three edging rounds add the eyelet arches, scallops, and cream outline.
Finished Size and Construction
- Finished size: 4.5 x 8 in (11.4 x 20.3 cm), blocked
- Skill level: Easy / advanced beginner
- Terminology: US crochet terms
- Yarn weight: Sport (CYC 2) mercerized cotton
- Hook: 3.25 mm (US D/3)
- Number of pieces: 1
- Layout: One single oval motif, no joining
- Piece size: 4.5 x 8 in (11.4 x 20.3 cm)
- Size before border (after Rnd 4): 3 x 6.5 in (7.6 x 16.5 cm)
- Border depth: 0.75 in (1.9 cm) on every edge
Materials
Pick a smooth, mercerized sport-weight cotton. It shows the scallops clearly, blocks crisply, and holds its shape better than a fuzzy or loosely plied yarn.
- Color A, Cream: 6 g, about 18 m (about 20 yd)
- Color B, Buttercup Yellow: 7 g, about 21 m (about 23 yd)
These amounts include a margin of about 40% for your gauge swatch, joins, and weaving in ends.
Tools
- 3.25 mm (US D/3) crochet hook
- 4 locking stitch markers
- Tapestry needle
- Scissors
- Blocking mat, rustproof pins, and a spray bottle
- Ruler or tape measure
Abbreviations (US Terms)
- ch – chain
- sl st – slip stitch
- sc – single crochet
- hdc – half double crochet
- dc – double crochet
- sk – skip
- st(s) – stitch(es)
- sp – space
- rnd – round
- beg – beginning
- [ ] x N – repeat the bracketed steps N times
Special stitch – Picot point: (sc, ch 3, sc) in the same stitch. It makes a small loop at the top of each scallop.
Standing sc: With a slipknot on the hook, insert the hook into the stitch and complete a sc as usual.
Gauge and Checkpoints
Gauge: 22 sc = 4 in (10.2 cm), or 5.5 sc per inch (2.5 cm). One sc round is about 0.2 in (0.5 cm) tall, and one dc round is about 0.4 in (1.0 cm) tall.
The motif itself is small, so it works as your test piece. Measure it laid flat, without stretching, at each checkpoint:
- After Rnd 1: about 1 x 4.75 in (2.5 x 12.1 cm)
- After Rnd 3: about 2.25 x 5.75 in (5.7 x 14.6 cm)
- After Rnd 4: about 3 x 6.5 in (7.6 x 16.5 cm)
- After Rnd 7, blocked: about 4.5 x 8 in (11.4 x 20.3 cm)
If it’s too big: Go down to a 3.0 mm hook, or work your starting chain more tightly.
If it’s too small: Go up to a 3.5 mm (US E/4) hook.
If the ends ruffle or cup: Check the end counts first. Your gauge is probably fine, but the increases need to match the pattern exactly.
The Oval Body
The ring has four zones. In every round, you work them in this order: Side A, End A, Side B, End B. Each round starts at the first stitch of Side A.
Foundation Ring
With Color A, ch 52. Make sure the chain isn’t twisted, then sl st into the first ch to form a ring.
The ring divides like this: Side A = 20 ch, End A = 6 ch, Side B = 20 ch, End B = 6 ch (20 + 6 + 20 + 6 = 52).
Place markers in the first ch of End A and the first ch of End B. Each side is about 3.6 in (9.1 cm) long.
Rnd 1 (Color A, solid sc band)
Ch 1. Then work:
- Side A: sc in each of the next 20 ch.
- End A: [sc in next 2 ch, 2 sc in next ch] x 2 (8 sts).
- Side B: sc in each of the next 20 ch.
- End B: [sc in next 2 ch, 2 sc in next ch] x 2 (8 sts).
Sl st to the first sc. Count: 56 sc (20 + 8 + 20 + 8). Move the markers up to the first sc of each end.
Rnd 2 (Color A, openwork posts)
Ch 4 (counts as dc + ch 1), sk next st. Then work:
- Side A: [dc in next st, ch 1, sk 1] x 9. Together with the beg ch-4, that makes 10 dc on this side.
- End A: [dc in next st, ch 1] x 8 (8 dc).
- Side B: [dc in next st, ch 1, sk 1] x 10 (10 dc).
- End B: [dc in next st, ch 1] x 8 (8 dc).
Sl st to the 3rd ch of beg ch-4. Count: 36 dc and 36 ch-1 sps (10 + 8 + 10 + 8 dc).
On the sides, the skipped stitches keep the band flat. On the ends, working into every stitch fans the posts out around the curve. This round makes the open, ladder-like cream band.
Rnd 3 (Color A, solid sc band)
Ch 1. Then work:
- Side A: [sc in dc, sc in ch-1 sp] x 10 (20 sc).
- End A: [sc in dc, sc in sp, sc in dc, 2 sc in sp] x 4 (20 sc).
- Side B: [sc in dc, sc in ch-1 sp] x 10 (20 sc).
- End B: [sc in dc, sc in sp, sc in dc, 2 sc in sp] x 4 (20 sc).
Sl st to the first sc. Count: 80 sc (20 + 20 + 20 + 20). Fasten off Color A. Move the markers to the first sc of each end.
Checkpoint: about 2.25 x 5.75 in (5.7 x 14.6 cm).
Rnd 4 (Color B, solid dc band)
Join Color B with a sl st in the first sc of Side A, then ch 3 (counts as the first dc). Work:
- Side A: dc in each of the next 19 sts (20 dc including the ch-3).
- End A: [2 dc in next st, dc in next st, 2 dc in next st, dc in next 2 sts] x 4 (28 dc).
- Side B: dc in each of the next 20 sts (20 dc).
- End B: [2 dc in next st, dc in next st, 2 dc in next st, dc in next 2 sts] x 4 (28 dc).
Sl st to the top of beg ch-3. Count: 96 dc (20 + 28 + 20 + 28). Don’t fasten off.
Checkpoint: about 3 x 6.5 in (7.6 x 16.5 cm). The sides should be straight and the ends should lie flat.
Scalloped Border
Border gauge: One scallop uses 4 stitches of Rnd 4, so it spans about 0.73 in (1.9 cm) of the straight side. The three border rounds together add 0.75 in (1.9 cm) of depth on every edge. That takes the motif from 3 x 6.5 in (7.6 x 16.5 cm) to 4.5 x 8 in (11.4 x 20.3 cm).
Rnd 5 (Color B, eyelet arches)
Ch 1, sc in the same st. Then work [ch 5, sk 3, sc in next st] around. On the last repeat, end with ch 5, sk 3, and sl st to the first sc instead of working a sc.
- Side A: 5 ch-5 arches (20 sts ÷ 4)
- End A: 7 ch-5 arches (28 sts ÷ 4)
- Side B: 5 ch-5 arches
- End B: 7 ch-5 arches
Count: 24 ch-5 arches (5 + 7 + 5 + 7). Each arch spans 3 skipped dc, which leaves the small eyelet under each scallop.
Rnd 6 (Color B, scallops)
Sl st into the first ch-5 arch. Work (sc, hdc, 5 dc, hdc, sc) in each arch around, then sl st to the first sc.
- Side A: 5 scallops = 45 sts
- End A: 7 scallops = 63 sts
- Side B: 5 scallops = 45 sts
- End B: 7 scallops = 63 sts
Count: 216 sts (24 scallops x 9). Fasten off Color B.
Rnd 7 (Color A, cream outline, conversion round)
Join Color A with a standing sc in the first sc of the first scallop on Side A. Then, for each scallop:
- sc in the hdc
- sc in the next 2 dc
- picot point in the center dc
- sc in the next 2 dc
- sc in the hdc
- sc in the last sc
For every following scallop, start with a sc in its first sc and repeat the same sequence. Sl st to the first sc and fasten off.
That gives each scallop 10 sc and 1 picot.
- Side A: 50 sc + 5 picots
- End A: 70 sc + 7 picots
- Side B: 50 sc + 5 picots
- End B: 70 sc + 7 picots
Count: (216 sts worked 1 per existing st) + (24 extra sc, one in each picot point) = 240 sc, plus 24 ch-3 picots.
Why the math works: The scallop repeat uses 4 stitches. Both the side count (20) and the end count (28) divide by 4 evenly, so you never get a partial scallop. The 8 extra stitches on each end in Rnd 4 give the outer arches enough length to lie flat around the curve, and the straight sides need no extra stitches.
Final Blocking
- Weave in all ends along same-color stitches. Trim them to about 0.25 in (0.6 cm).
- Mist the motif lightly with water until it’s evenly damp, not dripping.
- Lay it on the blocking mat and gently shape it into an oval 4.5 x 8 in (11.4 x 20.3 cm).
- Pin the two long sides straight first, about 3.6 in (9.1 cm) apart along each side’s straight section.
- Open the center slot to about 0.7 in (1.8 cm) wide, and pin inside it at both ends if needed.
- Pin each picot point outward so every scallop forms a clean, even curve.
- Let it dry completely before you unpin it. For a crisper finish, mist it with light spray starch while it’s still pinned.
Final Quality-Control Checklist
- The motif measures 4.5 x 8 in (11.4 x 20.3 cm) with the long sides straight.
- The center slot is open, even, and not twisted.
- Rnd 2 shows 36 separate dc posts with clear spaces between them.
- The yellow band has 96 dc and lies flat at both ends.
- There are 24 scallops: 5 on each side and 7 on each end.
- Every scallop has an eyelet underneath it and one cream picot on top.
- The color changes sit at the start of Side A, where they’re least visible.
- All ends are woven in securely on the back.
Troubleshooting
Ends cup upward: You probably skipped increases in Rnd 1, 3, or 4. Recount each end. They should have 8, 20, and 28 stitches.
Ends ruffle: You added extra increases, or your dc are loose. Recount, or go down one hook size for Rnd 4.
Sides curve inward: The side stitches are tighter than the end stitches. Relax your tension on the straight sections.
Center slot twisted: The foundation chain was twisted when you joined it. Rip back and rejoin it flat.
Scallops pull or pucker: Your Rnd 7 sc are too tight. Work them more loosely, or use a 3.5 mm hook for that round only.
Scallops won’t fit the count: Check Rnd 4. It must have exactly 96 dc, divided 20, 28, 20, 28.
Care
Hand wash in cool water with a mild soap, press out the water in a towel, and lay flat to dry. Re-pin the scallops while it’s damp if they need reshaping.
Final Notes
The measurement chain is short and easy to check. The 52-chain ring sets the straight sides at about 3.6 in (9.1 cm). Rnd 1 brings the motif to 1 x 4.75 in (2.5 x 12.1 cm), and Rnd 3 brings it to 2.25 x 5.75 in (5.7 x 14.6 cm). Rnd 4 finishes the body at 3 x 6.5 in (7.6 x 16.5 cm). The 0.75 in (1.9 cm) border then completes the 4.5 x 8 in (11.4 x 20.3 cm) motif.
If each checkpoint matches, the finished piece will too. Use the motif on its own as a doily, a bookmark-style accent, or a pretty table decoration.
Happy crocheting!