

This little angel is a light, lacy ornament in a single shade of soft ivory cotton. She has a round stuffed head, two open fan-shaped wings, and a flared triangular skirt. The skirt starts as a solid bodice, then opens into radiating spokes, a row of small fans, and a scalloped hem.
The look is classic and quiet: one neutral color, crisp stitch definition, and plenty of open space so light shows through. You can hang her on a tree or tie her to a gift. This pattern covers one finished angel.
The pattern uses US crochet terms. The finished ornament is about 3.75 in (9.5 cm) tall without the hanging loop. The wingspan is about 3.5 in (8.9 cm) and the hem is about 3.25 in (8.3 cm) wide.
Construction is simple. First you crochet the head as a small stuffed ball. Then you work the body flat in turned rows, from a ring at the neck down to the hem. The wings are worked straight into the shoulder edges of the body, so the only sewing is attaching the head and adding the loop.
Finished Size and Construction
- Finished size: 3.75 in (9.5 cm) tall, 3.5 in (8.9 cm) wingspan, 3.25 in (8.3 cm) hem width
- Skill level: Intermediate (small scale, working around posts)
- Terminology: US
- Yarn weight: #1 super fine / fingering-weight cotton, or size 3 crochet thread
- Hook: 2.25 mm (US B/1)
- Number of pieces: 1 ornament (a head plus a lace body, with the wings worked onto the body)
- Layout: single standalone angel, no joining
- Head size: 1 in (2.5 cm) diameter
- Skirt size before border: 2.75 in (7.0 cm) wide x 2.25 in (5.7 cm) long
- Border depth: 0.5 in (1.3 cm)
Materials
Choose a smooth mercerized or combed cotton in fingering weight. Cotton holds its shape after blocking and shows the lace clearly. Avoid fuzzy or very soft acrylics, which blur the spokes and let the wings droop.
- Ivory / cream cotton: 10 g, about 34 m (37 yd)
- Fiberfill: a small pinch, about 1 g
These amounts include a margin of roughly 30 percent for your gauge check and tails.
Tools:
- 2.25 mm (US B/1) crochet hook
- Tapestry needle
- Scissors
- 1 stitch marker
- Blocking mat and rustproof pins
- Spray starch or diluted fabric stiffener (optional)
Abbreviations (US Terms)
- ch – chain
- sl st – slip stitch
- sc – single crochet
- hdc – half double crochet
- dc – double crochet
- inc – 2 sc in the same stitch
- dec – sc2tog (single crochet 2 together)
- MR – magic ring
- st(s) – stitch(es)
- sp(s) – space(s)
- beg – beginning
- RS – right side
Special stitches:
- Fan: 3 dc in the same space.
- Scallop: (sc, hdc, 5 dc, hdc, sc) in the same ch-5 loop.
- Around the post (row end): insert the hook around the whole end stitch of a row, not into its top loops.
Gauge and Checkpoints
Gauge isn’t critical for an ornament, but it keeps the head, wings, and skirt in proportion. Make the head first and use it as your swatch.
- Single crochet: 8 sc = 1 in (2.5 cm)
- Double crochet: 7 dc = 1 in (2.5 cm); 3 dc rows = 1 in (2.5 cm)
Checkpoints:
- Head, after stuffing: 1 in (2.5 cm) diameter
- Body after Row 2: 1 in (2.5 cm) wide, 0.75 in (1.9 cm) long including the ring
- Body after Row 4: 2 in (5.1 cm) wide, 1.5 in (3.8 cm) long
- Body after Row 6: 2.75 in (7.0 cm) wide, 2.25 in (5.7 cm) long
If your head is larger than 1.25 in (3.2 cm), go down to a 2 mm hook. If it’s smaller than 0.75 in (1.9 cm), go up to a 2.5 mm hook. Check again at Row 2 of the body. Blocking can adjust lace width, but stitch height still matters.
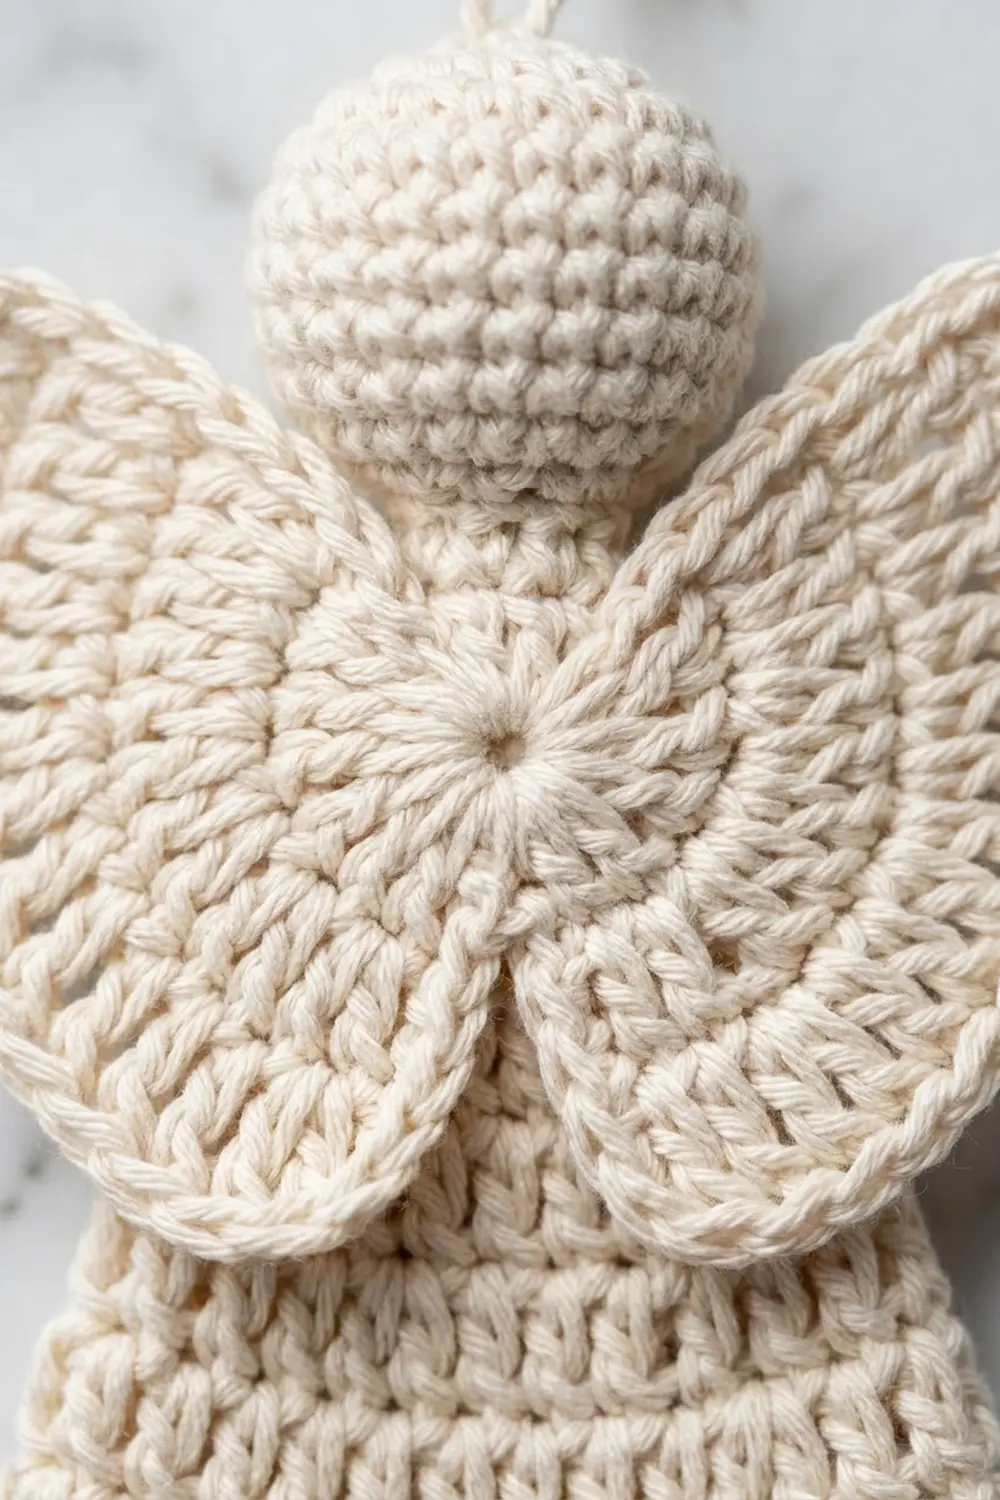
Head
Work in continuous spiral rounds and don’t join. Place a marker in the first stitch of each round.
Rnd 1: 6 sc in MR. (6 sts)
Rnd 2: Inc in each st around. (12 sts)
Rnd 3: [Sc in next st, inc] 6 times. (18 sts)
Rnd 4: [Sc in next 2 sts, inc] 6 times. (24 sts)
Rnds 5–8: Sc in each st around. (24 sts each round)
Rnd 9: [Sc in next 2 sts, dec] 6 times. (18 sts)
Rnd 10: [Sc in next st, dec] 6 times. (12 sts)
Stuff firmly so the head is round, not lumpy. Use the back end of the hook to push stuffing into the top half.
Rnd 11: Dec 6 times. (6 sts)
Fasten off, leaving a 10 in (25.4 cm) tail. Thread the tail through the front loops of the last 6 sts and pull the hole closed. Keep this tail for sewing.
Checkpoint: the head measures 1 in (2.5 cm) across. You can leave the starting tail at the magic ring for the hanging loop, or weave it in now.
Body
The body is worked flat in rows from the neck down. Turn at the end of every row. Row 1 is the RS.
Ring: Ch 4, sl st in first ch to form a ring.
Row 1 (RS): Ch 3 (counts as dc), 4 dc in ring, turn. (5 dc)
Row 2 (bodice): Ch 3 (counts as dc), dc in first st, dc in next 3 dc, 2 dc in top of beg ch-3, turn. (7 dc)
This short solid section is the bodice right under the head.
Checkpoint: 1 in (2.5 cm) wide, 0.75 in (1.9 cm) long including the ring.
Row 3 (spokes): Ch 4 (counts as dc + ch 1), [dc in next dc, ch 1] 5 times, dc in top of beg ch-3, turn. (7 dc, 6 ch-1 sps)
Row 4: Ch 4 (counts as dc + ch 1), dc in first st, [ch 1, dc in next dc] 5 times, ch 1, (dc, ch 1, dc) in 3rd ch of beg ch-4, turn. (9 dc, 8 ch-1 sps)
The extra dc at each edge adds one spoke on each side, which widens the skirt.
Checkpoint: 2 in (5.1 cm) wide, 1.5 in (3.8 cm) long.
Row 5 (long spokes): Ch 5 (counts as dc + ch 2), [dc in next dc, ch 2] 7 times, dc in 3rd ch of beg ch-4, turn. (9 dc, 8 ch-2 sps)
This row adds no new spokes. The longer ch-2 spaces spread the same 9 spokes outward, which gives the skirt its radiating lines.
Row 6 (fans): Ch 1, sc in first dc, [fan in next ch-2 sp, sc in next dc] 8 times, working the last sc in 3rd ch of beg ch-5, turn. (8 fans, 9 sc; 33 sts total)
Checkpoint (size before border): 2.75 in (7.0 cm) wide, 2.25 in (5.7 cm) long. Don’t fasten off, because the border continues from here.
Wings
Each wing is a small three-row fan worked around the end stitch of Row 2 on one side of the body. Work both wings the same way.
Wing Row 1: With RS facing, join thread around the post of the end stitch at one side of Row 2. Ch 4 (counts as dc + ch 1), [dc, ch 1] 3 times around the same post, dc around the same post, turn. (5 dc, 4 ch-1 sps)
The fan should open outward and slightly upward, toward the head.
Wing Row 2: Ch 5 (counts as dc + ch 2), [dc in next dc, ch 2] 3 times, dc in 3rd ch of beg ch-4, turn. (5 dc, 4 ch-2 sps)
Wing Row 3 (loop edge): Ch 1, sc in first dc, [ch 3, sc in next ch-2 sp, ch 3, sc in next dc] 4 times, working the last sc in 3rd ch of beg ch-5. (9 sc, 8 ch-3 loops)
Fasten off. Repeat at the other end of Row 2.
Checkpoint: each wing reaches about 1.25 in (3.2 cm) out from the body. That gives a wingspan of about 3.5 in (8.9 cm): 1 in (2.5 cm) of bodice plus 1.25 in (3.2 cm) per wing.
Assembly
- Position the head so its closed bottom sits directly over the ring at the top of the body.
- Using the head tail, sew through the ring and the tops of the Row 1 stitches. Go around twice so the head can’t tilt.
- Pull the tail snug to form a slight neck, then weave it into the head.
- Hanging loop: join thread at the magic ring on top of the head, or use the starting tail. Ch 20, then sl st in the same spot. Fasten off and weave in. The loop stands about 1 in (2.5 cm) tall.
Border
The border is the scalloped hem. Work it across the bottom edge of the skirt only. Leave the side edges plain so the triangle shape stays clean.
Border gauge: each ch-5 arch spans one fan. It measures about 0.35 in (0.9 cm) before blocking and opens to about 0.4 in (1.0 cm) after blocking.
Border Row 1 (arches): Continuing from Row 6, ch 1, sc in first sc, [ch 5, skip next fan, sc in next sc] 8 times, turn. (9 sc, 8 ch-5 arches)
Border Row 2 (scallops): Ch 1, [scallop in next ch-5 arch] 8 times, sl st in last sc of Border Row 1. (8 scallops of 9 sts each; 72 sts total)
Fasten off and weave in.
Why the math works: Row 5 has 8 spaces, so Row 6 has 8 fans separated by 9 sc. Border Row 1 puts one arch over each fan and anchors it on the sc on either side, which gives exactly 8 arches. Border Row 2 puts one scallop in each arch, so you get 8 scallops. The number of scallops is even and every repeat is the same, so the center of the hem falls exactly between scallops 4 and 5. That point is directly under the bodice’s center. At 0.4 in (1.0 cm) per scallop, 8 scallops make the 3.25 in (8.3 cm) hem. The border adds 0.5 in (1.3 cm) of depth, bringing the skirt to 2.75 in (7.0 cm) long.
Final Blocking
- Weave in all ends before blocking.
- Wet the body and wings in cool water. Keep the head as dry as you can.
- Press out the extra water in a towel. Don’t wring.
- Lay the angel flat, RS up, on a blocking mat.
- Pin the bottom tip of each scallop so the hem measures 3.25 in (8.3 cm).
- Pin the skirt so it is 2.75 in (7.0 cm) long from the ring to the hem.
- Open each wing into a fan and pin the tip of each ch-3 loop. Check that the wingspan is 3.5 in (8.9 cm).
- Straighten the spokes with a pin or needle so they radiate evenly.
- If you’re using spray starch, mist it on now for a crisper ornament.
- Let the angel dry completely before unpinning, usually 6 to 8 hours.
Final Quality-Control Checklist
- The head is 1 in (2.5 cm) across, round, and firmly stuffed.
- The head sits centered over the bodice and doesn’t wobble.
- Body Row 6 has 8 fans and 9 sc.
- The border has 8 even scallops of 9 sts each.
- The hem measures 3.25 in (8.3 cm).
- Both wings have 8 ch-3 loops and match in size.
- The wingspan is 3.5 in (8.9 cm).
- Total height is 3.75 in (9.5 cm) without the loop.
- All ends are woven in and trimmed.
Troubleshooting
Head looks pointed or flat. Stuff in small pieces and shape it with your fingers before Rnd 11.
Skirt curls or cups. The spokes are too tight. Loosen your ch-2 spaces in Row 5, or block more firmly.
Skirt ruffles. Your chains are too loose. Go down a hook size for Rows 3–6 only.
Wings flop downward. Join each wing higher on the Row 2 post, and starch after blocking.
Wings are different sizes. Count the loops on Wing Row 3. Each wing needs exactly 9 sc and 8 loops.
Scallops lean to one side. In Border Row 1, skip each fan completely and anchor on the sc between fans.
Hem is narrower than 3.25 in (8.3 cm). While the piece is damp, pin each scallop tip outward and let it dry fully.
Care
Hand wash in cool water with mild soap, press flat in a towel, then reshape and pin to dry. Store the angel flat or hanging, away from direct sunlight, so the ivory doesn’t yellow.
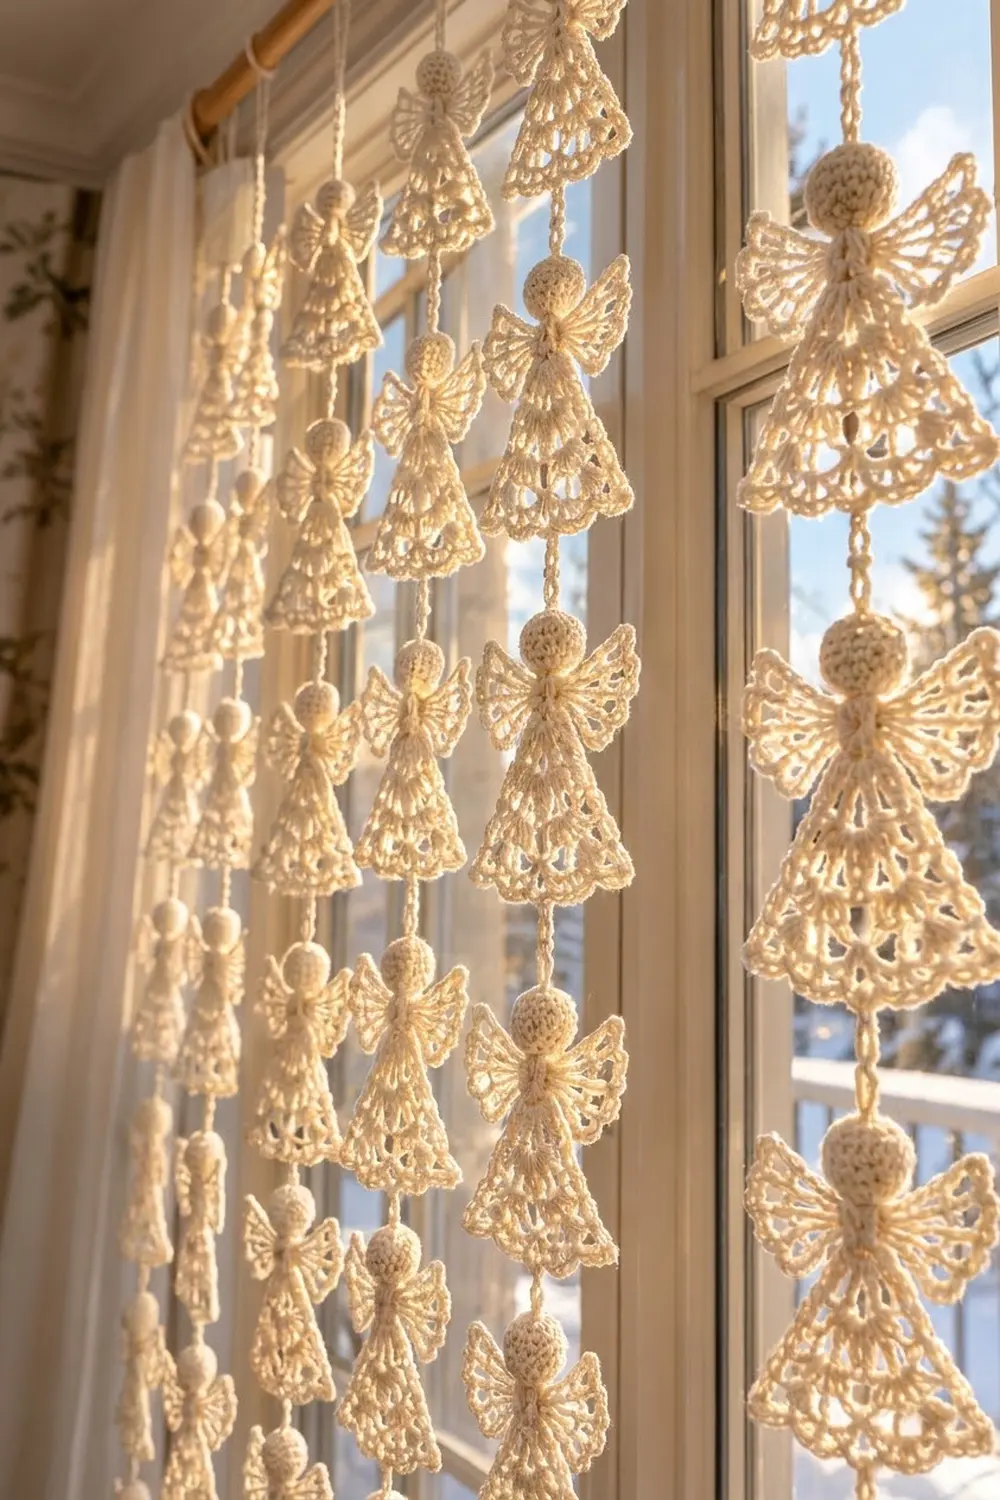
Final Notes
Every size in this angel follows one chain of measurements. The 1 in (2.5 cm) head sets the scale, and the bodice matches it at 1 in (2.5 cm) wide after Row 2. The skirt grows to 2 in (5.1 cm) at Row 4 and 2.75 in (7.0 cm) at Row 6. The border adds 0.5 in (1.3 cm) of depth and opens the hem to 3.25 in (8.3 cm). Each wing adds 1.25 in (3.2 cm) for a 3.5 in (8.9 cm) wingspan. Head plus skirt gives a finished height of 3.75 in (9.5 cm).
If your checkpoints match at each stage, your angel will match too. Make one, check her against the numbers, and then make as many as your tree needs.
Happy crocheting!