

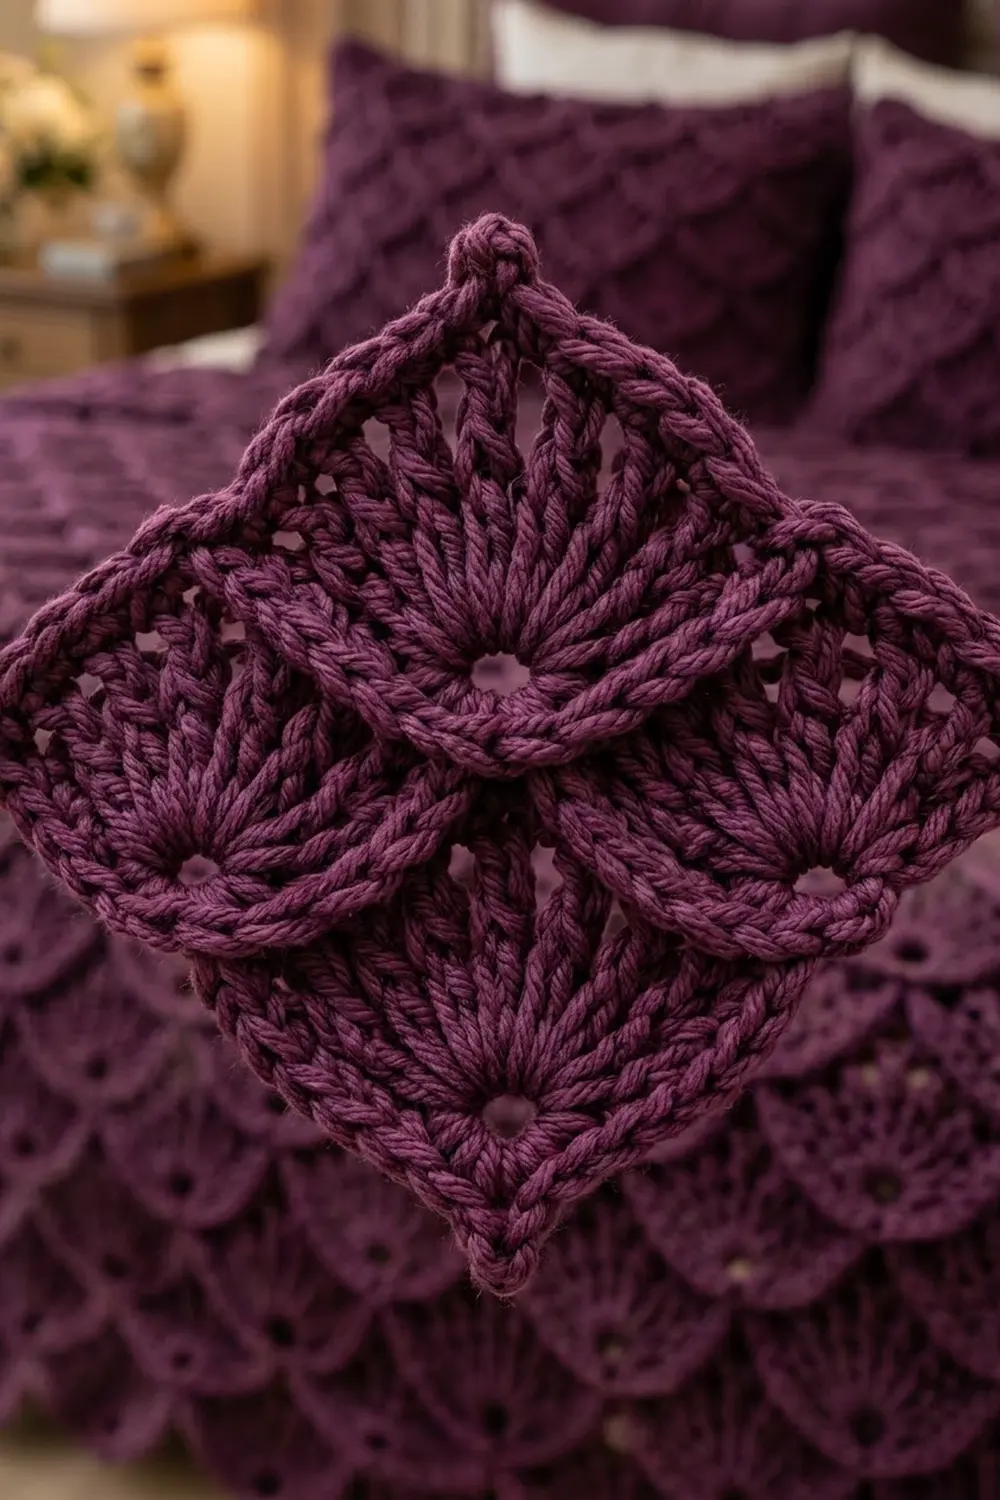
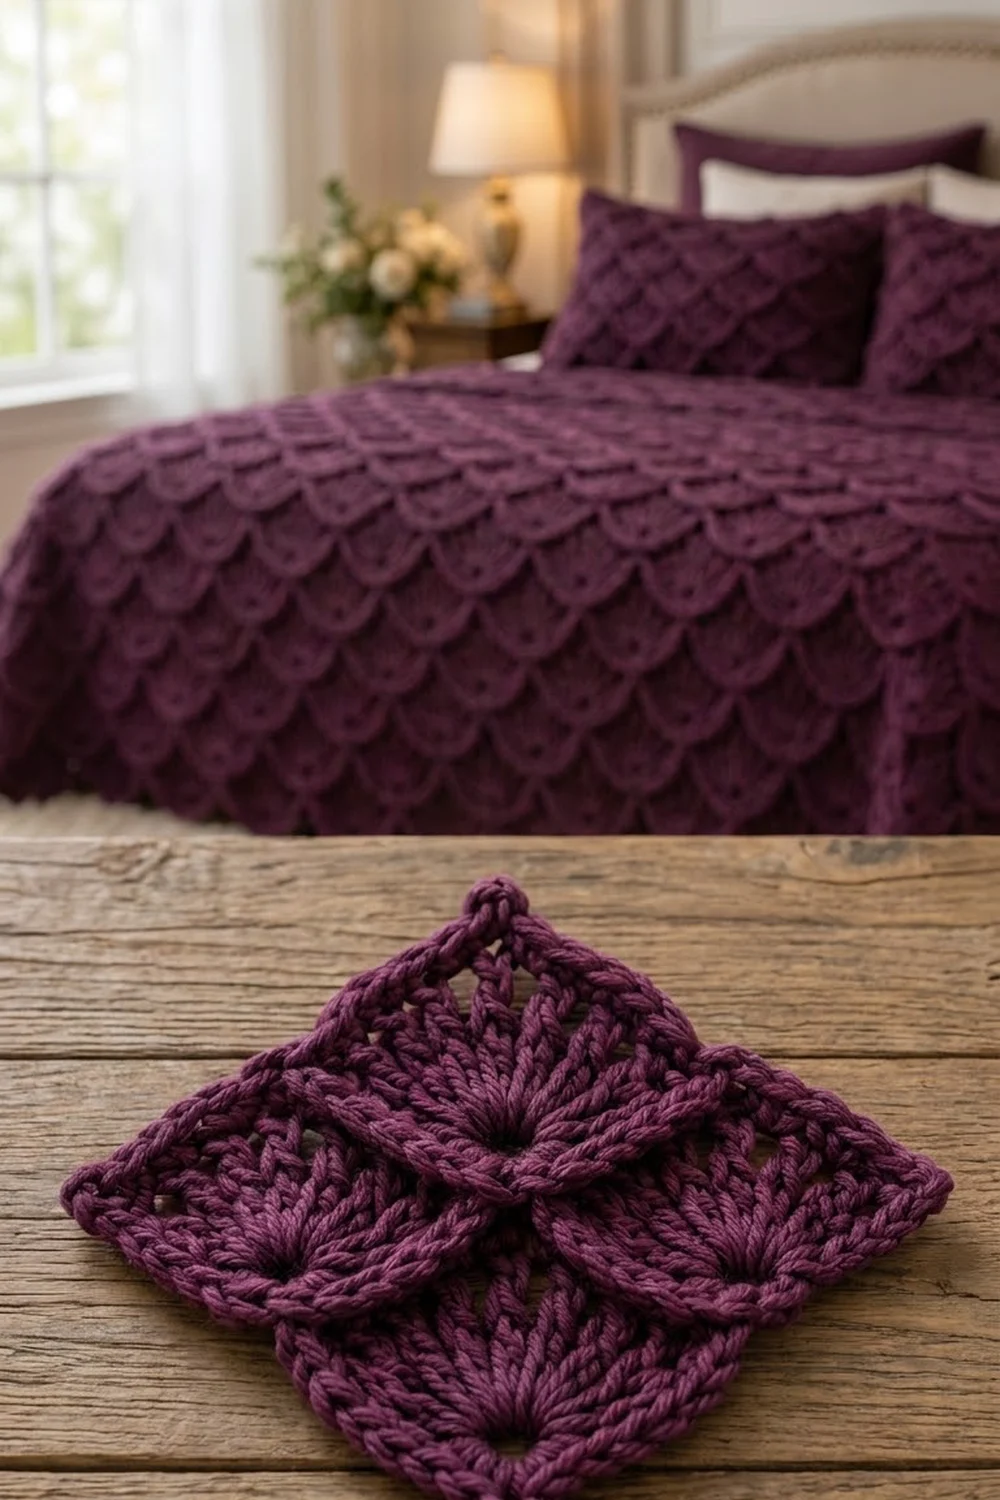
The Plum Scale Diamond is a single textured motif. It looks like four overlapping fish scales tucked inside a square turned on point. In each section, tall stitches fan out from a small open hole, so the motif looks carved and dimensional even though it is quick to work.
The motif uses one color, a rich plum, which shows off the radiating stitches and the raised seams. The look is classic and a little vintage, the kind of texture that suits a bedroom. This pattern covers one finished motif only.
All instructions use US crochet terms. The finished motif measures 4.75 in (12.1 cm) per side and about 6.7 in (17.0 cm) from point to point when it is displayed as a diamond.
Construction is simple. You work four small fan sections in rows from a ring, outline each one with a round of single crochet, and single crochet them together on the right side to make the raised ridges. Then you add two border rounds: a single crochet round and a crab stitch round.
Finished Size and Construction
- Finished size: 4.75 in x 4.75 in (12.1 cm x 12.1 cm); about 6.7 in (17.0 cm) point to point
- Skill level: Easy-Intermediate
- Terminology: US crochet terms
- Yarn weight: Worsted (Medium #4)
- Hook: 5.0 mm (H-8)
- Number of pieces: 1 finished motif, built from 4 fan sections
- Layout: 2 x 2 sections, turned on point (1-2-1 diamond stack)
- Section size: 2 in (5.1 cm) per side
- Size before border: 4 in x 4 in (10.2 cm x 10.2 cm)
- Border depth: 0.375 in (1.0 cm) on each side
Materials
Yarn: Use a smooth, tightly plied worsted yarn so the fan stitches look crisp. Cotton blends and wool blends both work well. Avoid fuzzy or brushed yarns, because they blur the outline ridges.
- Plum: 20 g, about 40 m (44 yd)
This quantity includes a margin of about 25% for swatching and weaving in ends.
Tools:
– 5.0 mm (H-8) crochet hook
– Yarn needle
– 4 locking stitch markers
– Rustproof pins
– Blocking mat or folded towel
– Spray bottle
– Ruler or tape measure
Abbreviations (US Terms)
- ch – chain
- sl st – slip stitch
- sc – single crochet
- dc – double crochet
- tr – treble crochet
- rev sc – reverse single crochet (crab stitch)
- sp – space
- st(s) – stitch(es)
- tch – turning chain
- RS / WS – right side / wrong side
Special stitch – Reverse single crochet (rev sc): Working from left to right (right-handed), insert the hook into the next stitch to the right, yarn over, pull up a loop, then yarn over and pull through both loops on the hook. This makes the twisted, cord-like edge.
Gauge and Checkpoints
Gauge: 16 sc = 4 in (10.2 cm) with a 5.0 mm hook.
Make one complete fan section before you commit to all four. It is your gauge swatch.
Checkpoints:
– After Row 1: the tr fan stands about 0.75 in (1.9 cm) tall from the ring.
– After Row 2: the section measures about 2.75 in (7.0 cm) from side corner to side corner.
– After Round 3: each side measures 2 in (5.1 cm), give or take 1/8 in (0.3 cm).
– After assembly: 4 in (10.2 cm) per side.
– After Border Round 1: about 4.4 in (11.2 cm) per side.
– After Border Round 2: 4.75 in (12.1 cm) per side.
Section too big? Go down to a 4.5 mm hook. Section too small? Go up to a 5.5 mm hook. Change the hook, not the stitch counts, because every seam depends on 8 stitches per section side.
Fan Section (Make 4)
Each section starts at its bottom corner. The ring becomes the small open hole, and the stitches fan up and out from it.
Ring: Ch 4, then sl st into the first ch to form a ring.
Row 1 (RS): Ch 4 (counts as tr), 3 tr in ring, ch 2, 4 tr in ring. Turn.
(8 tr: 4 per side, plus 1 ch-2 sp at the top point.)
These tall stitches create the radiating rays.
Row 2 (WS): Ch 3 (counts as dc), dc in the same st, dc in each of the next 3 tr, (2 dc, ch 2, 2 dc) in the ch-2 sp, dc in each of the next 3 tr, 2 dc in the top of the tch. Turn.
(14 dc: 7 per side, plus 1 ch-2 sp.)
Row 2 is a growth row. It has 14 stitches of its own, not 14 more than Row 1. The increase at each outer edge makes the gently curved lower edges of the scale.
Round 3 (RS, outline round): Ch 1, (sc, ch 2, sc) in the first dc [side corner], sc in each of the next 6 dc, (sc, ch 2, sc) in the ch-2 sp [top corner], sc in each of the next 6 dc, (sc, ch 2, sc) in the last dc [side corner].
Now rotate to work down the row ends. Work 3 sc in the side of the Row 2 dc and 3 sc in the side of the Row 1 tr (6 sc). Work (sc, ch 2, sc) in the ring [bottom corner]. Then work 3 sc in the side of the Row 1 tr and 3 sc in the side of the Row 2 dc (6 sc). Sl st to the first sc.
Round 3 is a conversion round. Count it like this:
– Upper sides: each has 6 sc worked one per existing dc, plus 2 corner sc, for 8 sc.
– Lower sides: each has 6 sc worked into row ends, plus 2 corner sc, for 8 sc.
– Total: 32 sc and 4 ch-2 corner spaces.
Each side’s 8 stitches include its 2 corner sc.
Fasten off and leave a 6 in (15.2 cm) tail. Make 3 more sections the same way.
Checkpoint: each section measures 2 in (5.1 cm) per side, with the ring hole about 0.25 in (0.6 cm) wide at the bottom corner.
Assembling the Motif
The four sections make up a single motif, so assembly is part of the main pattern. Label your sections Bottom, Left, Right, and Top. Hold every section with the ring corner pointing down. Each section’s two upper sides are stitch tops, and its two lower sides are row-end edges.
Seam method: Hold two sections with their wrong sides together, RS facing out. Work 1 sc through both layers in each of the 8 matched stitch pairs. Do not work any stitches into the corner ch-2 spaces. Just sl st through them to start and to finish.
This seam makes a raised ridge on the RS, which is the rope-like outline around each scale.
Seam 1: Join the Left section’s lower-right side to the Bottom section’s upper-left side (8 sc).
Seam 2: Join the Top section’s lower-right side to the Right section’s upper-left side (8 sc).
Seam 3 (long seam): Line up the two pairs. The Bottom section’s upper-right side meets the Right section’s lower-left side, and the Left section’s upper-right side meets the Top section’s lower-left side.
Work 8 sc, then sl st through the corner spaces where all four sections meet at the center. Do not add any stitches there. Then work 8 more sc, for 16 sc in total.
Every seam matches 8 stitches to 8 stitches, and no stitches are added. Keep your tension even so that a seam doesn’t pull shorter than the sides next to it.
Checkpoint: the assembled motif measures 4 in (10.2 cm) per side. Each outer side is made of 2 section sides x 8 sts = 16 sts.
Weave in all tails along the seam ridges.
Border
Border gauge: 16 sc = 4 in (10.2 cm), the same as the sections.
Round 1: With RS facing, join the yarn in the Top section’s top-corner ch-2 sp. Ch 1, then (sc, ch 2, sc) in the same sp. Work sc in each of the next 8 sts.
Skip both ch-2 seam spaces at the midpoint of the side without working into them. Work sc in each of the next 8 sts, then (sc, ch 2, sc) in the corner ch-2 sp. Repeat around and sl st to the first sc.
(Per side: 16 sc worked one per existing stitch, plus 2 corner sc, for 18 sc. Total: 72 sc and 4 ch-2 corner spaces.)
Checkpoint: about 4.4 in (11.2 cm) per side.
Round 2: Ch 1. Working left to right, rev sc in each sc around, with 3 rev sc in each corner ch-2 sp. Sl st to the first rev sc and fasten off.
(Per side: 18 rev sc worked one per existing stitch. Each corner gets 3 rev sc. Total: 72 + 12 = 84 rev sc.)
Why the math works: Each motif side has 2 sections x 8 sts = 16 sts, and 16 sc at 4 sc/in covers exactly 4 in (10.2 cm). The 2 corner sc per side let the border turn the corner without cupping.
The two rounds add about 0.375 in (1.0 cm) on each side, so each side goes from 4 in to 4.75 in (12.1 cm). The extra rev sc at each corner keeps the sharp diamond points from pulling in.
Final Blocking
- Weave in any remaining ends and trim them close.
- Lay the motif on point on the blocking mat, RS up.
- Spray it evenly until it is damp, not soaking.
- Pin the four corners first, measuring 4.75 in (12.1 cm) per side.
- Pin the midpoint of each side, keeping the edges straight.
- With your fingertip, open each ring hole and smooth the tr and dc rays so they fan out evenly.
- Pinch each seam ridge so it stands up on the RS.
- Let it dry completely before you unpin it.
Final Quality-Control Checklist
- Each section has 32 sc and 4 ch-2 corners in Round 3.
- Every seam joins 8 sts to 8 sts with no added stitches.
- All four ring holes face the same direction (toward the bottom point).
- Seam ridges are on the RS and the same height.
- Border Round 1 has 18 sc per side, and Border Round 2 has 84 rev sc in total.
- The motif measures 4.75 in (12.1 cm) per side and about 6.7 in (17.0 cm) point to point.
- The bottom point is sharp and the sides lie flat.
Troubleshooting
Fan ruffles: Your tr stitches are too loose. Go down a hook size, or pull the yarn snug as you finish each tr.
Ring hole closed up: You worked into the ch stitches instead of around the ring. Work into the center of the ring instead.
Section won’t square up: Check the Round 3 row-end count, which should be 6 sc per lower side. If the lower sides measure less than the upper sides, spread the 6 sc more evenly.
Seam puckers: You pulled the seam too tight. Work it with a hook one size larger.
Border cups: Make sure you skipped the seam spaces and placed exactly 2 corner sc per side in Round 1.
Corners rounded after Round 2: Make sure each corner got 3 rev sc, then re-pin the points during blocking.
Care
Hand wash in cool water with mild soap, press out the water in a towel, and dry flat. Re-block if needed.
Final Notes
Here is the measurement chain:
– Each fan section has 8 sts per side and measures 2 in (5.1 cm).
– Four sections, joined 8 to 8, make a 4 in (10.2 cm) motif with 16 sts per side.
– Border Round 1 adds 2 corner sc for 18 sts per side.
– The crab stitch round finishes the diamond at 4.75 in (12.1 cm) per side.
If you check your first section against the 2 in (5.1 cm) checkpoint, the rest of the motif will come out the right size.
Happy crocheting!