

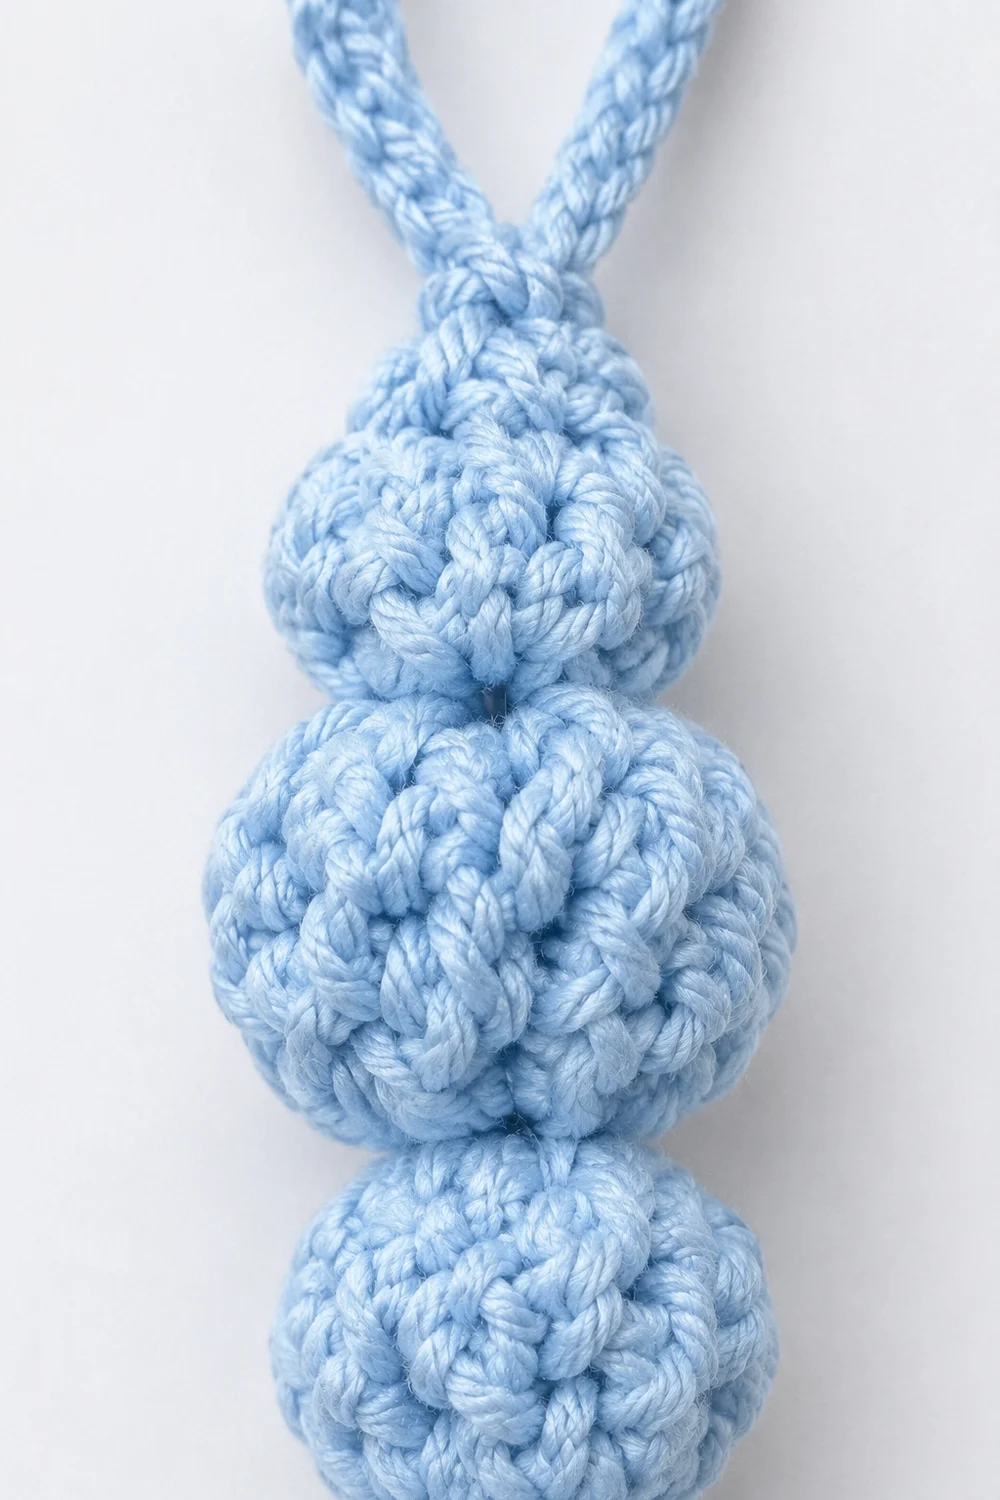
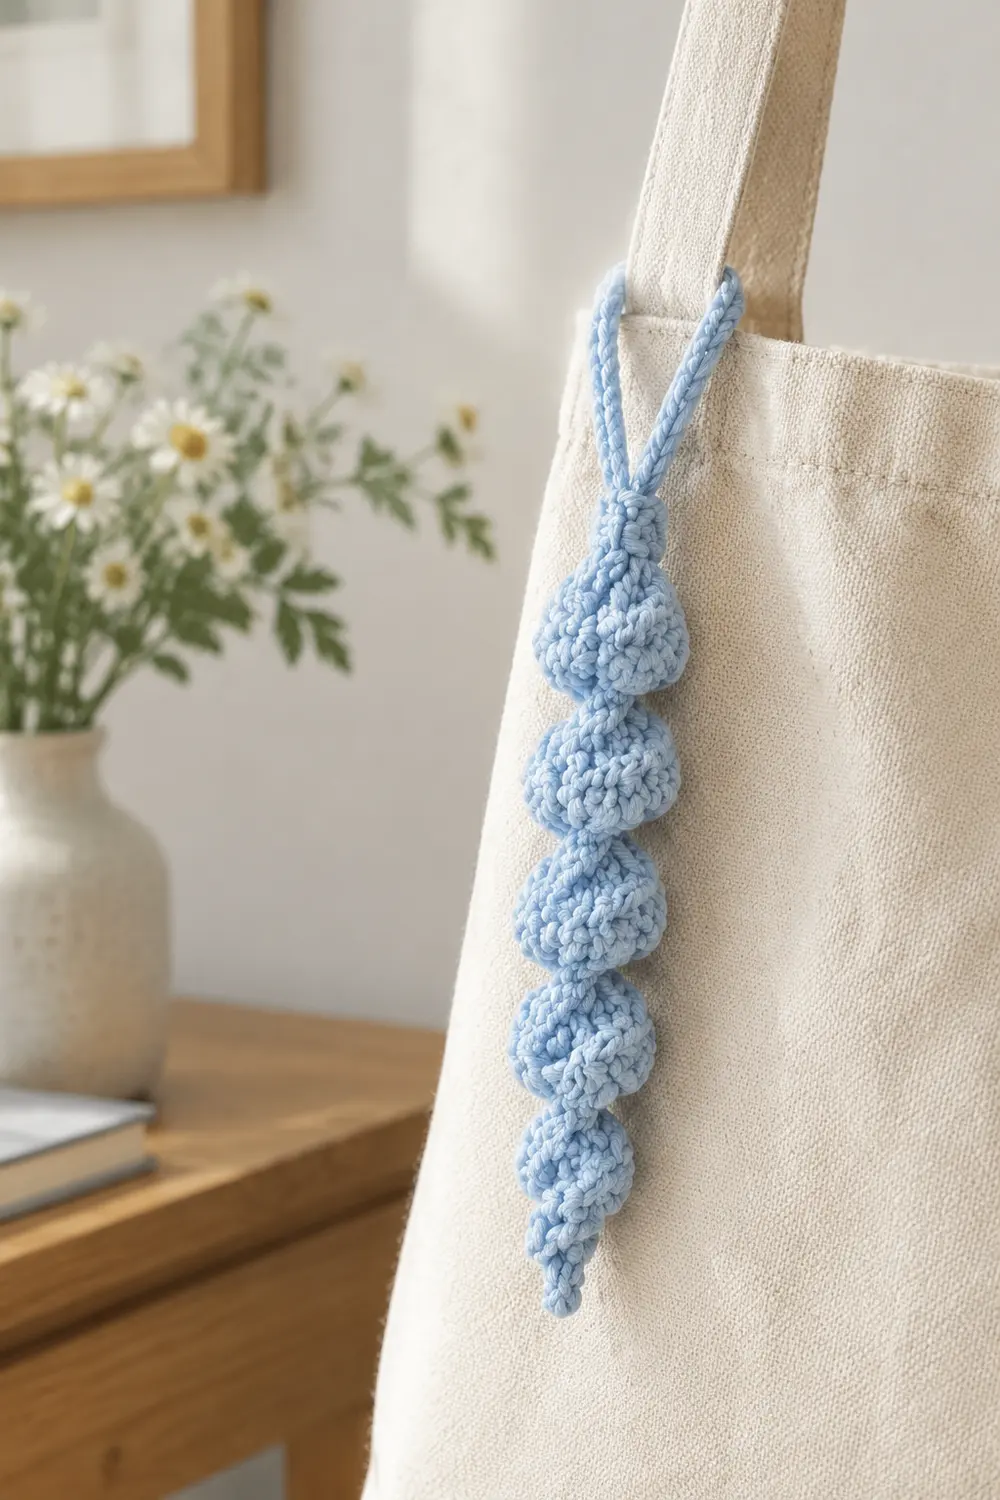
The Frost Twist Lariat is a slim, wintry necklace worked in one solid light blue yarn. A long, tightly crocheted cord with a gentle spiral twist runs from a neat hanging loop at the top to a round, textured tassel ball at the bottom. The ball is built from clustered stitches, so it looks full and pom-pom-like while staying firm and tidy.
The look is soft and minimal: one color, compact stitches in the cord, and fuller, dimensional stitches in the tassel. It works as a lariat necklace. Wrap it around your neck and pass the tassel ball through the loop to fasten it. It also makes a pretty gift-wrap accent.
This pattern uses US crochet terms. The finished piece measures about 18 in (45.7 cm) from the top of the loop to the bottom of the ball. That length includes a 14 in (35.6 cm) cord, a 2.5 in (6.4 cm) loop, and a 1.5 in (3.8 cm) tall ball.
Construction is simple. The cord starts at the top with a magic ring and is worked in continuous spiral rounds of 4 sc in the back loop only, which creates the twisted ridge. Without cutting the yarn, you increase into the tassel ball, add the cluster rounds, stuff the ball, and close it. Last, you rejoin the yarn at the top of the cord to chain and edge the hanging loop.
Finished Size and Construction
- Finished size: 18 in (45.7 cm) total length
- Skill level: Easy / advanced beginner
- Terminology: US crochet terms
- Yarn weight: Sport weight (#2), cotton or cotton blend
- Hook: 2.75 mm (US C-2)
- Number of pieces: 1 (single continuous piece, with the loop worked directly onto the cord)
- Layout: Loop at top, cord in the middle, tassel ball at bottom
- Piece size: Cord 14 in (35.6 cm) long, about 0.25 in (0.6 cm) thick. Ball 1.25 in (3.2 cm) wide x 1.5 in (3.8 cm) tall.
- Size before border: 15.5 in (39.4 cm), which is cord plus ball
- Border depth: The loop edging adds 2.5 in (6.4 cm) of length at the top and about 0.25 in (0.6 cm) of thickness to the loop strand
Materials
Yarn advice: Choose a smooth, tightly plied sport weight cotton. Cotton holds the twisted ridge crisply and keeps the clusters well defined. Avoid fuzzy or very soft acrylics, which blur the spiral and make the cord stretch.
- Light Blue: 10 g / 30 m
This quantity includes a margin of roughly double what the piece uses. That covers a gauge test cord and any frogging.
Tools:
- 2.75 mm (US C-2) crochet hook
- 1 locking stitch marker
- Small pinch of polyester fiberfill, about 1 g
- Tapestry needle
- Scissors
- Ruler or tape measure
- Rust-proof pins and a blocking mat or folded towel
Abbreviations (US Terms)
- ch: chain
- sl st: slip stitch
- sc: single crochet
- sc2tog: single crochet 2 together
- dc: double crochet
- BLO: back loop only
- FLO: front loop only
- MR: magic ring
- st(s): stitch(es)
- rnd(s): round(s)
Special stitch: Cluster (cl). Work this 4-dc cluster entirely in one stitch.
- Yarn over, insert the hook in the stitch, yarn over and pull up a loop, then yarn over and pull through 2 loops. Repeat this 3 more times in the same stitch, so you have 5 loops on the hook.
- Yarn over and pull through all 5 loops.
The cluster counts as 1 stitch. After each cluster, push it to the outside of the ball with your fingertip so it pops outward.
Gauge and Checkpoints
Gauge: 6 sc and 6 rnds = 1 in (2.5 cm), worked tightly in the round.
Test one piece first. Work the first 12 rounds of the cord as a test, following Rounds 1–12 below, then measure.
- Target: 12 rounds = 2 in (5.1 cm)
- Too long (over 2 in / 5.1 cm): Your stitches are too big. Switch to a 2.5 mm hook.
- Too short (under 2 in / 5.1 cm): Your stitches are too tight. Switch to a 3.0 mm hook.
If the test is on gauge, keep working. It simply becomes the start of your cord.
Checkpoints:
| Stage | Rounds | Target |
|---|---|---|
| Test section | After Rnd 12 | 2 in (5.1 cm) |
| Halfway | After Rnd 42 | 7 in (17.8 cm) |
| Cord complete | After Rnd 84 | 14 in (35.6 cm) |
| Top of ball | After Rnd 87 | Flat disk about 1 in (2.5 cm) across |
| Ball complete | After Rnd 94 | 1.25 in (3.2 cm) wide x 1.5 in (3.8 cm) tall |
| Loop complete | After border | 2.5 in (6.4 cm) long |
Measure the cord gently straightened, not stretched.
Cord
Work in continuous spiral rounds and do not join. Place the marker in the first stitch of each round and move it up as you go.
Rnd 1: Make a MR. Work 4 sc in the ring and pull it tight. (4 sts)
Rnd 2: Sc in BLO of each st around. (4 sts)
Rnds 3–84: Repeat Rnd 2. (4 sts in every round)
Working in BLO leaves the unused front loops as a raised ridge. Because a 4-stitch spiral shifts slightly every round, the ridge winds diagonally around the cord. That is what gives the cord its twisted, rope-like look.
Cord math: 84 rnds ÷ 6 rnds per in = 14 in (35.6 cm).
Counting tip: Counting 84 tiny rounds is tedious. Measure every 2 in (5.1 cm) instead, which is 12 rounds each time. You reach full length after 7 measurements.
Keep your tension firm and even throughout. The cord should feel dense and should not stretch noticeably when you tug it.
Do not fasten off. Continue straight into the tassel ball.
Tassel Ball
From here on, work through both loops of every stitch.
Rnd 85: 2 sc in each st around. (8 sts)
This is a growth round. Each of the 4 stitches becomes 2.
Rnd 86: [Sc in next st, 2 sc in next st] 4 times. (12 sts)
Rnd 87: [Sc in next st, 2 sc in next st] 6 times. (18 sts)
Checkpoint: The work should now flare into a small flat disk about 1 in (2.5 cm) across.
Rnd 88: [Cl in next st, sc in next st] 9 times. (18 sts: 9 cl + 9 sc)
Rnd 89: Sc in each st around. (18 sts)
Rnd 90: [Sc in next st, cl in next st] 9 times. (18 sts: 9 sc + 9 cl)
This round offsets the clusters so they sit between the clusters of Rnd 88. The staggered placement gives the ball its full, pom-pom texture.
Rnd 91: Sc in each st around. (18 sts)
Rnd 92: [Cl in next st, sc in next st] 9 times. (18 sts: 9 cl + 9 sc)
After this round, push every cluster outward again. Then stuff the ball firmly with a small pinch of fiberfill. Pack it into a round shape, but do not overfill, or stuffing will show between the stitches.
Rnd 93: [Sc in next st, sc2tog] 6 times. (12 sts)
Rnd 94: Sc2tog 6 times. (6 sts)
Add a final wisp of stuffing if needed. Fasten off and leave a 6 in (15.2 cm) tail. Thread the tail through the FLO of the 6 remaining stitches, pull it tight to close, and weave it in.
Ball checkpoint: 1.25 in (3.2 cm) wide x 1.5 in (3.8 cm) tall.
The 18-stitch circumference alone would make a ball under 1 in (2.5 cm) across. The three cluster rounds add the extra bulk.
Border (Loop Edging)
The hanging loop is the piece’s only border. It is worked directly onto the top of the cord, at the magic ring end.
Border gauge: 6 ch = 1 in (2.5 cm) and 6 sc = 1 in (2.5 cm), which matches the cord gauge.
Setup: Hold the cord with the magic ring at the top. With a new 6 in (15.2 cm) tail, join the yarn with a sl st into the FLO of one Rnd 1 stitch. Ch 30. Sl st into the FLO of the Rnd 1 stitch directly opposite, two stitches over from the join, to form the loop.
Border Rnd 1: Ch 1. Work 1 sc in each of the 30 ch around the loop, then sl st into the starting sl st. (30 sc: 15 sc per side of the loop)
This is a conversion round. It places exactly 1 sc into each existing chain and adds no extra stitches. So 30 ch become 30 sc.
Border Rnd 2: Sl st in each sc around, then sl st into the cord top. (30 sl sts: 15 per side)
This is a trim round, worked 1 sl st per existing sc with no stitches added. It firms the loop and smooths its edge to match the compact cord.
Fasten off. Weave both tails down into the center of the cord for at least 1 in (2.5 cm) so they stay hidden.
Why the math works: 30 stitches ÷ 6 sts per in = 5 in (12.7 cm) of loop perimeter. Folded in half, that is 2.5 in (6.4 cm) per side, so the loop hangs 2.5 in (6.4 cm) long.
The opening’s circumference is 5 in (12.7 cm). The ball’s circumference is about 3.9 in (9.9 cm), from 1.25 in (3.2 cm) x 3.14. The ball squeezes through the loop with light pressure and stays put once it is fastened.
Total length check: 2.5 in loop + 14 in cord + 1.5 in ball = 18 in (6.4 cm + 35.6 cm + 3.8 cm = 45.7 cm when calculated from 18 in x 2.54).
Final Blocking
- Rinse the piece in cool water with a drop of mild wool or cotton wash.
- Press out the water gently in a towel. Do not wring or twist the cord.
- Lay it flat on a blocking mat. Straighten the cord to 14 in (35.6 cm) without stretching it.
- Roll the ball between your palms to round it. Fluff each cluster outward with a fingertip.
- Shape the loop into a neat teardrop 2.5 in (6.4 cm) long and pin it in place.
- Leave it to dry completely, which takes about 24 hours. Turn it once so the ball dries all the way through.
Final Quality-Control Checklist
- Total length is 18 in (45.7 cm).
- The cord measures 14 in (35.6 cm), with an even diagonal ridge along its full length.
- The cord holds 4 sts throughout and shows no lumps or gaps.
- The ball is 1.25 in (3.2 cm) wide and 1.5 in (3.8 cm) tall.
- All 27 clusters (9 per round x 3 rounds) pop outward.
- No stuffing shows between the stitches.
- The bottom of the ball is closed tightly.
- The loop is 2.5 in (6.4 cm) long, with 15 sts per side.
- The ball passes through the loop with light pressure.
- All tails are woven in and hidden.
Troubleshooting
The cord looks straight, not twisted.
You may be working through both loops. Use BLO only for Rnds 2–84.
The cord is too long or stretchy.
Your tension is loose. Go down a hook size, or pull each sc snug.
The clusters sink inward.
Push each one outward right after you make it. You can also turn the ball inside out before stuffing if the clusters consistently pop to the inside.
The ball looks flat or lumpy.
Add or redistribute stuffing before Rnd 93. Roll the ball between your palms after closing it.
The ball won’t fit through the loop.
Either the ball is overstuffed or the loop is too tight. Remove a little stuffing, or redo the loop with ch 32 and work 32 sc in Border Rnd 1.
There is a hole at the magic ring.
Pull the ring tail tight and secure it with an extra pass of the needle before you add the loop.
The cord twists too much when worn.
Block it flat again and let it dry fully. Cotton relaxes into shape after a wash.
Optional: For a longer lariat, continue the cord in multiples of 12 rounds. Each 12 rounds adds 2 in (5.1 cm). For example, 120 rounds make a 20 in (50.8 cm) cord. Allow about 2 g extra yarn for each additional 4 in (10.2 cm).
Care
Hand wash in cool water with a mild detergent, then press dry in a towel and lay flat to dry. Do not tumble dry, or the ball may lose its shape.
Final Notes
The whole piece rests on one simple measurement chain:
- Gauge: 6 rnds per in.
- Cord: 84 rnds give a 14 in (35.6 cm) cord.
- Ball: The 18-st ball with three staggered cluster rounds finishes at 1.25 in x 1.5 in (3.2 cm x 3.8 cm).
- Loop: 30 border stitches give a 5 in (12.7 cm) perimeter, which hangs as a 2.5 in (6.4 cm) loop.
- Total: 18 in (45.7 cm) from top to bottom.
Check your test cord against the 2 in (5.1 cm) target first, and every later measurement will fall into place.
Happy crocheting!