

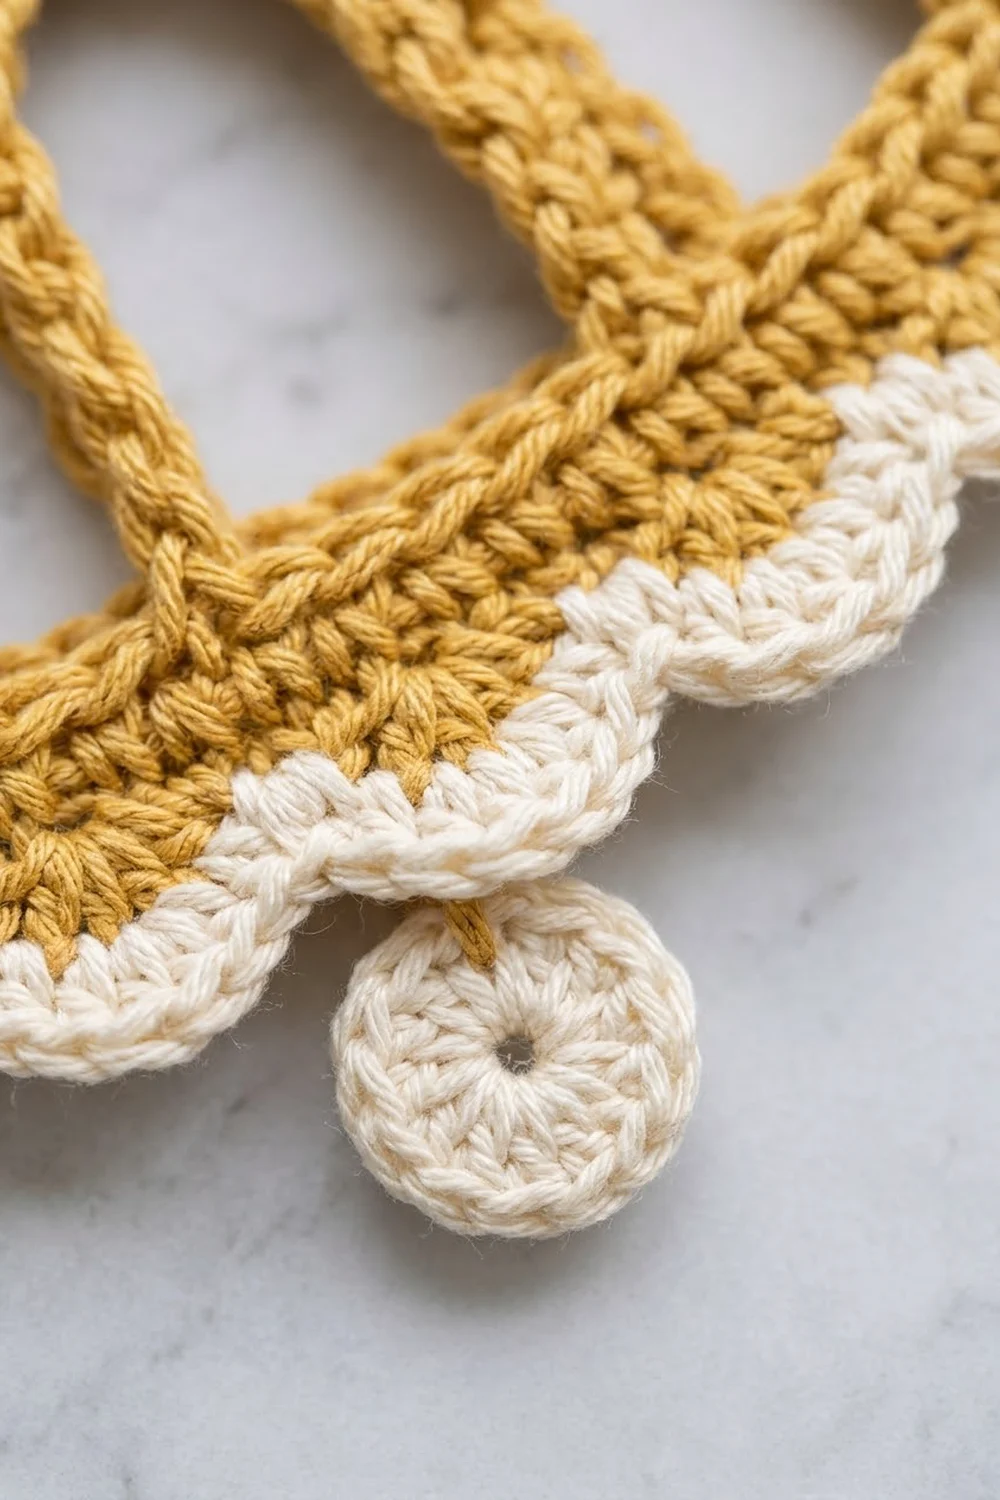
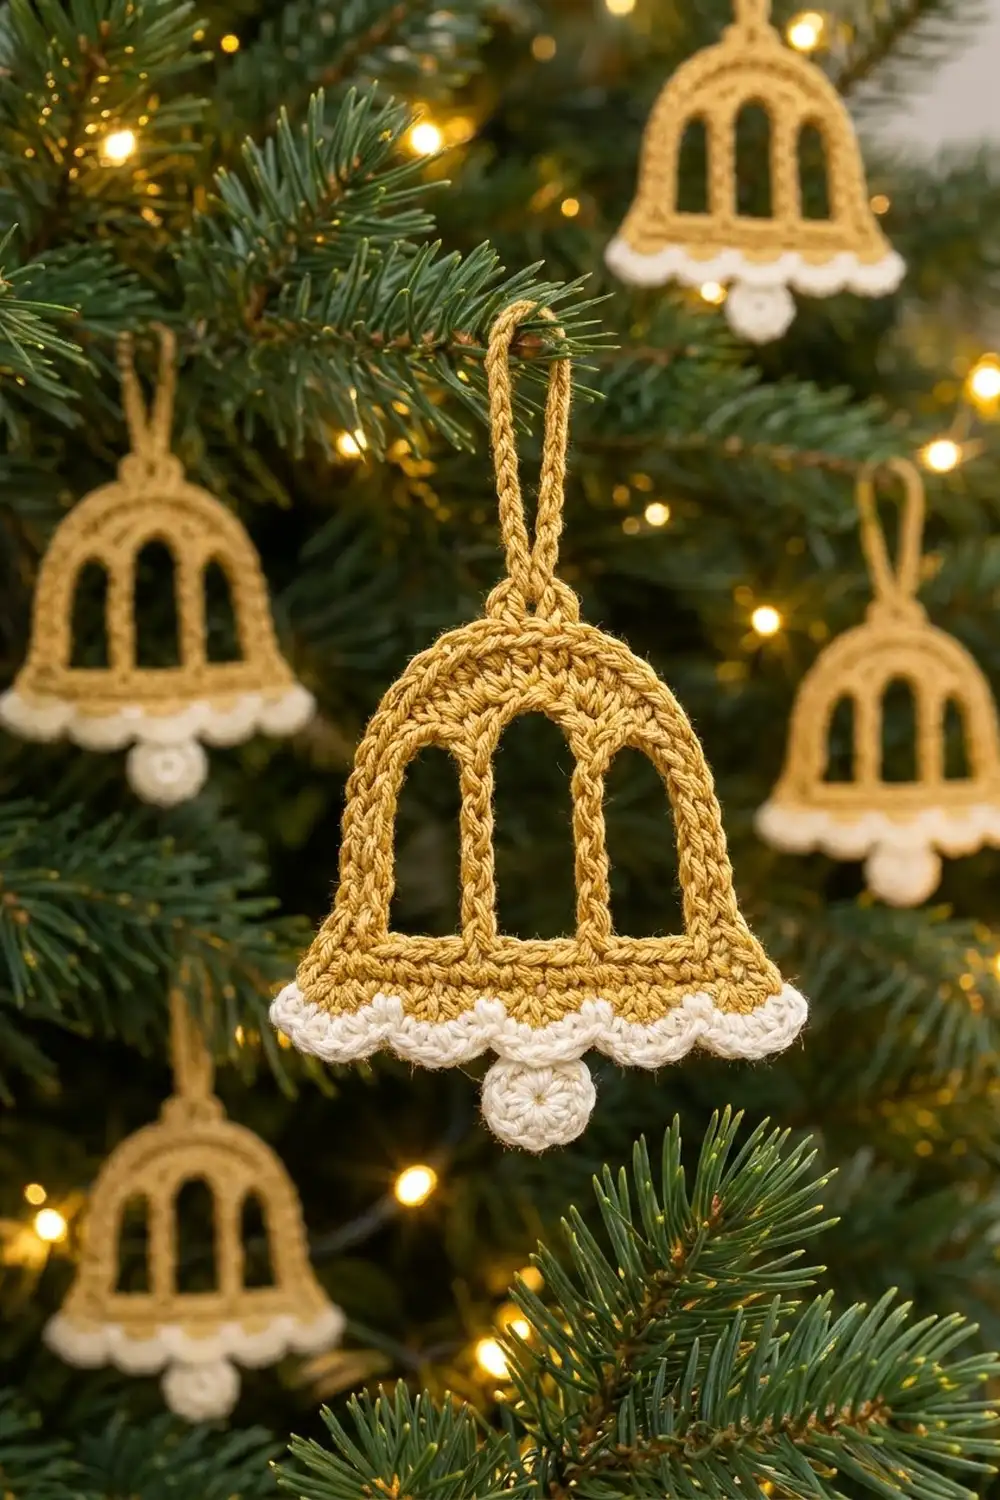
This bell ornament is airy and lacy without being fragile. A mustard-gold frame forms the bell’s dome. Two corded bars divide the inside into three arched windows. A cream scalloped lip and a round cream clapper finish the bottom. On a lit tree, the open windows let the lights show through.
You only need two colors: a warm mustard gold for the frame and a soft cream for the lip and clapper. The look is classic and a little vintage. It suits natural decor, gold-and-white trees, and gift toppers.
This pattern uses US crochet terms. The finished bell is about 4 in (10.2 cm) wide at the lip and 4.4 in (11.2 cm) tall from the top of the dome to the scallop points. The clapper adds about 0.4 in (1.0 cm) below the lip, and the hanging loop rises about 1.75 in (4.4 cm) above the dome.
Construction is simple once you see it. You crochet a curved strip that forms the dome and both sides. Then you work a bottom band across the feet of the arch, add two corded bars into the window space, flare the sides, and finish with the cream lip. Last, you make the clapper, sew it on, and add the hanging loop.
Finished Size and Construction
- Finished size: about 4 in (10.2 cm) wide × 4.4 in (11.2 cm) tall. With the clapper it is 4.8 in (12.2 cm) tall.
- Skill level: Easy+ (confident beginner)
- Terminology: US crochet terms
- Yarn weight: DK / light (3) cotton
- Hook: 3.5 mm (E-4)
- Number of pieces: 1 bell body plus 1 small clapper disc sewn on
- Layout: single standalone ornament
- Arch frame size: 3.0 in (7.6 cm) outer width, 2.2 in (5.6 cm) inner width
- Size before lip: 3.8 in (9.7 cm) wide at Row 5
- Lip (border) depth: about 0.5 in (1.3 cm)
Materials
Use a smooth, tightly plied mercerized or combed cotton. It shows stitch definition well and holds the arch shape after blocking. Avoid fuzzy or very stretchy yarn, because the windows will sag.
- Mustard gold (Color A): 8 g / about 17 m
- Cream (Color B): 3 g / about 6 m
These quantities include a margin for a gauge test and tails. A single 50 g ball of each color makes several bells.
Tools:
– 3.5 mm (E-4) crochet hook
– Tapestry needle
– Scissors
– Stitch markers (2–3)
– Blocking mat and rust-proof pins
– Spray bottle with water
– Optional: diluted fabric stiffener
Abbreviations (US Terms)
- ch: chain
- sl st: slip stitch
- sc: single crochet
- hdc: half double crochet
- st(s): stitch(es)
- sk: skip
- RS: right side
- MR: magic ring
Special stitch: Corded bar. Ch the given number, sl st into the target spot, then work 1 sc into each ch back down the chain. Finish with a sl st into the stitch where the bar started. This gives a firm, braid-like column.
Gauge and Checkpoints
Gauge: 5 sc and 5 rows = 1 in (2.5 cm). That makes each sc about 0.2 in (0.5 cm) wide and each row about 0.2 in (0.5 cm) tall.
Because this is a single small piece, the bell itself is your gauge test. Make one bell, check it against the measurements below, and adjust before making a set.
Checkpoints:
1. After the arch (Part 1): lay it flat as an upside-down U. The inside should be 2.2 in (5.6 cm) wide and the outside 3.0 in (7.6 cm) wide. Each straight leg should be about 1.4 in (3.6 cm) long.
2. After Row 3 of the lower body: the band should be 3.0 in (7.6 cm) wide, the same as the outer arch.
3. After Row 5: the lower edge should be 3.8 in (9.7 cm) wide.
4. After the lip: the bell should be 4 in (10.2 cm) wide and 4.4 in (11.2 cm) tall.
If the bell is too big, go down to a 3.25 mm hook. If it is too small, go up to a 3.75 mm hook. If only the windows look loose, chain more tightly for the bars and the ch-11 span.
Part 1: Arch Frame (Color A)
The arch is a straight strip whose middle section is increased on the outer edge, so it bends into a dome. It has 7 stitches for each leg and 17 stitches for the curve.
Row 1: With Color A, ch 32. Sc in the 2nd ch from hook and in each ch across. (31 sc)
Mark st 8 and st 24. These are the first and last stitches of the curve section. The foundation chain is the inner edge of the arch.
Row 2: Ch 1, turn. Sc in the first 7 sts (leg). For the curve section, work sc in next 2 sts, (2 sc in next st, sc in next 3 sts) 3 times, 2 sc in next st, sc in next 2 sts. That uses 17 sts and makes 21. Sc in the last 7 sts (leg). (35 sc)
The four increases sit symmetrically around the center stitch of the curve, so the dome stays even.
Do not fasten off. Gently shape the strip into an upside-down U with the increased edge on the outside. Both legs should hang straight down, side by side. Check Checkpoint 1.
Part 2: Lower Body Band (Color A)
The bottom band is worked across the ends of both legs. A chain bridges the open space between them.
Row 1: Ch 1, rotate to work along the bottom end of the leg where your yarn is (Foot A). Sc in the end of Row 2, then sc in the end of Row 1. Ch 11. Make sure the legs are not twisted. On the bottom of the other leg (Foot B), sc in the end of Row 1, then sc in the end of Row 2. (4 sc + 11 ch = 15 sts)
Row 2: Ch 1, turn. Sc in the 2 sc. Work 1 sc in each of the 11 ch, inserting the hook under one loop only so the other loop stays free on the window side. Sc in the last 2 sc. (15 sc)
Row 3: Ch 1, turn. Sc in each st across. (15 sc)
The band is now 3.0 in (7.6 cm) wide, matching the outer arch: 15 sts × 0.2 in = 3.0 in. Do not fasten off yet; Part 4 continues from here. Place a marker in your live loop.
Part 3: Window Bars (Color A)
The two bars grow from the free loops of the ch-11 span. They divide the 11 inner stitches into windows of 3, bar, 3, bar, 3.
Count the free loops of the ch-11 from Foot A side as loops 1 to 11. The bars go into loops 4 and 8.
To place the tops, count the stitches of Arch Row 1 from the same side (1 to 31). The center of the dome is st 16. The bars attach to the foundation chain under st 14 and st 18, which are 2 stitches either side of center.
Bar 1: Using a separate length of Color A (about 40 cm / 16 in), join with sl st in free loop 4. Work a corded bar: ch 12, then sl st into the foundation chain under Arch Row 1, st 14. Sc in each of the 12 ch back down (12 sc), then sl st into free loop 4. Fasten off.
Bar 2: Work the same way from free loop 8 up to the foundation chain under st 18. (12 sc)
Why 12 chains: the bar starts at the leg-bottom level. It rises 1.4 in (3.6 cm) along the straight legs, plus about 1.0 in (2.5 cm) more to reach the inner edge of the dome 0.4 in (1.0 cm) from center. That is about 2.4 in (6.1 cm), or 12 ch at 5 per inch. If your bars bow or pull the dome down, add or remove 1 ch.
The two outer windows and the center window each get a rounded top from the dome curve, which gives the arched-window look.
Part 4: Flared Sides (Color A)
Pick up the live loop at the end of Lower Body Row 3.
Row 4: Ch 1, turn. 2 sc in first st, sc in next 13 sts, 2 sc in last st. (17 sc)
Row 5: Ch 1, turn. 2 sc in first st, sc in next 15 sts, 2 sc in last st. (19 sc)
The edge increases angle both sides outward like a bell flare. Check Checkpoint 3: 19 sts × 0.2 in = 3.8 in (9.7 cm). Fasten off Color A.
Part 5: Clapper (Color B)
Rnd 1: With Color B, MR, ch 1, 6 sc in ring, sl st to first sc. Pull the ring nearly closed, leaving a tiny center hole. (6 sc)
Rnd 2: Ch 1, 2 sc in each st around, sl st to first sc. (12 sc)
Fasten off, leaving a 6 in (15.2 cm) tail for sewing. The disc measures about 0.75 in (1.9 cm) across.
Border: Cream Scalloped Lip
The lip is the bell’s border. It runs only along the bottom edge, below Row 5.
Border gauge: the solid cream row matches body gauge, 5 sc = 1 in (2.5 cm). Each finished scallop spans 3 base stitches and is about 0.3 in (0.8 cm) tall.
Row 6 (conversion row): With RS facing, join Color B in the first st of Row 5. Ch 1. 2 sc in first st, sc in next 8 sts, 2 sc in next st (the center st), sc in next 8 sts, 2 sc in last st. That is 19 sts worked 1-per-stitch, plus 3 extra stitches. (19 + 3 = 22 sc)
Row 7 (scallops): Ch 1, turn. Sc in first st. Sk 1 st, 5 hdc in next st, sc in next st. Repeat from * 6 more times, 7 scallops total. (7 scallops; 1 + 7 × 6 = 43 sts)
Fasten off and weave in the ends.
Why the math works: each scallop repeat uses exactly 3 base stitches (skip, hdc-group, sc). One starting sc plus 7 repeats uses 1 + 21 = 22 stitches, which is the full Row 6 count. Because 7 is odd, scallop 4 sits exactly at the center. The 3 increases in Row 6 add a little extra length, so the lip flares slightly. It ends about 4 in (10.2 cm) wide instead of curling.
Attach the clapper: place the disc behind the center scallop (scallop 4) so about 0.4 in (1.0 cm) of the disc shows below the scallop points. Whipstitch the top edge of the disc to the back of Rows 6–7 with the cream tail, keeping the stitches hidden on the back.
Hanging loop: join Color A with sl st at the top center of the dome, in Arch Row 2 st 18 (the middle of 35). Ch 20, then sl st into the same st. Sl st into each ch around the loop (20 sl st) for a corded finish, then sl st into the base st. Fasten off and weave in the end through the arch rows. The loop stands about 1.75 in (4.4 cm) tall.
Final Blocking
- Weave in all remaining tails along solid stitch rows, never across the open windows.
- Mist the bell evenly with water until it is damp but not dripping.
- Lay it RS up on the blocking mat and smooth the dome into an even curve.
- Pin the outer edge to 3.0 in (7.6 cm) wide across the straight sides and 3.8 in (9.7 cm) across Row 5.
- Pin each bar straight and vertical, and make sure the three windows are evenly spaced.
- Pin the tip of each scallop so the lip measures 4 in (10.2 cm) across.
- Pin the overall height to 4.4 in (11.2 cm), and lay the clapper and loop straight.
- Optional: brush on a thin coat of diluted fabric stiffener for a firm tree ornament.
- Let it dry completely before unpinning.
Final Quality-Control Checklist
- Arch Row 2 has 35 sc, and the dome curve is smooth and symmetric.
- Lower Body Rows 1–3 have 15 sts each, and the band matches the outer arch width.
- Both bars are 12 sc long and attached 2 sts either side of the dome center.
- The three windows are equal (3 sts each at the base).
- Rows 4–5 have 17 and 19 sc, and the flare is even on both sides.
- Row 6 has 22 sc, and Row 7 has 7 scallops with the 4th centered.
- The clapper is centered and 0.4 in (1.0 cm) of it shows below the lip.
- The loop is centered on the dome and all ends are secure and hidden.
- Finished size: 4 in (10.2 cm) × 4.4 in (11.2 cm).
Troubleshooting
The dome ripples. Your Row 2 increases are too loose. Redo the row with a firmer tension, or replace the middle two increases with plain sc.
The dome looks pointed or flat. Check that the increases are in the curve section only, not on the legs.
The legs splay apart. The ch-11 span is too tight or too loose. Rework Lower Body Row 1 so the band matches the 3.0 in (7.6 cm) outer width.
The bars buckle. The bars are too long. Remove 1 ch and 1 sc from each.
The bars pull the dome down. The bars are too short. Add 1 ch and 1 sc.
The scallops cup upward. Block firmly, or work the scallops with a looser hand.
The clapper tilts. Sew across the whole top edge, not at a single point.
Care
Hand wash in cool water with mild soap and lay flat to dry, reshaping while damp. Store flat or hanging, away from heavy ornaments that could crush the arch.
Final Notes
The measurement chain in short:
- At 5 sc per inch, the 35-stitch arch gives a 3.0 in (7.6 cm) frame around a 2.2 in (5.6 cm) opening.
- The 15-stitch band matches that frame exactly, and 12-chain bars span the 2.4 in (6.1 cm) window height.
- Two flare rows widen the base to 3.8 in (9.7 cm).
- The 22-stitch cream row divides evenly into 7 scallops, finishing the bell at 4 in (10.2 cm) wide and 4.4 in (11.2 cm) tall.
Check each stage and the next one will fit.
Happy crocheting!