
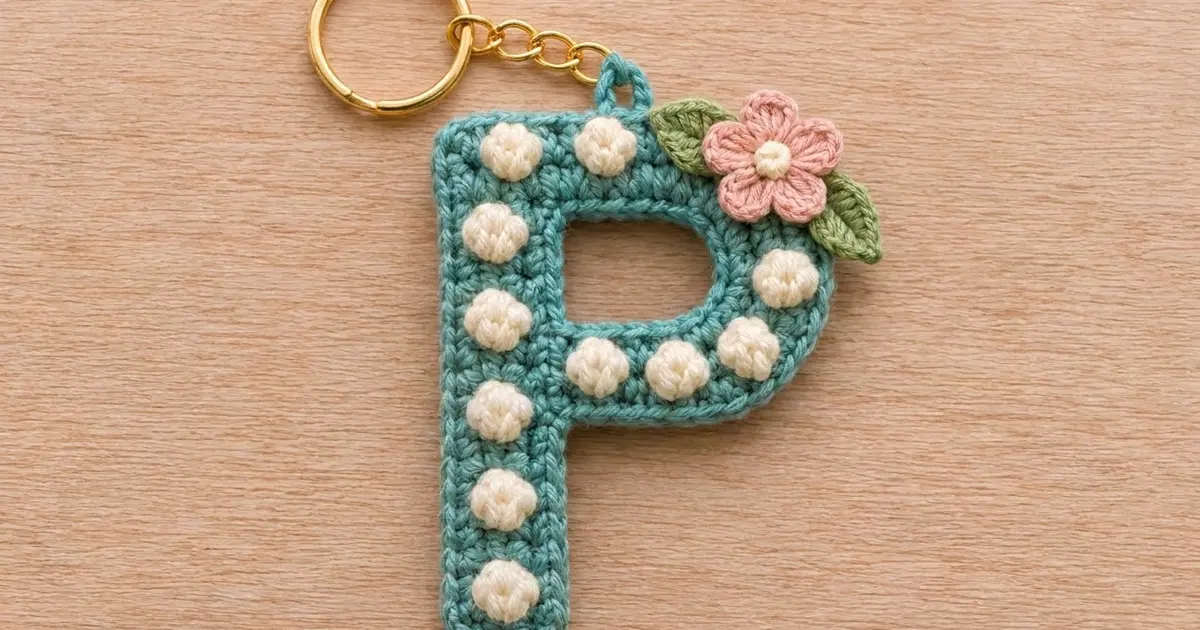
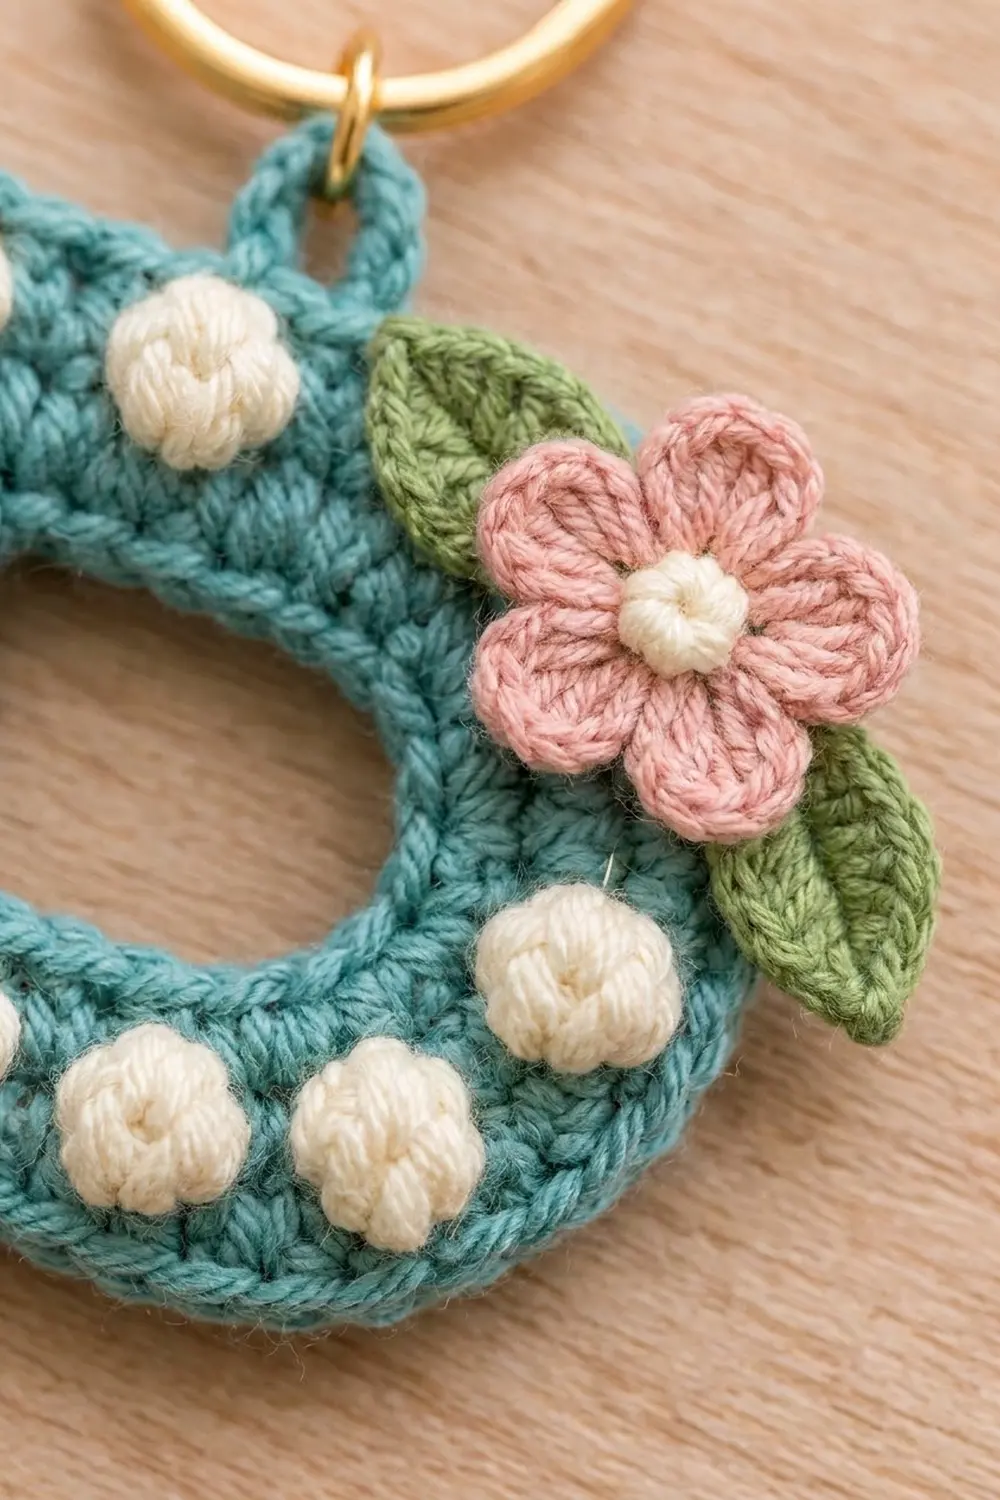
This little Letter P keychain is a sturdy, flat initial charm in soft teal. Round cream popcorns run down the stem and around the bowl like a string of pearls. On the upper-right curve sits a small pink five-petal flower with a cream center and two green leaves. A crocheted hanging loop at the top of the stem holds a gold key ring and chain.
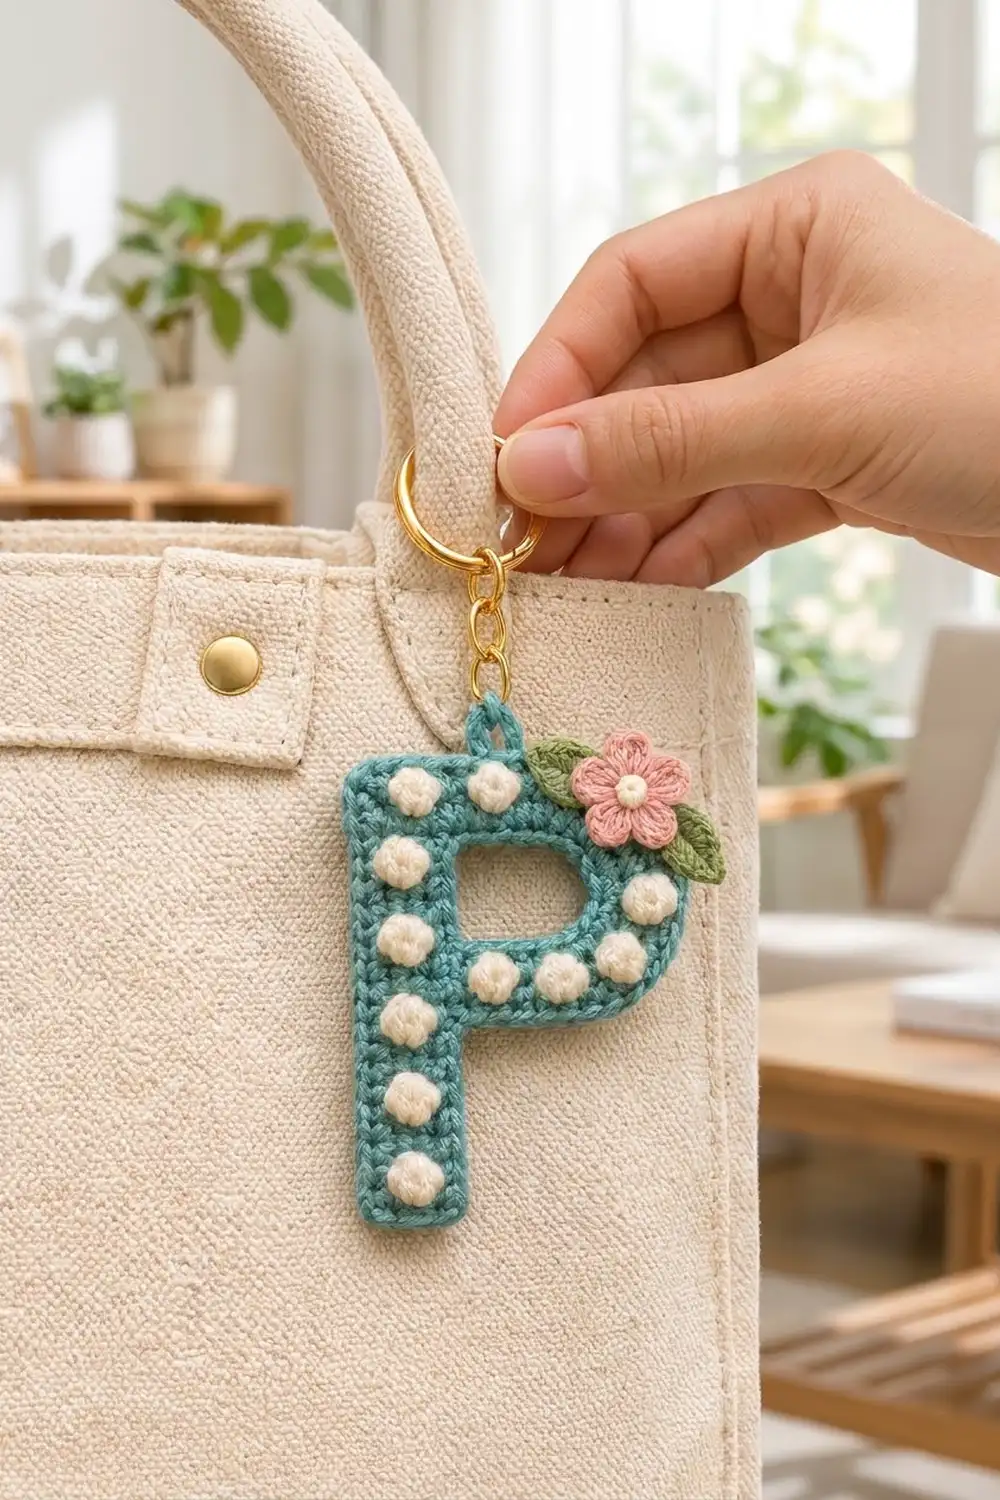
The look is sweet and tidy: a solid teal background, a crisp straight left edge, a softly rounded bowl and one smooth single crochet edging around everything. It makes a quick personalized gift for a tote, backpack or set of keys.
This pattern uses US crochet terms. The finished letter is 3.0 in (7.6 cm) wide by 4.6 in (11.7 cm) tall, not counting the hanging loop and hardware.
How it’s made: You work the letter flat in rows from the bottom of the stem up, carrying the cream yarn inside the teal stitches. A chain adds the bowl. To make the opening, you work the two sides separately for three rows, then bridge them with a chain. Simple increases and decreases round the right corners. One edging round, an inner round around the opening, a hanging loop and a sewn-on flower with two leaves finish the piece.
Finished Size and Construction
- Finished size: 3.0 in (7.6 cm) wide x 4.6 in (11.7 cm) tall
- Skill level: Easy-intermediate (popcorns, carrying yarn, simple shaping)
- Terminology: US crochet terms
- Yarn weight: DK (light worsted, #3), cotton or cotton blend
- Hook: 3.5 mm (E-4)
- Number of pieces: 1 letter body, plus 1 flower and 2 leaves sewn on top
- Layout: single letter, no joining
- Letter grid: 13 stitches wide x 21 rows tall
- Size before border: 2.6 in (6.6 cm) wide x 4.2 in (10.7 cm) tall
- Border depth: 1 round of sc, adding 0.2 in (0.5 cm) on every side
- Hanging loop: adds about 0.8 in (2.0 cm) above the letter
Materials
Choose a smooth DK cotton, either mercerized or matte. Cotton keeps the letter flat and shows the popcorns clearly. Avoid fuzzy or very splitty yarns, because you will be working over a carried strand.
- Teal (main color): 10 g / 25 m
- Cream (popcorns and flower center): 6 g / 15 m
- Pink (flower petals): 2 g / 5 m
- Green (leaves): 2 g / 5 m
These quantities include a comfortable margin for testing gauge and weaving in ends.
Tools:
- 3.5 mm (E-4) crochet hook
- Tapestry needle
- Scissors
- 1 in (2.5 cm) split key ring with a short chain and jump ring
- Small pliers
- Stitch marker
- Pins and a blocking surface
Abbreviations (US Terms)
- ch – chain
- sl st – slip stitch
- sc – single crochet
- hdc – half double crochet
- dc – double crochet
- sc2tog – single crochet 2 together (decreases 1 stitch)
- st(s) – stitch(es)
- RS / WS – right side / wrong side
- PC – popcorn (see below)
Popcorn (PC), worked in cream on RS rows: Work 4 dc in the same st. Remove the hook from the loop. Insert it from front to back under the top of the first dc, pick up the dropped loop and pull it through. The PC counts as 1 st. It pops toward you, so always work it with the RS facing.
Carrying the cream strand: Lay the cream yarn along the tops of the stitches and work every teal sc over it so it’s hidden inside. On the sc right before a PC, change to cream on the final yarn over. Work the PC in cream, leaving the teal at the back for that one stitch. Then pick up teal again for the next sc and go back to enclosing the cream.
Gauge and Checkpoints
Gauge: 20 sc and 20 rows = 4 in (10.2 cm) in sc, worked over a carried strand.
The carried strand makes each row a little taller than plain sc, which gives this square grid. The square grid matters because it lets the border use exactly 1 sc per row end along the sides.
To test, work Rows 1–8 of the stem and measure them. If the size is right, keep going and your test piece becomes the letter.
Checkpoints:
- After Row 8: the stem is 1.0 in (2.5 cm) wide x 1.6 in (4.1 cm) tall.
- After Row 13: the piece is 2.6 in (6.6 cm) wide x 2.6 in (6.6 cm) tall.
- After Row 21: the piece is 2.6 in (6.6 cm) wide x 4.2 in (10.7 cm) tall.
- After the border: the letter is 3.0 in (7.6 cm) wide x 4.6 in (11.7 cm) tall.
Too big? Switch to a 3.25 mm hook or carry the cream strand more snugly. Too small? Switch to a 3.75 mm hook. If the width is right but the height is off by more than 0.2 in (0.5 cm), change how firmly you pull up each sc rather than changing hooks.
Letter P Body
Stitch positions are numbered 1–13 from left to right as seen from the RS. You work RS rows right to left and WS rows left to right. The ch 1 at the start of each row doesn’t count as a st.
Stem (Rows 1–8)
Foundation: With teal, ch 6.
Row 1 (RS): Lay the cream tail along the chain. Sc in 2nd ch from hook and in each ch across, working over the cream. Turn. (5 sts)
Row 2 (WS): Ch 1, sc in each st across. Turn. (5 sts)
Row 3 (RS): Ch 1, sc 2, PC, sc 2. Turn. (5 sts: 4 sc + 1 PC)
Rows 4–6: Ch 1, sc in each st across. Turn. (5 sts)
Row 7 (RS): Ch 1, sc 2, PC, sc 2. Turn. (5 sts)
Row 8 (WS): Ch 1, sc in each st across, ending at the right edge. Ch 8 for the bottom of the bowl, keeping the cream strand inside the chain. Turn. (5 sts + ch 8)
Checkpoint: 1.0 in (2.5 cm) wide x 1.6 in (4.1 cm) tall.
Bottom Bar of the Bowl (Rows 9–13)
Row 9 (RS): Sc in 2nd ch from hook and in next 6 ch (7 sc). Sc in each of the 5 stem sts. Turn. (12 sts)
Row 10 (WS): Ch 1, sc in next 11 sts, 2 sc in last st. Turn. (13 sts)
This increase starts the rounded bottom-right corner.
Row 11 (RS): Ch 1, sc 2, PC, sc 3, PC, sc 3, PC, sc 2. Turn. (13 sts: 10 sc + 3 PC)
The popcorns land at positions 11, 7 and 3: on the bowl side, in the middle of the bar and on the stem.
Row 12 (WS): Ch 1, sc in each st across. Turn. (13 sts)
Row 13 (RS): Ch 1, sc in each st across. Turn. (13 sts)
Checkpoint: 2.6 in (6.6 cm) wide x 2.6 in (6.6 cm) tall.
Counter Opening (Rows 14–16)
You work the left column (the stem, positions 1–5) and the right column (the bowl side, positions 9–13) separately. Positions 6–8 stay unworked and become the bottom of the opening.
Left column:
Row 14 (WS): Ch 1, sc in first 5 sts. Turn. (5 sts)
Row 15 (RS): Ch 1, sc 2, PC, sc 2. Turn. (5 sts)
Row 16 (WS): Ch 1, sc in each st across. Fasten off both colors, leaving 4 in (10.2 cm) tails. (5 sts)
Right column:
Row 14 (WS): With the WS facing, skip positions 6–8 of Row 13. Join teal in position 9, lay a new cream strand along the tops and sc in positions 9–13. Turn. (5 sts)
Row 15 (RS): Ch 1, sc 2, PC, sc 2. Turn. (5 sts)
Row 16 (WS): Ch 1, sc in each st across. Don’t fasten off. Turn. (5 sts)
Top Bar of the Bowl (Rows 17–21)
Row 17 (RS): Ch 1, sc in the 5 sts of the right column, ch 3 over the opening, sc in the 5 sts of the left column. Turn. (13 sts: 10 sc + 3 ch)
Row 18 (WS): Ch 1, sc in each st and each ch across. Turn. (13 sts)
Row 19 (RS): Ch 1, sc 2, PC, sc 3, PC, sc 3, PC, sc 2. Turn. (13 sts: 10 sc + 3 PC)
Row 20 (WS): Ch 1, sc in next 11 sts, sc2tog over last 2 sts. Turn. (12 sts)
Row 21 (RS): Ch 1, sc2tog over first 2 sts, sc in remaining 10 sts. (11 sts)
Cut the cream strand and tuck its tail under the last few sts. Don’t fasten off the teal.
Checkpoint: 2.6 in (6.6 cm) wide x 4.2 in (10.7 cm) tall. The body now has 10 popcorns:
- 5 down the stem (Rows 3, 7, 11, 15 and 19)
- 2 along the bottom bar
- 1 on the bowl side
- 2 along the top bar
Border
Border gauge: 5 sc per 1 in (2.5 cm) along stitch edges and 1 sc per row end along side edges. The fabric has 5 sts and 5 rows per inch, so 1 sc per row end lies flat without ruffling or pulling.
Turn the piece so you can work down the left edge with the RS facing. Continue with teal.
Round 1 (outer edge):
- Left side: Sc in each of the 21 row ends down the left edge. (21 sc)
- Bottom of stem: 3 sc in first free loop of the foundation chain (corner), sc in next 3 loops, 3 sc in last loop (corner). (9 sc)
- Right side of stem: Sc in each of the 8 row ends of Rows 1–8. (8 sc)
- Underside of bowl: Sc in each of the 7 free loops of the bowl chain. Skip the turning chain. (7 sc)
- Bowl side: 2 sc in end of Row 9 (rounded corner), sc in each row end of Rows 10–20, 2 sc in end of Row 21 (rounded corner). (15 sc)
- Top edge: Sc in next 10 sts of Row 21, 3 sc in last st (corner). (13 sc)
Join with sl st to first sc. Total: 21 + 9 + 8 + 7 + 15 + 13 = 73 sc. Fasten off.
Why the math works: Each straight side uses 1 sc per stitch or row end, so the border matches the 5-per-inch fabric and lies flat. Square corners get 3 sc to turn 90 degrees. The two bowl corners get only 2 sc each, because Row 10 and Rows 20–21 already round them. The inside corner where the stem meets the bowl gets no extra stitches, which keeps it crisp.
Inner round (around the opening): Join teal in any corner of the opening. Sc in:
- the 3 free sts of Row 13
- the 3 row ends of the right column
- the 3 free loops under the ch 3
- the 3 row ends of the left column
Join with sl st. (12 sc) Fasten off. The inside corners get no extra stitches, so the opening stays square.
Hanging loop: On the top edge of Round 1, count from the left corner and join teal in the sc above the center of the stem (position 3). Ch 10, sl st in the same st, turn. Work 14 sc into the ch-10 space, then sl st in the same border st. Fasten off. The loop stands about 0.8 in (2.0 cm) tall.
Flower and Leaves
Flower:
- With cream, make a magic ring.
- Round 1: Ch 1, 5 sc in ring, join with sl st. Pull the ring closed and fasten off. (5 sc)
- Round 2: Join pink in any sc. (Sl st, ch 2, 2 dc, ch 2, sl st) in same sc, move to next sc; repeat from * 4 more times. (5 petals)
- Fasten off, leaving a 10 in (25.4 cm) tail.
The flower is about 1.2 in (3.0 cm) across.
Leaf (make 2):
- With green, ch 7.
- Sc in 2nd ch from hook, hdc in next ch, dc in next 2 ch, hdc in next ch, 3 sc in last ch (tip).
- Working along the other side of the chain: hdc in next ch, dc in next 2 ch, hdc in next ch, sc in last ch.
- Join with sl st to first sc. Fasten off, leaving an 8 in (20.3 cm) tail.
Each leaf is about 1.0 in (2.5 cm) long.
Assembly:
- Place the leaves on the upper-right curve of the bowl. Point one up-left along the top bar and the other down-right past the edge.
- Sew down the base of each leaf.
- Center the flower over both leaf bases so it overlaps the outer edge of the bowl by about 0.2 in (0.5 cm).
- Sew around the cream center and tack down each petal tip.
Hardware: Open the jump ring, thread it through the hanging loop, attach the chain and close the ring firmly.
Final Blocking
- Weave in all ends on the WS, running each one through stitches of its own color.
- Lightly mist the letter or cover it with a damp cloth.
- Pin it flat, RS up, to 3.0 in (7.6 cm) x 4.6 in (11.7 cm).
- Pin the left edge straight and the two left corners square. Ease the bowl into a smooth curve.
- Pin the opening so it stays square.
- Let it dry completely.
- Don’t press the popcorns flat. If you use steam, hold the iron above the fabric without touching it.
Final Quality-Control Checklist
- The letter measures 3.0 in (7.6 cm) x 4.6 in (11.7 cm).
- Round 1 of the border has exactly 73 sc, and the inner round has 12 sc.
- All 10 popcorns pop to the RS and sit in straight lines.
- No cream shows through the solid teal areas.
- The left edge is straight and the bowl curve is smooth.
- The flower and leaves are secure, with no loose petal tips.
- The hanging loop is firm and the jump ring is fully closed.
Troubleshooting
Popcorns are on the back: They were worked on a WS row. Always work PC on odd-numbered (RS) rows.
Cream peeks through the teal: Keep the carried strand snug against the stitch tops and pull each teal sc up firmly.
Edges ripple: There are too many border sts. Recount and use only 1 sc per row end.
Edges pull in or curl: There are too few border sts, or the edging is too tight. Work the border with a hook one size larger.
The opening is lopsided: Check that each column has exactly 3 rows (Rows 14–16) and that you skipped exactly 3 sts.
The letter curls: Block it firmly and let it dry fully while pinned.
Care
Hand wash in cool water with mild soap, roll it in a towel to press out the water and dry flat. Remove the metal hardware before washing if you can.
Final Notes
Here’s how the measurements build on each other. A gauge of 20 sc x 20 rows = 4 in (10.2 cm) gives a 1.0 in (2.5 cm) wide stem after Row 8. The 13-st by 21-row grid gives 2.6 in (6.6 cm) x 4.2 in (10.7 cm) before the border. The 73-st border round adds 0.2 in (0.5 cm) per side, for a finished letter of 3.0 in (7.6 cm) x 4.6 in (11.7 cm). Check your size at each stage and the finished keychain will match.
Happy crocheting!