

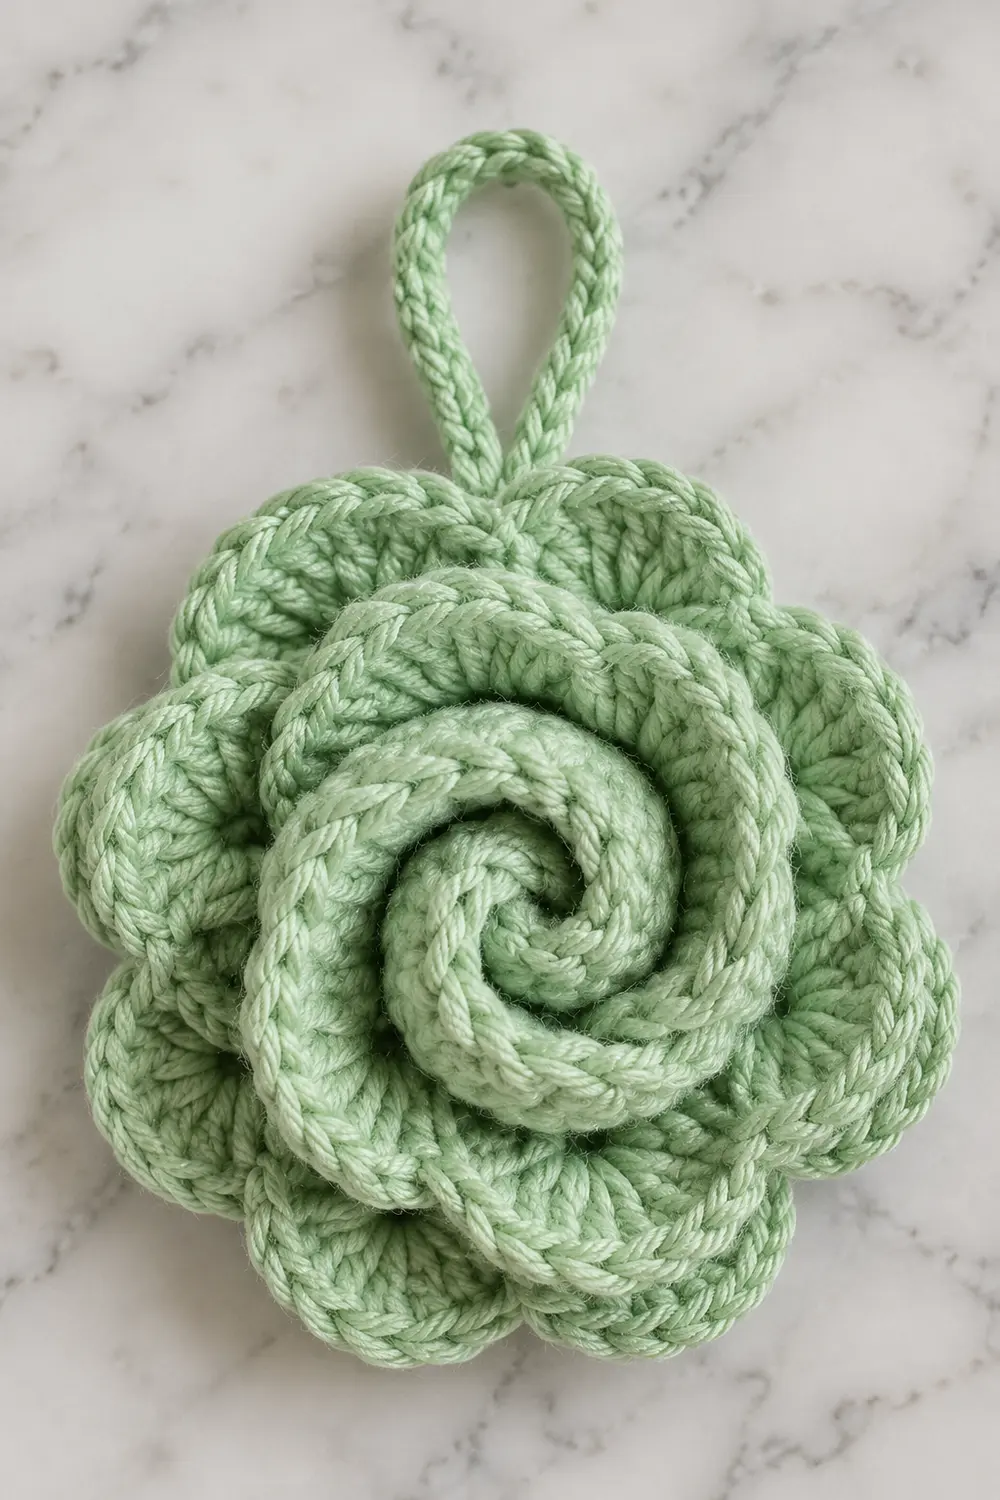
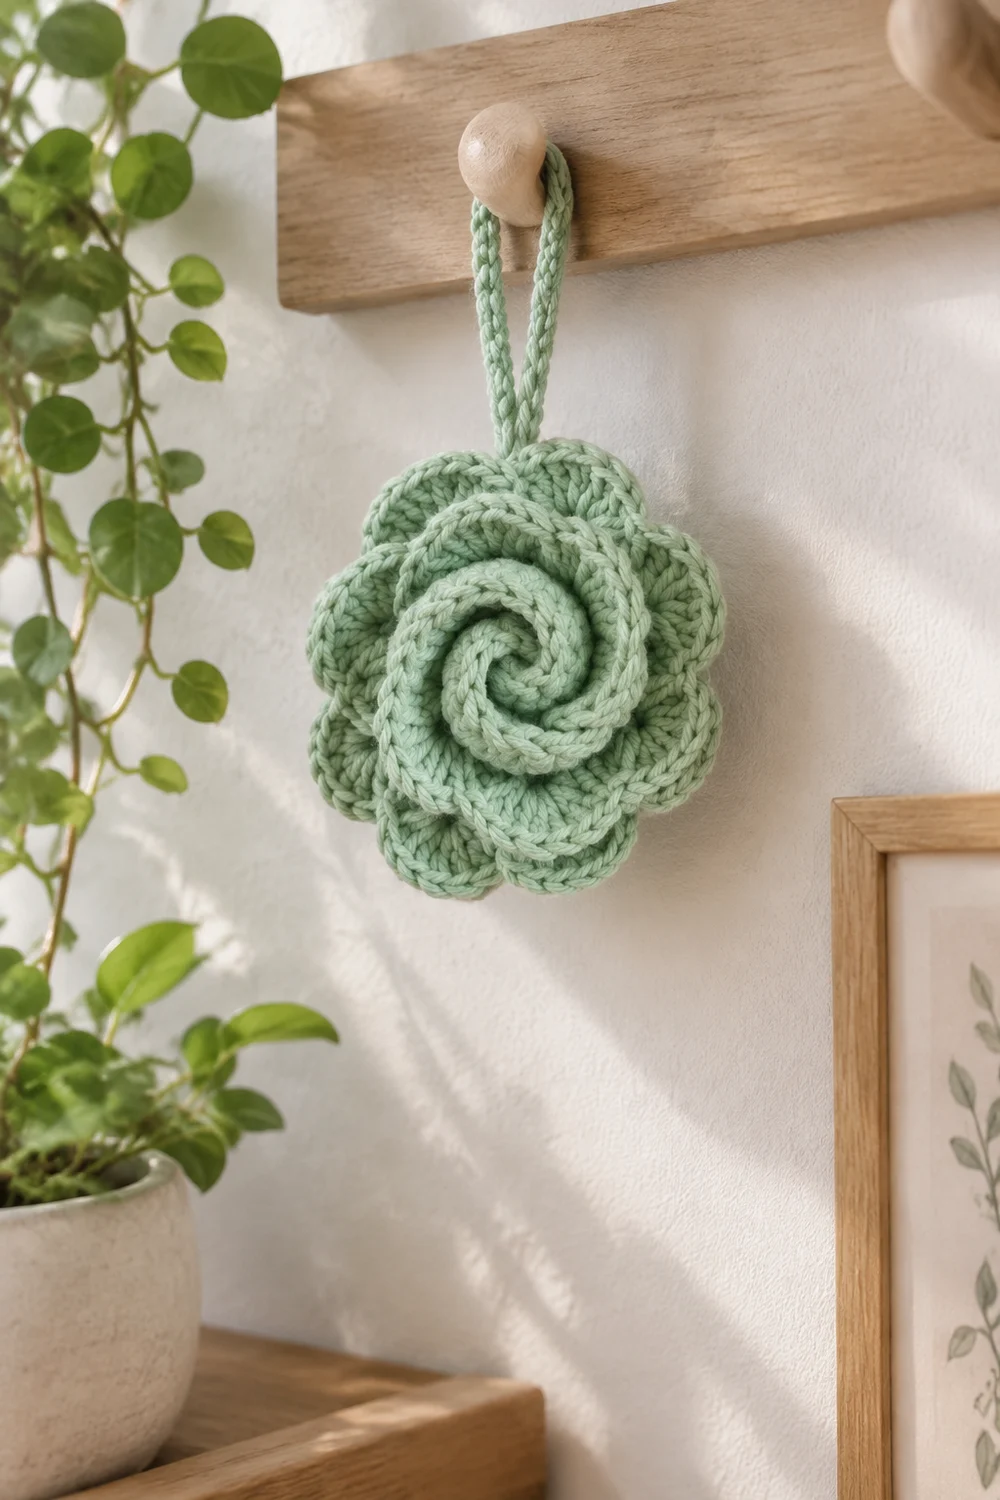
The Sage Spiral Rose is a single, three-dimensional crochet flower in soft light sage green. Its petals overlap in a tight spiral and curve inward toward a coiled center, so the bloom looks rounded and sculptural even when it lies flat on a table.
The rose is worked in one color from start to finish. Firm, tightly worked double crochet shells give each petal a defined, rippled edge. A small crochet loop at the top lets you hang it from a hook, bag zipper, gift box, or tree branch.
This pattern uses US crochet terms. The finished rose measures about 3.5 in (8.9 cm) across, and the hanging loop adds about 1.5 in (3.8 cm) above the flower.
Construction is simple. You work one long strip of V-stitches, then add a row of shells that grow from small to large. The loop is worked straight off the end of the strip. Then you roll the strip into a spiral, starting with the smallest petals, and stitch the base closed. It is all one continuous piece, so there is no separate assembly or joining.
Finished Size and Construction
- Finished size: about 3.5 in (8.9 cm) diameter, plus a 1.5 in (3.8 cm) loop
- Skill level: Easy
- Terminology: US crochet terms
- Yarn weight: Worsted (#4), cotton or cotton blend
- Hook: 3.5 mm (E-4)
- Number of pieces: 1 (single continuous motif)
- Layout: one strip, rolled into a spiral rose
- Piece size (flat strip, after the petal row): about 11.5 in (29.2 cm) long, 0.9–1.25 in (2.3–3.2 cm) tall
- Size before border (after Row 1): about 11.5 in x 0.5 in (29.2 cm x 1.3 cm)
- Border depth (the petal edge row): adds about 0.4–0.75 in (1.0–1.9 cm), growing from inner to outer petals
In this pattern, the “border” is the shell row that forms the petal edges. It is the final edging worked along the strip.
Materials
Yarn: Choose a smooth, tightly plied worsted-weight cotton. Cotton holds the petal curves crisply and shows stitch definition, which is what gives this rose its clean, rippled edges. Acrylic works too, but the petals will be softer and may flop outward.
- Light sage green: 15 g (about 26 m)
This amount includes a margin for your gauge swatch, the 6 in (15.2 cm) beginning tail, and the 18 in (45.7 cm) sewing tail.
Tools:
- 3.5 mm (E-4) crochet hook
- Tapestry needle
- 4–6 straight pins or locking stitch markers
- Scissors
- Measuring tape or ruler
- Spray bottle (for blocking)
Abbreviations (US Terms)
- ch – chain
- sl st – slip stitch
- sc – single crochet
- dc – double crochet
- sk – skip
- sp – space
- st(s) – stitch(es)
- rep – repeat
Special stitches
- V-stitch (V-st): (dc, ch 1, dc) all in the same stitch or chain.
- Shell: the stated number of dc all worked into the same ch-1 space. A 5-dc shell is 5 dc in one space, and so on.
Gauge and Checkpoints
Gauge matters here because the strip length controls how many turns the spiral makes. That, in turn, sets the final diameter.
Base gauge: 18 sc and 20 rows = 4 in (10.2 cm) with a 3.5 mm hook.
Foundation chain gauge: about 4 ch = 1 in (2.5 cm).
Make a quick swatch, or simply crochet the full rose once as your test piece. One rose uses very little yarn, so it is an easy gauge test.
Checkpoints:
- After the foundation chain: 46 ch measures about 11.5 in (29.2 cm) when gently straightened.
- After Row 1: the strip measures about 11.5 in x 0.5 in (29.2 cm x 1.3 cm).
- After Row 2 (petal edge): inner petals stand about 0.9 in (2.3 cm) tall from the foundation edge, and outer petals stand about 1.25 in (3.2 cm) tall.
- After rolling: the rose measures about 3.5 in (8.9 cm) across.
- Loop: about 1.5 in (3.8 cm) tall.
If your piece is too big: go down to a 3.25 mm hook, or tighten your chain tension. A strip longer than 12 in (30.5 cm) usually gives a rose wider than 3.75 in (9.5 cm).
If your piece is too small: go up to a 3.75 mm hook. A strip shorter than 11 in (27.9 cm) usually gives a rose narrower than 3.25 in (8.3 cm), with a crowded center.
Do not change the stitch counts to fix size. Change the hook instead, so the petal proportions stay correct.
Pattern: Foundation and Base Row
Leave a 6 in (15.2 cm) beginning tail. You will use it later to anchor the center of the rose.
Foundation: Ch 46.
Row 1 (V-stitch row): (Dc, ch 1, dc) in 5th ch from hook. The 4 skipped chains count as 1 dc plus 1 skipped ch. Sk 2 ch, V-st in next ch. Rep from * 12 more times. Sk 1 ch, dc in last ch.
Count: 14 V-sts, plus 1 dc (turning chains) at the start and 1 dc at the end. That is 14 ch-1 spaces.
Why 46 chains works:
- 4 skipped chains for the turning dc
- 1 ch for the first V-st
- 13 repeats x 3 ch (sk 2, V-st in 1) = 39 ch
- 1 skipped ch plus 1 ch for the final dc = 2 ch
Total: 4 + 1 + 39 + 2 = 46 chains.
Do not fasten off. Check that the strip measures about 11.5 in x 0.5 in (29.2 cm x 1.3 cm).
Notice where you are. You finished Row 1 at the slipknot end of the chain, where your beginning tail hangs. Row 2 starts here, so the smallest petals sit next to that tail. That end becomes the center of the rose.
Border: Petal Edge (Row 2)
The petal edge is the rose’s border. It is worked at the same 3.5 mm hook and tension as Row 1. The shells grow in three stages, so the center petals stay small and tight while the outer petals open wide.
Row 2: Ch 1, turn. Sc in the first dc.
Inner petals (shells 1–5): 5 dc in next ch-1 sp, sc in the sp between this V-st and the next V-st. Rep from * 4 more times.
Middle petals (shells 6–10): 7 dc in next ch-1 sp, sc in the sp between V-sts. Rep from * 4 more times.
Outer petals (shells 11–14): 9 dc in next ch-1 sp, sc in the sp between V-sts. Rep from * 2 more times. For the last shell, work 9 dc in the final ch-1 sp, then sc in the top of the beginning skipped chains.
Do not fasten off.
Count for Row 2:
- Inner petals: 5 shells x 5 dc = 25 dc
- Middle petals: 5 shells x 7 dc = 35 dc
- Outer petals: 4 shells x 9 dc = 36 dc
- Total dc: 25 + 35 + 36 = 96 dc
- Sc: 1 at the start + 13 between V-sts + 1 at the end = 15 sc
- Row 2 total: 96 dc + 15 sc = 111 sts
Why the math works: Row 1 made exactly 14 ch-1 spaces, so Row 2 holds exactly 14 shells (5 + 5 + 4 = 14). There are 13 gaps between 14 V-sts, so 13 sc fall between shells. The 2 end sc anchor the strip edges. Each sc pulls the strip in between shells, which separates the petals and creates the scalloped, rippled outline.
The petal edge is worked straight onto the existing V-sts. It is not a growth row layered on a previous count. Each shell lives entirely inside one V-st space.
Checkpoint: Inner petals stand about 0.9 in (2.3 cm) tall and outer petals about 1.25 in (3.2 cm) tall. The strip still measures about 11.5 in (29.2 cm) long. It may curl slightly, which is normal and helps the rolling.
Hanging Loop
The loop is worked directly from the last sc of Row 2. That puts it at the outer edge of the finished rose.
Loop: Ch 16. Sl st in the same last sc to form a ring. Ch 1, work 18 sc into the ring, around the chains. Sl st in the first sc of the loop.
Count: 18 sc around a 16-ch ring. The 2 extra stitches keep the loop round and firm instead of pulling it tight.
Cut the yarn, leaving an 18 in (45.7 cm) tail. Thread it onto a tapestry needle.
Checkpoint: The loop stands about 1.5 in (3.8 cm) tall when laid flat.
Roll and Sew the Rose
- Hold the strip petal edge up, with the beginning tail and the smallest petals on your right (or left, if you prefer). Keep the foundation chain edge at the bottom.
- Roll the first 2 inner petals tightly onto themselves to form a closed bud center. Use the 6 in (15.2 cm) beginning tail to take 2–3 small stitches through the base of this bud. Knot and trim it.
- Keep rolling around the bud. Let each inner petal wrap snugly, and let the middle petals sit slightly higher and looser.
- Roll the outer 9-dc petals loosely, and let them flare outward. Each new layer should overlap the gap between petals on the layer inside it. That offset creates the spiral look.
- Pin through the base every quarter turn to hold the shape.
- Using the 18 in (45.7 cm) tail, sew back and forth through all layers along the foundation-chain base. Work in a star pattern, taking about 8–10 stitches that cross the center so every layer is caught.
- Bring the needle out at the base of the loop. Take 2 extra stitches to reinforce it, so the loop points straight up from the rim. Knot securely, weave the tail through the base for 2 in (5.1 cm), and trim.
Checkpoint: The rose measures about 3.5 in (8.9 cm) across, and the loop sits at the top edge.
Final Blocking
Cotton blocks best with light moisture and finger shaping rather than full soaking.
- Set the rose face up on a towel or blocking mat.
- Mist the petals lightly with water until they are damp, not wet.
- With your fingertips, curve each outer petal gently inward toward the center. This keeps the cupped, rounded bloom shape.
- Pinch the top of each 9-dc shell lightly to sharpen its rippled edge.
- Check the diameter: about 3.5 in (8.9 cm) across.
- Straighten the loop so it stands about 1.5 in (3.8 cm) above the rim.
- Let it dry completely, face up, for 6–12 hours. Do not press it flat. That would undo the dimensional shape.
Final Quality-Control Checklist
- [ ] Foundation was 46 ch, about 11.5 in (29.2 cm).
- [ ] Row 1 has 14 V-sts (14 ch-1 spaces).
- [ ] Row 2 has 5 small, 5 medium, and 4 large shells (96 dc + 15 sc = 111 sts).
- [ ] The center is a closed, tight bud with no visible hole.
- [ ] Each petal layer overlaps the gaps of the layer inside it.
- [ ] All layers are caught in the base stitching, with no loose outer petals.
- [ ] The loop has 18 sc, is reinforced, and stands about 1.5 in (3.8 cm).
- [ ] The finished rose measures about 3.5 in (8.9 cm) across.
- [ ] All tails are woven in and none show on the front.
Troubleshooting
The center has a hole. Roll the first 2 small petals tighter, and stitch them with the beginning tail before you continue rolling.
The rose looks flat, like a coil. You rolled too evenly. Keep the inner petals tight, and let the outer petals sit higher and flare outward.
The petals look like one continuous ruffle. Check that you worked the sc in the space between V-sts, not into a dc. That sc is what separates the petals.
The rose is too wide or too narrow. Check the length of your Row 1 strip against the 11.5 in (29.2 cm) target. Then change the hook size, not the stitch counts.
The petal edges look fuzzy or loose. Switch to a tighter-plied cotton, or go down 0.25 mm in hook size.
The loop tilts sideways. Add 2 more reinforcing stitches at its base, on the side it leans toward.
The petals lose their curl. Mist the rose again and reshape it. Let it dry face up without any weight on it.
Care
Hand wash in cool water with mild soap. Press out the water gently in a towel, reshape the petals, and dry flat, face up.
Final Notes
The measurement chain for the Sage Spiral Rose is short and dependable:
- A 46-ch foundation measures about 11.5 in (29.2 cm).
- 14 V-sts make a 0.5 in (1.3 cm) base strip.
- 14 graduated shells (96 dc + 15 sc) build petals 0.9–1.25 in (2.3–3.2 cm) tall.
- Rolling the strip gives a 3.5 in (8.9 cm) rose.
- An 18-sc loop adds 1.5 in (3.8 cm) on top.
If each checkpoint matches, the finished bloom will too.
Optional: if you would like a larger rose, add V-sts in multiples of 1 (3 ch each) to the foundation, and give each new space a 9-dc shell.
Happy crocheting!