
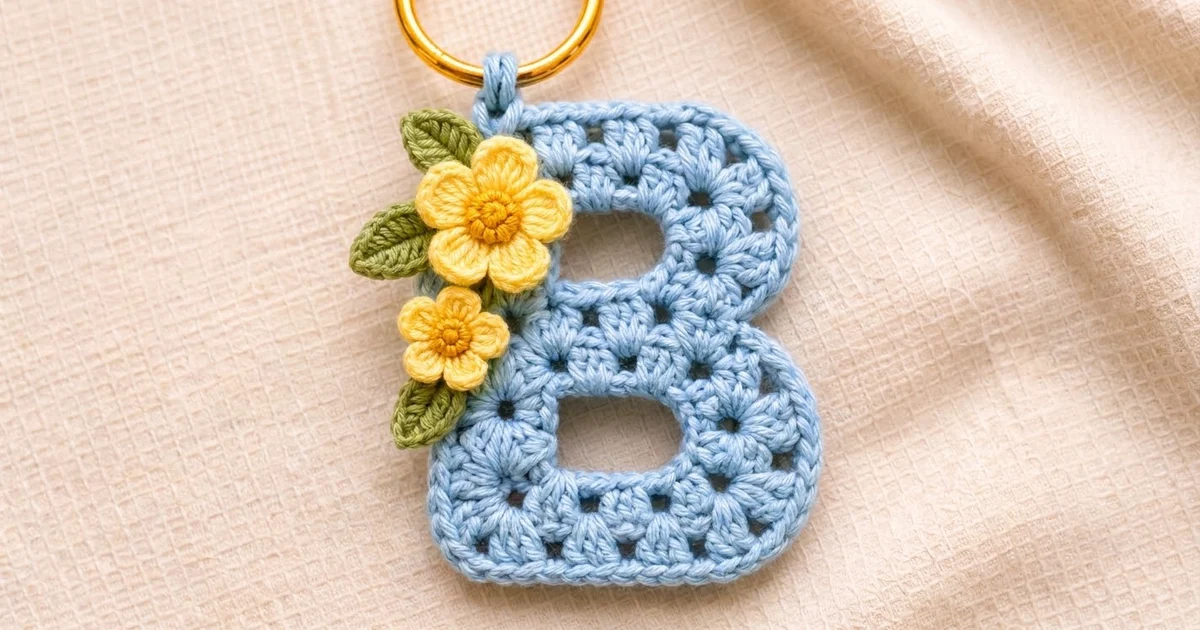
This little letter B is a quick, cheerful bag charm. The letter is soft powder blue, worked in neat columns of 3-dc blocks with tiny eyelets between them. A smooth single crochet edge frames the outside and both openings.
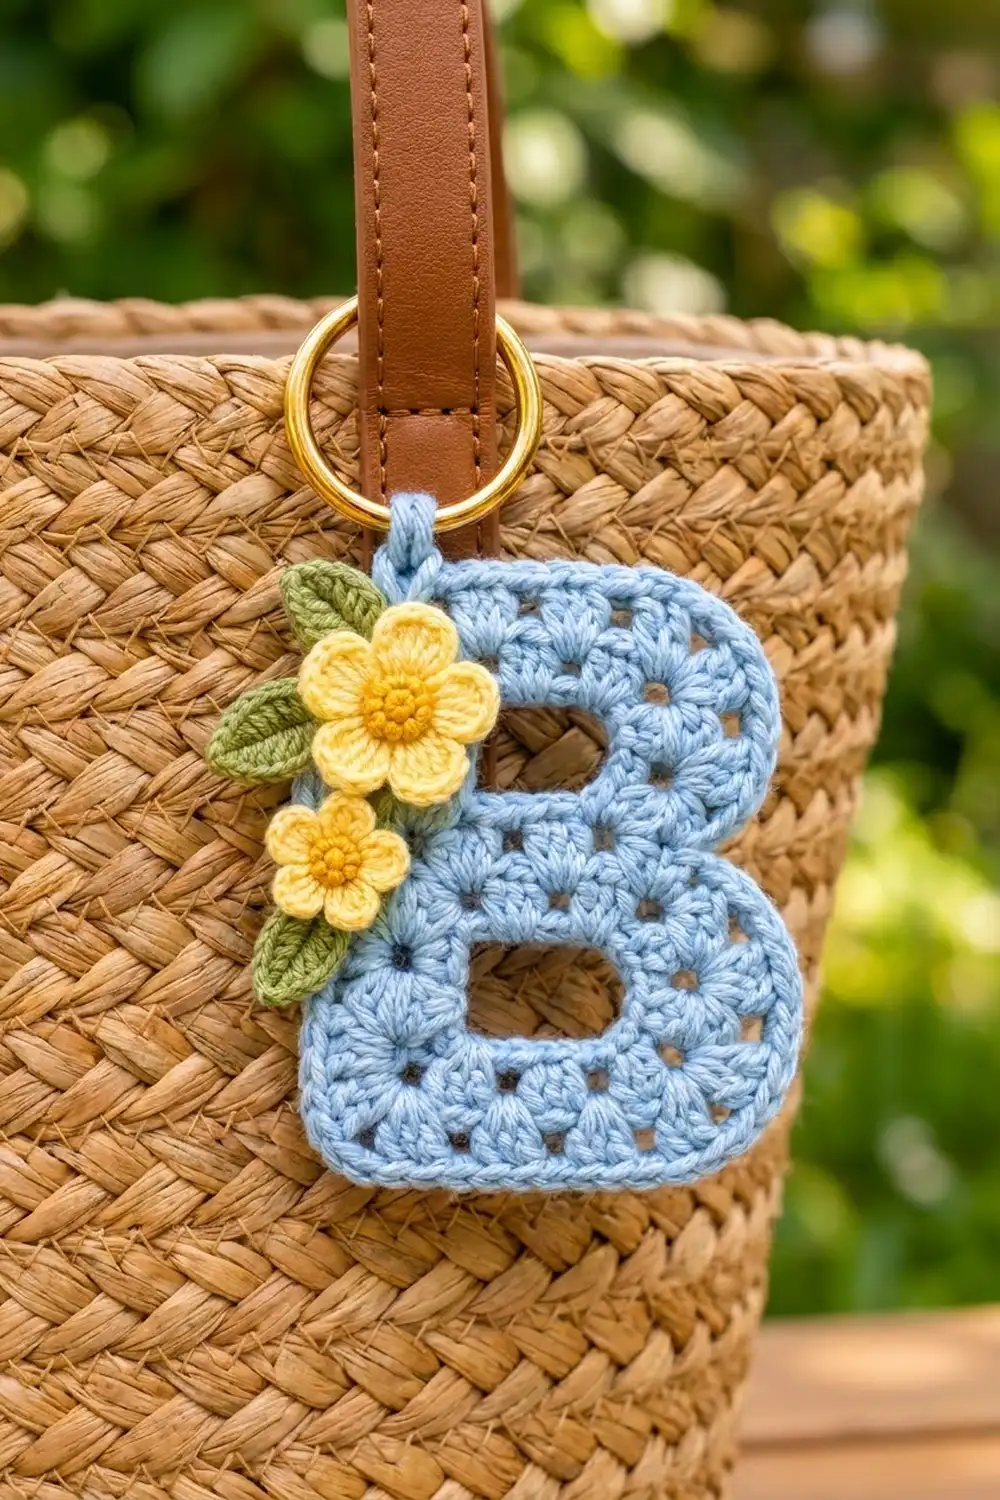
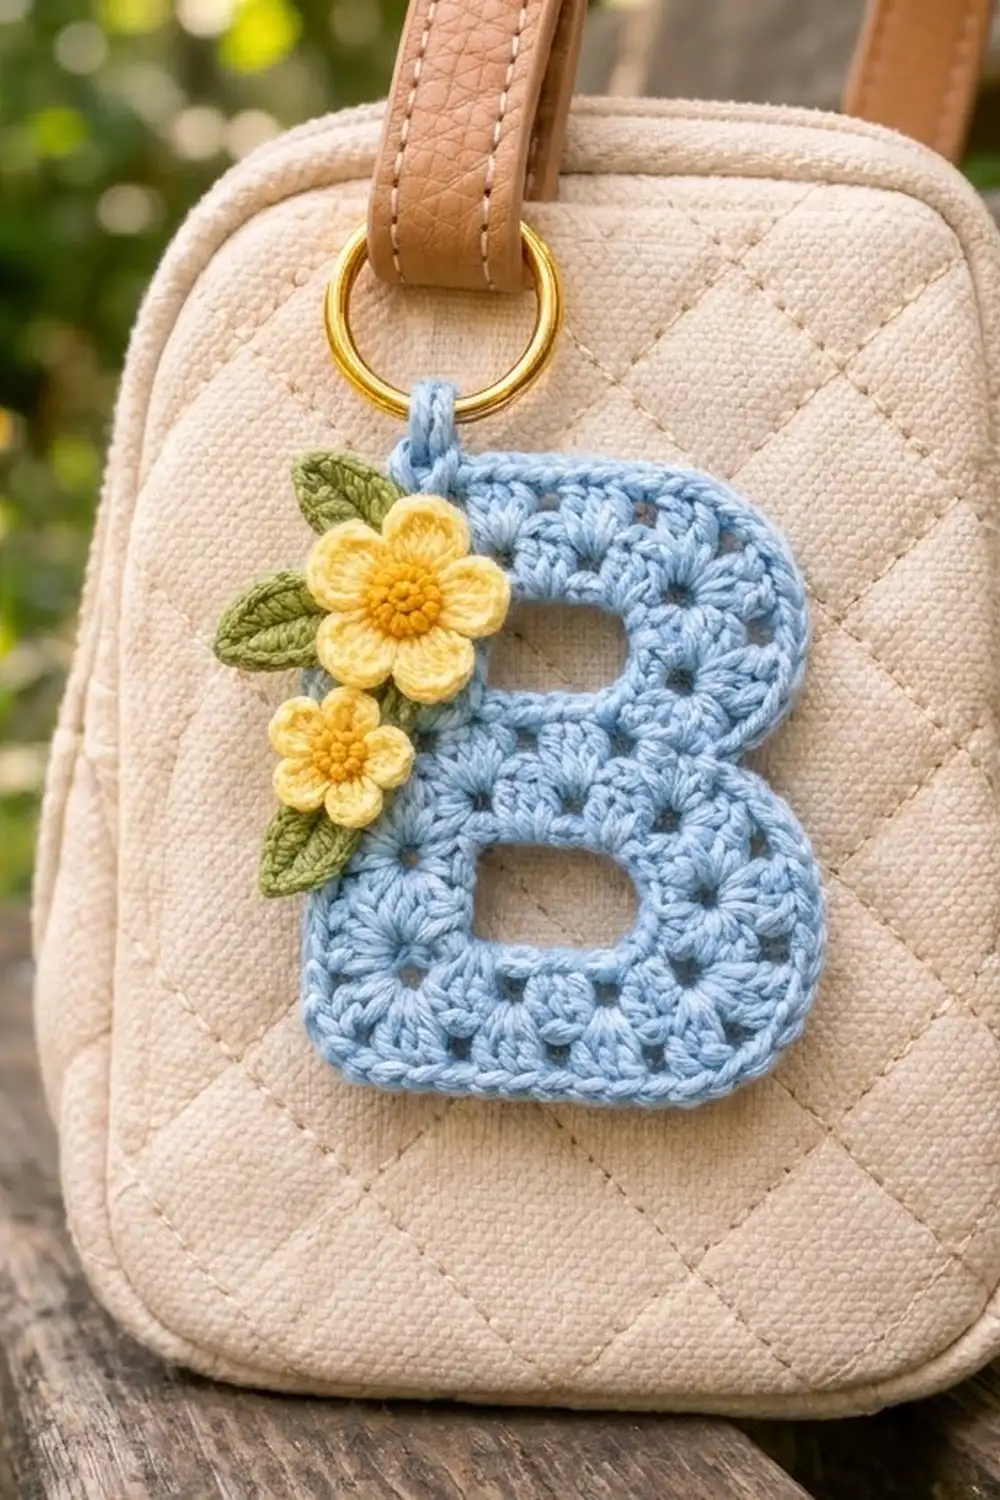
Two butter-yellow flowers with golden centers sit along the left side, tucked in with three sage-green leaves. A short tab at the top left holds a gold split ring, so the charm clips onto a bag strap, zipper pull or set of keys.
The pattern uses US crochet terms. The finished letter measures 2.9 in wide by 4.1 in tall (7.4 cm by 10.4 cm). The hanging tab adds about 0.5 in (1.3 cm) above the top edge.
The letter is worked flat in rows from the bottom up. The two openings are made by working the left and right sides separately and then bridging across them with a chain. After that, a single crochet border goes around the outside and inside each opening. The flowers and leaves are made separately and sewn on last.
Finished Size and Construction
- Finished size: 2.9 in x 4.1 in (7.4 cm x 10.4 cm), not including the tab
- Skill level: Easy-intermediate
- Terminology: US crochet terms
- Yarn weight: DK (#3 light), cotton or cotton blend
- Hook: 4.0 mm (US G-6) for the letter, 3.5 mm (US E-4) for the flowers and leaves
- Number of pieces: 1 letter (one single piece) plus 5 small appliqués (2 flowers, 3 leaves)
- Layout: Single letter; appliqués stacked along the left edge
- Letter grid: 3 block-columns wide x 9 rows tall
- Size before border: 2.4 in x 3.6 in (6.1 cm x 9.1 cm)
- Border depth: 0.25 in (0.6 cm) on every side
Materials
Choose a smooth, mercerized or matte cotton DK. Cotton holds the block texture crisply and stands up to life on a bag. Avoid fuzzy yarns, because they hide the eyelets.
- Light blue (letter and tab): 8 g, about 18 m
- Pale yellow (petals): 3 g, about 7 m
- Golden mustard (flower centers): 2 g, about 5 m
- Sage green (leaves): 2 g, about 5 m
These quantities include a small margin for a gauge test and for sewing tails.
Tools:
– 4.0 mm (US G-6) and 3.5 mm (US E-4) hooks
– One gold split ring or key ring, 1 in (2.5 cm) diameter
– Tapestry needle
– 2 locking stitch markers
– Scissors
– Blocking board or folded towel, rust-proof pins, and a spray bottle
Abbreviations (US Terms)
- ch = chain
- sl st = slip stitch
- sc = single crochet
- hdc = half double crochet
- dc = double crochet
- sc2tog = single crochet 2 together
- sk = skip
- sp = space
- st(s) = stitch(es)
- RS / WS = right side / wrong side
Special stitch – Block: 3 dc worked into 3 consecutive sts. Blocks are separated by ch 1. In later rows each block is stacked directly on the block below, which lines up the ch-1 spaces into columns of eyelets.
Standing dc: With a slipknot on the hook, yarn over and work a dc into the stitch as usual, without a turning chain.
Gauge and Checkpoints
Gauge: 18 dc and 10 rows = 4 in (10.2 cm) with the 4.0 mm hook. That works out to 4.5 sts per inch and 0.4 in (1.0 cm) per dc row.
The letter is small, so treat it as its own gauge test. Measure after these rows:
- After Row 1: width 2.4 in (6.1 cm)
- After Row 4: height 1.6 in (4.1 cm)
- After Row 5: height 2.0 in (5.1 cm)
- After Row 9: 2.4 in x 3.6 in (6.1 cm x 9.1 cm)
- After the border: 2.9 in x 4.1 in (7.4 cm x 10.4 cm)
If Row 1 is wider than 2.6 in, go down to a 3.5 mm hook and start again. If it is narrower than 2.2 in, go up to a 4.5 mm hook. If the width is right but the rows are too tall, pull up less on each dc loop rather than changing hooks.
The Letter
The letter has three block-columns. Seen from the front with the RS facing, the left column is the stem, the middle column forms the three horizontal bars, and the right column is the outer edge of the bowls.
Foundation: With light blue and the 4.0 mm hook, ch 13.
Row 1 (RS, bottom bar): Dc in 4th ch from hook and in next ch (the skipped 3 ch count as the first dc, giving a 3-dc block). Ch 1, sk next ch, dc in next 3 ch; repeat from * once more. (11 sts: 9 dc and 2 ch-1 sps; 3 blocks.)*
Put the working loop on a stitch marker. Do not fasten off.
Lower opening (Rows 2–4)
Right column, Row 2 (WS): Turn the work so the WS faces you. Join a separate strand of light blue with a standing dc in the dc of the right-hand block that sits next to the ch-1 sp. Dc in next 2 dc. (3 dc.)
Right column, Row 3 (RS): Ch 3 (counts as dc), turn, dc in next 2 dc. (3 dc.) Fasten off and leave a 6 in (15.2 cm) tail.
Left column, Row 2 (WS): Put the main loop back on the hook. Ch 3 (counts as dc), turn, dc in next 2 dc. (3 dc.) The middle block and both ch-1 sps of Row 1 stay unworked; they form the bottom edge of the opening.
Left column, Row 3 (RS): Ch 3, turn, dc in next 2 dc. (3 dc.)
Row 4 (WS, bridge row): Ch 3, turn, dc in next 2 dc. Ch 5 without twisting the chain, then dc in each of the 3 sts at the top of the right column (the last one goes into the top of its ch-3). (11 sts: 6 dc and 5 ch.)
The ch-5 spans exactly the 5 sts it replaces: ch 1 + 3 dc + ch 1.
Middle bar (Row 5)
Row 5 (RS): Ch 3, turn, dc in next 2 dc, ch 1, sk next ch, dc in next 3 ch, ch 1, sk next ch, dc in last 3 dc. (11 sts: 9 dc and 2 ch-1 sps.)
This row works out right because 1 skipped ch + 3 dc + 1 skipped ch uses all 5 bridge chains.
Upper opening (Rows 6–8)
Put the working loop on the marker.
Right column, Rows 6–7: Work these the same way as right-column Rows 2–3. (3 dc each row.) Fasten off.
Left column, Rows 6–7: Work these the same way as left-column Rows 2–3. (3 dc each row.)
Row 8 (WS, bridge row): Work as Row 4. (11 sts.)
Top bar (Row 9)
Row 9 (RS): Work as Row 5. (11 sts.) Do not fasten off.
Checkpoint: 2.4 in x 3.6 in (6.1 cm x 9.1 cm). Each opening should be about 1.1 in wide by 1.2 in tall (2.8 cm x 3.0 cm).
Flowers and Leaves
Use the 3.5 mm hook so the appliqués come out firm.
Large flower (make 1):
– Rnd 1: With golden mustard, make a magic ring and work 5 sc into it. Pull the ring tight. (5 sc.)
– Rnd 2: 2 sc in each st, then sl st to the first sc. (10 sc.) Fasten off.
– Rnd 3: Join pale yellow in any sc. (Sc, hdc, dc) in next st, (dc, hdc, sc) in next st; repeat from * 4 more times, then sl st to the first sc. (30 sts, 5 petals.)*
– Fasten off with an 8 in (20.3 cm) tail. Diameter: 1.25 in (3.2 cm).
Small flower (make 1):
– Rnds 1–2: Work as for the large flower. (10 sc.)
– Rnd 3: With pale yellow, (sc, dc) in next st, (dc, sc) in next st; repeat from * 4 more times, then sl st to join. (20 sts, 5 petals.)*
– Diameter: 1 in (2.5 cm).
The tight 5-sc start makes the center dome up slightly, which gives the raised look.
Leaf (make 3):
– With sage green, ch 7.
– Sl st in 2nd ch from hook, then sc, hdc, dc, hdc and sc in the next 5 ch. (6 sts.)
– Ch 1 and rotate. Working into the opposite side of the chain, work sc, hdc, dc, hdc, sc and sl st. (6 sts.)
– Ch 2 for the pointed tip, then sl st into the first sl st.
– Fasten off with an 8 in (20.3 cm) tail. Length: 1 in (2.5 cm).
Border
Border gauge: 4.5 sc per inch along the top and bottom edges, 2 sc per dc row-end on the outer sides, and 1 sc per row-end inside the openings.
Outer edge – Round 1 (RS)
Continue from the end of Row 9, which is at the top-left corner, and work around the outside counterclockwise.
- Top-left corner: Ch 1, 3 sc in the last st of Row 9.
- Left side: 2 sc in each of the 9 row-ends. (18 sc.)
- Bottom edge: Working into the free loops of the 11 foundation chains, 3 sc in the first ch (bottom-left corner), sc in each of the next 9 ch, and 2 sc in the last ch (bottom-right corner). (14 sc.)
- Right side: Work up the right edge as follows:
- 3 sc in the Row 1 row-end
- 2 sc in each of the Row 2–4 row-ends (6 sc)
- A loose sl st in the Row 5 row-end for the waist notch
- 2 sc in each of the Row 6–8 row-ends (6 sc)
- 3 sc in the Row 9 row-end
- (19 sts.)
- Top edge: 2 sc in the first st of Row 9 (top-right corner), then sc in each of the next 9 sts.
- Sl st to the first sc to join. Fasten off.
Top edge total: 3 + 9 + 2 = 14 sc.
Round total: 14 top + 18 left + 14 bottom + 19 right = 65 sts.
Why the math works: The outer sides are 3.6 in (9.1 cm) tall, and 18 sc at 4.5 per inch measure 4.0 in. That small surplus sits on the outside of the curve, so the edge lies flat instead of pulling.
On the right side, each corner turn is split between 2 sc on the top or bottom edge and 3 sc in the first row-end. This spreads the turn out and rounds the bowl corners. The single sl st at Row 5 pulls the edge in to make the waist notch.
Opening edging (work twice, once in each opening)
Each opening has 16 edge positions:
– 5 along the bottom: ch-1 sp, 3 dc, ch-1 sp
– 3 row-ends up the right side
– 5 bridge chains across the top
– 3 row-ends down the left side
Join light blue with sc in the first dc of the bottom edge. Then work:
1. Sc in next 2 dc.
2. Sc2tog over the ch-1 sp and the first row-end.
3. Sc in next row-end.
4. Sc2tog over the last row-end and the first bridge ch.
5. Sc in next 3 ch.
6. Sc2tog over the last ch and the first row-end.
7. Sc in next row-end.
8. Sc2tog over the last row-end and the remaining ch-1 sp.
9. Sl st to the first sc. (12 sts.)
Why the math works: 16 positions minus 4 corner decreases leaves 12 sts. The edging shrinks each opening to about 0.6 in x 0.7 in (1.5 cm x 1.8 cm), so the stitch tops sit on a perimeter of about 2.6 in. At 4.5 sc per inch, 12 sc measure 2.7 in, which is close enough to lie flat without ruffling.
Hanging tab
The tab sits above the stem.
Row 1 (RS): With the RS facing, count the top-edge sc from the left. Join light blue with sl st in the 5th sc, ch 1, then sc in the same st and in the next 2 sc (the 4th and 3rd). (3 sc.)
Rows 2–6: Ch 1, turn, sc in each sc. (3 sc.)
Fasten off with an 8 in (20.3 cm) tail. The tab is 0.7 in wide by 1.2 in long (1.8 cm x 3.0 cm).
Final Blocking
- Weave in all the letter’s tails along the row-ends, but leave the tab tail for now.
- Mist the letter evenly with water until it is damp, not soaked.
- Pin it to 2.9 in x 4.1 in (7.4 cm x 10.4 cm). Put one pin in each corner, then ease the right-hand corners into soft curves.
- Press each opening into a neat rounded rectangle with your fingertips. Check that the bridge chains run straight across.
- Let it dry completely, then unpin.
- Slide the split ring onto the tab. Fold the tab to the back and whipstitch Row 6 to the back at the base of the tab. About 0.5 in (1.3 cm) of loop should show above the edge.
- Place the appliqués:
- Center the large flower on the left edge at Rows 7–8.
- Place the small flower directly below it at Rows 3–4.
- Overlap both flowers onto the stem so they stick out about 0.2 in (0.5 cm) past the left edge.
- Tuck one leaf above the large flower, one between the two flowers, and one below the small flower, with the tips angled outward.
- Sew each piece on through its back loops with the matching tail. Sew around the center and at each petal base so the petals stay free. Weave in the ends on the back.
Final Quality-Control Checklist
- The letter measures 2.9 in x 4.1 in (7.4 cm x 10.4 cm).
- Every pattern row has 11 sts, and every leg row has 3 dc.
- The eyelet columns line up straight from bottom to top.
- The outer round has 65 sts and each opening round has 12 sts.
- The waist notch sits at Row 5 on the right side.
- Both right-hand corners are rounded, and both left-hand corners are square.
- The tab is centered over the stem and the ring turns freely.
- The flowers and leaves are secure, with no stitches showing on the front.
Troubleshooting
- The bridge chain sags: Your ch-5 is looser than your dc. Rework it, or go down half a hook size for just that chain.
- The openings look slanted: You probably worked a leg row into the wrong edge stitch. Each leg row must have exactly 3 dc.
- The outer edge ruffles: Your sc are short. Work 3 sc in every 2 row-ends instead of 2 sc in each row-end.
- The opening edges pucker: Loosen the sc2tog stitches, or change the corner decreases to plain sc.
- The flowers cup: Rnd 2 is too tight. Rework it with the 4.0 mm hook.
- The tab stretches: Stitch through both layers once more near the ring.
Care
Hand wash in cool water, press out the moisture in a towel, and dry flat. Remove the ring before washing so it doesn’t tarnish.
Final Notes
The measurements build on each other:
– Row 1 sets the width at 2.4 in (6.1 cm).
– Nine dc rows at 0.4 in (1.0 cm) each give 3.6 in (9.1 cm) of height.
– The bridge rows keep every row at 11 sts, so the openings stay square.
– A 0.25 in (0.6 cm) border brings the letter to 2.9 in x 4.1 in (7.4 cm x 10.4 cm).
Check your size at each checkpoint and the finished charm will lie flat and hang straight.
Happy crocheting!