
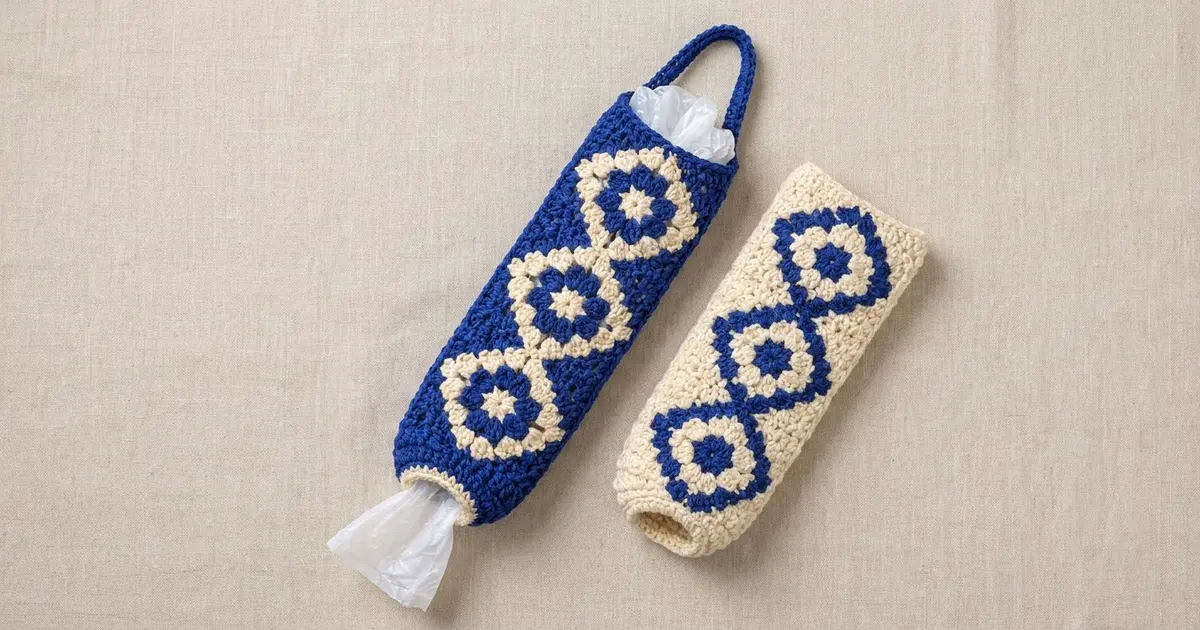
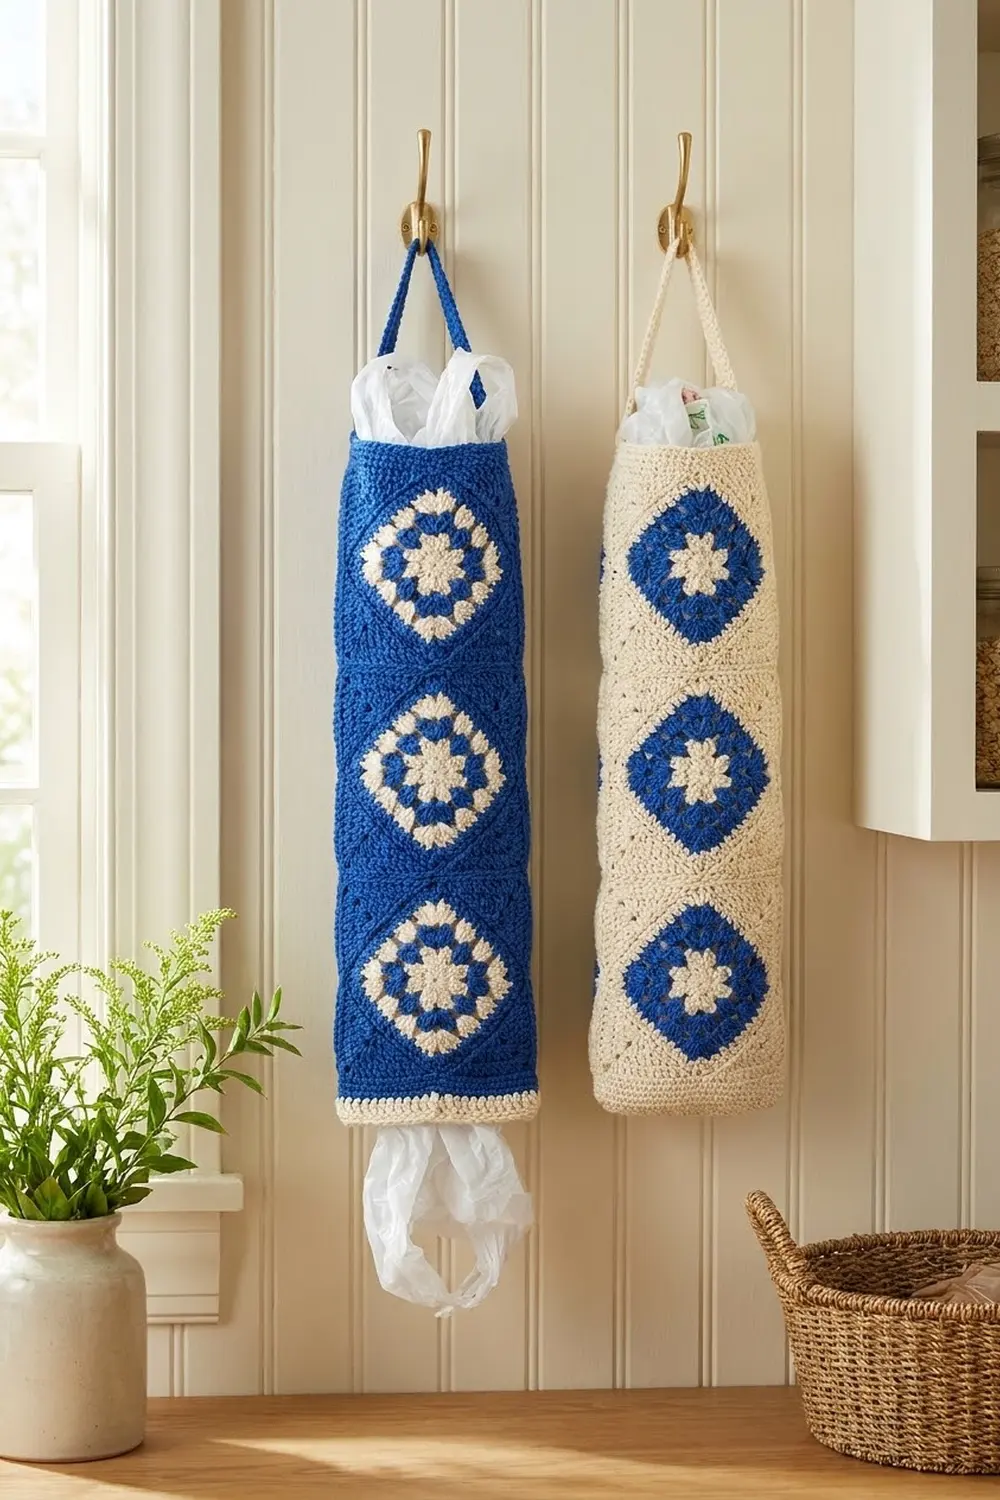
This grocery bag holder is a tall, slim tube in deep cobalt blue. Three cream diamonds run down the front, each with a small blue flower and a cream center. You stuff plastic bags in the top and pull them out one at a time through a small cuffed opening at the bottom.
The blue-and-white look suits a farmhouse kitchen, a pantry door, or a laundry nook. It uses just two colors, cobalt blue and cream. For the reverse version, swap the two colors everywhere.
The pattern uses US crochet terms. The finished holder is about 5 in (12.7 cm) wide when flattened and about 17.25 in (43.8 cm) tall without the loop. The loop adds about 3.5 in (8.9 cm) above the top edge.
Here’s how it goes together. You make three small granny squares and set them on point so they look like diamonds. Blue triangles are worked straight onto their edges to fill the gaps. A blue back panel closes the front into a tube. Then you add a top band, a tapered bottom with a cream cuff, and a hanging loop.
Finished Size and Construction
- Finished size: about 5 in (12.7 cm) wide flat × 17.25 in (43.8 cm) tall, plus a 3.5 in (8.9 cm) loop
- Skill level: Easy intermediate
- Terminology: US
- Yarn weight: Worsted (#4), cotton recommended
- Hook: 4.5 mm (US 7)
- Number of pieces: 3 motif squares, joined into one tube with blue fill triangles and a back panel
- Layout: 1 column of 3 squares set on point, tip to tip
- Piece size: 3.5 in (8.9 cm) square, about 5 in (12.7 cm) from corner to corner
- Front panel before border: about 5 in × 15 in (12.7 cm × 38.1 cm)
- Border depth: the edging round adds about 0.25 in (0.6 cm), the top band 0.75 in (1.9 cm), and the bottom section 1.5 in (3.8 cm)
Materials
Use a smooth worsted-weight cotton or cotton blend. Cotton keeps its shape and won’t stretch out when the holder is full. Any yarn that matches the gauge will work.
- Cobalt blue (Color A): 75 g, about 115 m
- Cream (Color B): 25 g, about 38 m
These amounts include a small safety margin.
Tools:
– 4.5 mm (US 7) crochet hook
– Tapestry needle
– Scissors
– Stitch markers
– Tape measure
– Blocking mat and pins
Abbreviations (US Terms)
- ch – chain
- sl st – slip stitch
- sc – single crochet
- dc – double crochet
- sc2tog – single crochet 2 together
- sc3tog – single crochet 3 together
- sp – space
- st(s) – stitch(es)
- rnd – round
- MR – magic ring
- rev sc – reverse single crochet (crab stitch)
3-dc cluster: Yarn over, insert the hook in the stitch, yarn over and pull up a loop, then yarn over and pull through 2 loops. Do this 3 times in the same stitch. Then yarn over and pull through all 4 loops on the hook.
Beginning cluster: Ch 2, then work a 2-dc cluster in the same stitch. A 2-dc cluster is the same as above but done twice; finish by pulling through all 3 loops.
Gauge and Checkpoints
Gauge: 17 sc and 17 rows = 4 in (10.2 cm) in sc rows with Color A.
Make one square first and measure it. Everything else in the tube is sized from the square’s edge: 15 sts per side, including the corners, measuring 3.5 in (8.9 cm).
Square checkpoints:
– After Rnd 2: about 1.75 in (4.4 cm) across
– After Rnd 3: about 2.75 in (7.0 cm) from side to side
– After Rnd 5: 3.5 in (8.9 cm) per side
If your square is too big, go down half a hook size. If it’s too small, go up half a size. Change the hook, not the stitch counts, because the fill triangles and back panel are counted to the 15-stitch edge.
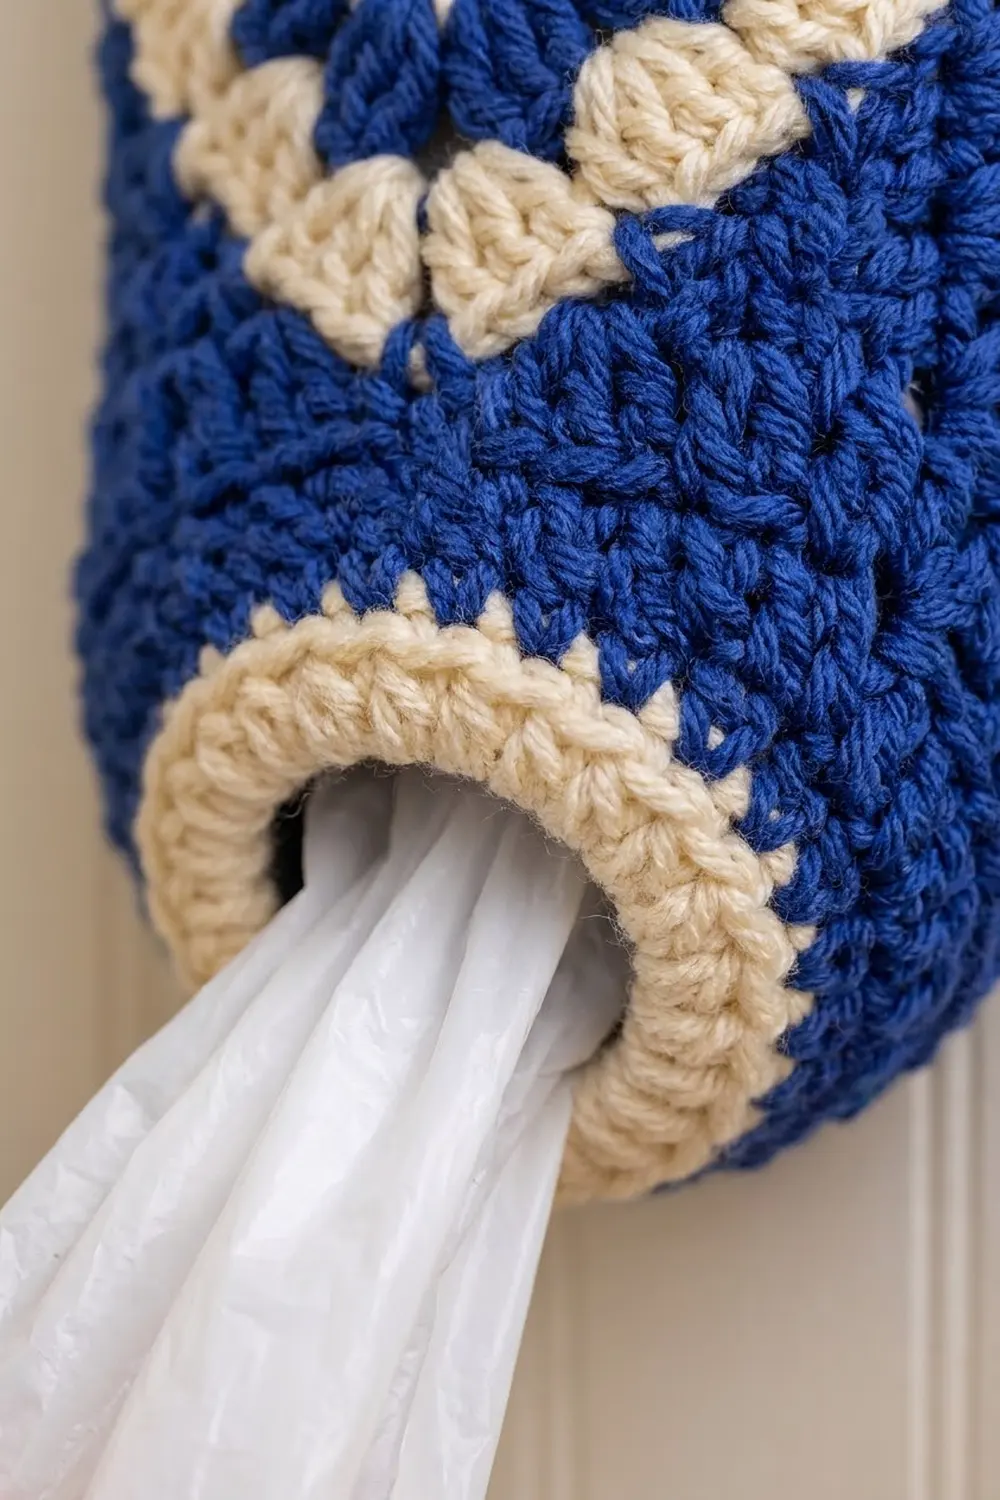
Motif Square (Make 3)
Rnd 1 (Color B): MR, ch 1, 8 sc in the ring, sl st to the first sc. Pull the ring closed. (8 sc) Fasten off B.
Rnd 2 (Color A): Join A in any sc. Work a beginning cluster in the same st, then ch 2. 3-dc cluster in the next sc, ch 2; repeat from * 6 more times. Sl st to the top of the beginning cluster. (8 clusters, 8 ch-2 sps)* These are the blue petals. Fasten off A.
Rnd 3 (Color B, conversion round): Join B in any ch-2 sp. Ch 3 (counts as a dc), then work (2 dc, ch 2, 3 dc) in the same sp for a corner. Work 3 dc in the next sp for a side. Work (3 dc, ch 2, 3 dc) in the next sp, then 3 dc in the next sp; repeat from * 2 more times. Sl st to the top of the ch 3.
(4 corners × 6 dc + 4 sides × 3 dc = 36 dc, with 4 corner ch-2 sps; 9 dc per side between the corner sps)*
Rnd 4 (Color B): Ch 1. Sc in each dc around, working 3 sc in each corner ch-2 sp. Sl st to the first sc.
(36 sc worked one in each dc + 12 sc in the corners = 48 sc)
Rnd 5 (Color B): Ch 1. Sc in each st around, working 3 sc in the center sc of each corner. Sl st to the first sc.
(48 sc worked one in each st + 8 extra at the corners = 56 sc)
Fasten off, leaving a 6 in (15.2 cm) tail.
Per side: 15 sts, counted from one corner center st to the next and including both of them. Check: 4 × 15 − 4 shared corners = 56.
Make All Pieces
Make 3 identical squares. Rnds 1, 3, 4, and 5 are Color B, and Rnd 2 is Color A. All of the blue fill is worked later, directly onto the squares.
Turn each square so one corner points up. The front layout looks like this:
   /\      <- square 1 (top)
   \/
   /\      <- square 2
   \/
   /\      <- square 3 (bottom)
   \/
Joining
Tip join: Hold square 1 above square 2 so that square 1’s bottom corner center st touches square 2’s top corner center st. With A, sl st through both sts and fasten off. Join square 2 to square 3 the same way. This join is only a single point; the fill triangles are what hold the column together.
Side triangles (4 total, Color A): Work these on the lower-left and lower-right sides of squares 1 and 2.
Row 1: With the right side facing, join A in the side tip (the left or right corner center st). Sc in the same st and in each st along the lower side, ending in the bottom corner center st. (15 sc)
Rows 2–15: Ch 1, turn. Decrease only at the side-tip end, with sc2tog over the 2 sts there. Keep the edge at the tip join straight. Each row has 1 st fewer than the row before.
(Row 2: 14 sts. Row 3: 13 … Row 14: 2. Row 15: 1.)
Don’t fasten off. The straight row-end edge now lies along the upper side of the square below. Sl st this edge to that square, 1 row end to 1 st, for 15 row ends to 15 sts, working from the lower square’s side tip back to the tip join. Keep each sl st about as loose as a sc so the seam lies flat. Fasten off.
Corner triangles (4 total, Color A): Work these on the two upper sides of square 1 and the two lower sides of square 3.
Row 1: Join A in a corner center st. Sc in each st along the side, ending in the next corner center st. (15 sc)
Rows 2–8: Ch 1, turn, and decrease at both ends of every row.
(Row 2: sc2tog, sc 11, sc2tog = 13. Row 3: 11. Row 4: 9. Row 5: 7. Row 6: 5. Row 7: sc2tog, sc 1, sc2tog = 3. Row 8: sc3tog = 1.)
Fasten off.
Size checkpoint: The front should now be a rectangle about 5 in × 15 in (12.7 cm × 38.1 cm), with the side tips of the squares sitting right on the long edges.
Border, Back Panel, and Tube Finishing
Border gauge: 17 sts = 4 in (10.2 cm). The triangle edges are diagonal row ends, so pick up 4 sts for every 3 row ends.
Border Rnd 1 (Color A, panel edging): Join at the top-left corner. Work 1 sc in each panel corner, and sc around the edges as follows.
- Top and bottom, between the corners: 10 sc along the corner triangle ([sc in the next 3 row ends, 2 sc in the next] twice), 1 sc in the square’s tip, then 10 sc along the other corner triangle. (21 sc + 2 corner sc = 23 per side)
- Each long side, between the corners: 10 sc along the corner triangle, 1 sc in a tip, 20 sc along a side triangle ([sc in the next 2 row ends, 2 sc in the next] 5 times), 1 sc in a tip, 20 sc along the next side triangle, 1 sc in a tip, then 10 sc along the last corner triangle. (63 sc + 2 corner sc = 65 per side)
Total: 23 + 65 + 23 + 65 − 4 shared corners = 172 sc.
Why the math works: Corner to corner, each square spans about 5 in (12.7 cm), which is 21 sts at gauge. Three squares give 3 × 21 = 63 sts, which is exactly the long-side count between the corners (10 + 1 + 20 + 1 + 20 + 1 + 10 = 63). The top edge is one square wide, so it gets 21 sts.
Back panel (Color A):
Row 1: With the right side facing, join at the top-left corner. Sc in each of the 65 sts down the left long edge, from corner to corner. (65 sc)
Rows 2–21: Ch 1, turn, sc in each st across. (65 sc)
The panel should be about 5 in (12.7 cm) wide. Fold it behind the front, then sl st Row 21 to the 65 sts of the right long edge, one stitch to one stitch. The tube now measures about 10.25 in (26.0 cm) around.
Top band (Color A):
Rnd 1: Join at the top of the right seam. Sc in each of the 23 front top-edge sts, then in each of the 21 back-panel row ends. Sl st to join.
(23 + 21, worked 1 per st or row end = 44 sc)
Rnds 2–3: Ch 1, sc in each st around. (44 sc) Fasten off.
Hanging loop (Color A): Place a marker in the Rnd 3 st directly above each seam.
Row 1: Join A. Sc in the st before the left marker, in the marked st, and in the st after it. (3 sc)
Rows 2–31: Ch 1, turn, sc 3. (3 sc)
The strap is about 7.25 in (18.4 cm) long. Make sure it isn’t twisted, then sew the last row to the 3 sts centered on the right marker. The loop rises about 3.5 in (8.9 cm) above the top.
Bottom section:
Rnd 1 (Color A): Join at the bottom of the right seam. Sc in each of the 23 front bottom-edge sts, then in each of the 21 back-panel row ends. (44 sc)
Rnd 2: [Sc 9, sc2tog] 4 times. (40 sc)
Rnd 3: [Sc 3, sc2tog] 8 times. (32 sc)
Rnd 4: [Sc 2, sc2tog] 8 times. (24 sc) Fasten off A.
Rnds 5–6 (Color B): Sc in each st around. (24 sc)
Rnd 7 (Color B): Rev sc in each st around. (24 rev sc)
Fasten off. The opening is about 1.8 in (4.6 cm) across, which holds the bags in but still lets you pull one out easily.
Final Blocking
- Weave in all ends through stitches of the same color.
- Lay the tube flat with the diamonds centered on the front.
- Spritz it evenly until damp but not soaked.
- Pin the front to 5 in (12.7 cm) wide and 15 in (38.1 cm) tall, measured between the top band and the bottom section.
- Line up the diamond tips along a straight center line.
- Let it dry completely before unpinning.
- Steam the loop lightly so it holds a smooth arch.
Final Quality-Control Checklist
- Each square has 56 sts in Rnd 5, with 15 sts per side.
- All tip joins sit on the center line.
- Each side triangle has 15 rows and each corner triangle has 8.
- Border Rnd 1 has 172 sts: 23 on the top and bottom, 65 on each long side.
- The back panel is 65 sts × 21 rows.
- The top and bottom Rnd 1 each have 44 sts.
- The cuff has 24 sts and an opening about 1.8 in (4.6 cm) across.
- The flat width is about 5 in (12.7 cm).
Troubleshooting
Squares ruffle: Rnd 3 is too loose. Go down a hook size for that round.
Squares cup: Check that you worked 3 sc in every corner on Rnds 4 and 5.
Side triangles don’t reach the next tip: Your rows are shorter than your stitches are wide. Add one row with no decrease, or loosen your tension.
Panel edge waves: You picked up too many sts. Recount against 10 / 20 / 20 / 10.
Seam puckers: Loosen your sl sts, or whipstitch through the outer loops instead.
Bottom opening is too tight: Skip Rnd 4 and work the cream rounds over 32 sts.
Care
Hand wash, or machine wash cold on a gentle cycle, and lay flat to dry. Reshape the cuff and loop while the holder is still damp.
Final Notes
Each measurement sets up the next one. Fifteen stitches per side give a 3.5 in (8.9 cm) square, which measures about 5 in (12.7 cm) when set on point. Three diamonds make a 5 in × 15 in (12.7 cm × 38.1 cm) front panel. The edging picks up 23 and 65 sts per side, and the back panel matches the 65 stitch for stitch. The 44-stitch top and bottom rounds close the tube, and the cuff tapers to 24. Get the first square right and the rest will follow.
Happy crocheting!