

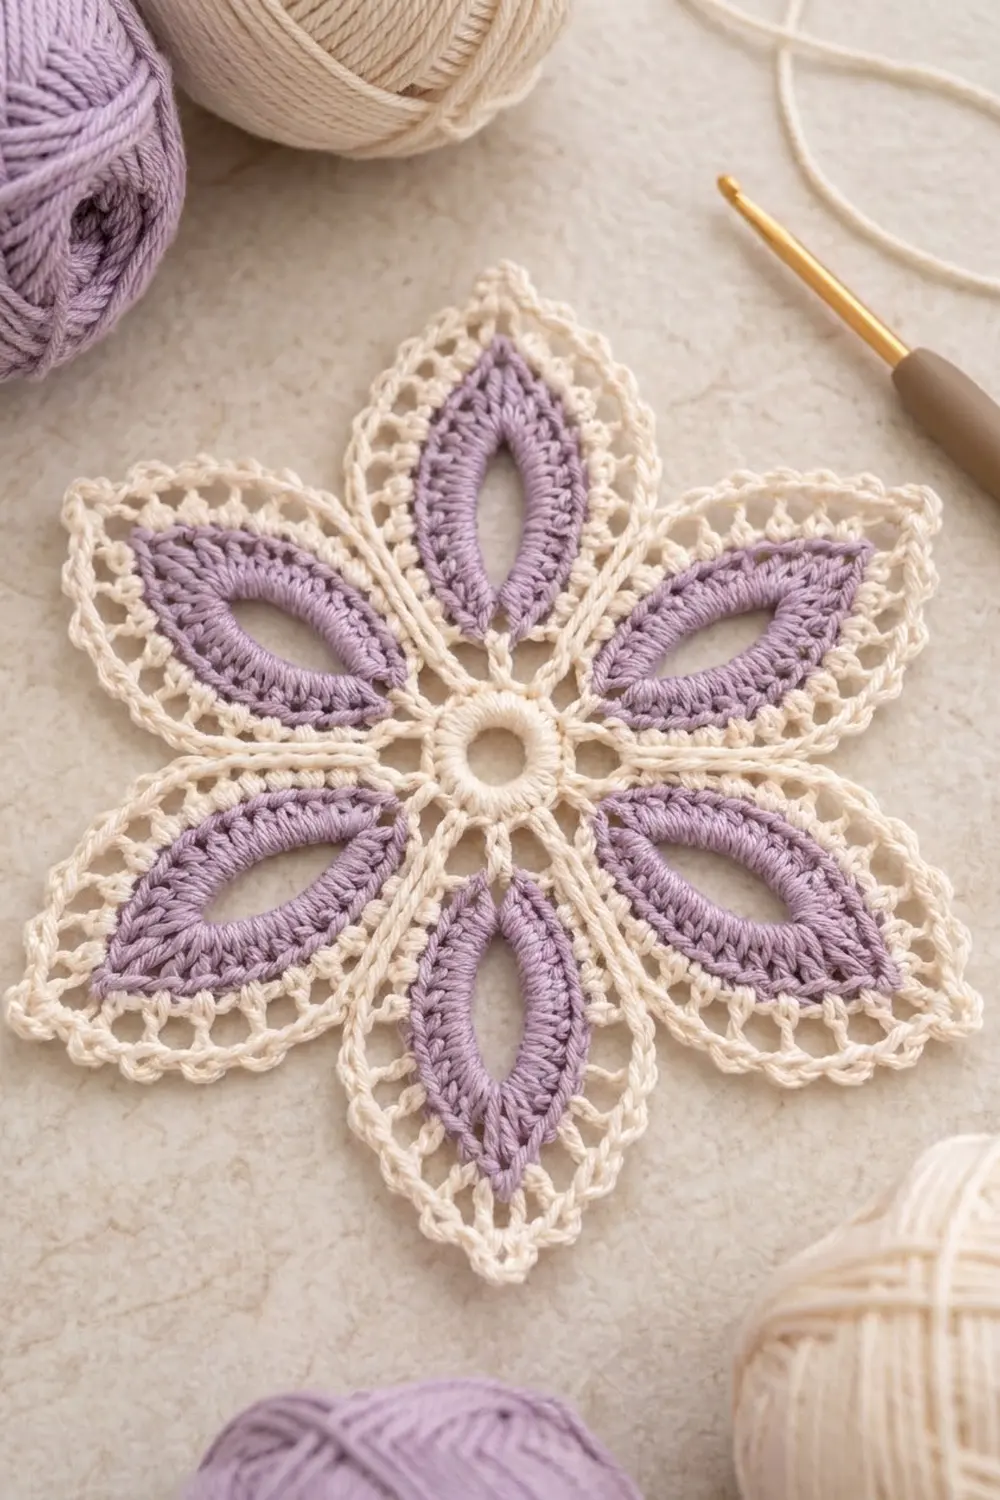
The Lavender Eyelet Bloom is a six-petal lace flower worked in soft lavender and cream. Each petal is a pointed almond shape with an open eyelet slit down the middle. A small cream ring with an open centre holds the petals together, and a lacy cream picot edge outlines the whole flower.
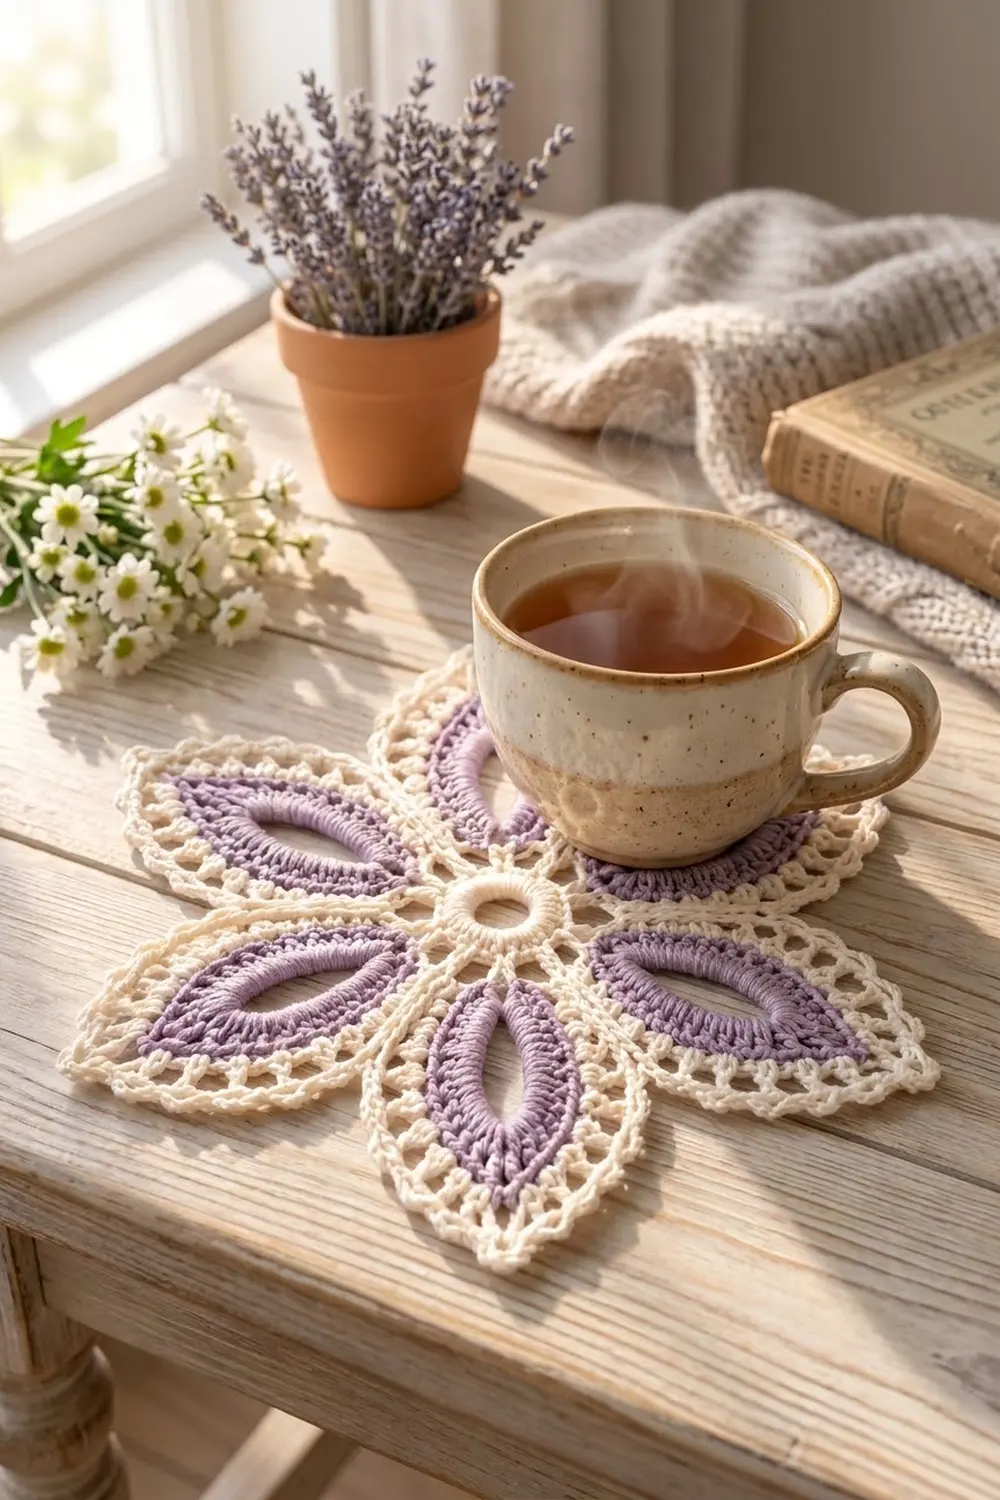
The look is airy, a little vintage and quite romantic. The lavender petals are dense and slightly ribbed, so they stand out clearly against the open cream mesh around them. The motif works well as a doily, a table accent or an appliqué. You can also use it as a test piece before planning anything larger.
This pattern uses US crochet terms. The finished motif measures 6.5 in (16.5 cm) from petal tip to opposite petal tip after blocking.
Construction is simple and worked in the round without turning. You start with a cream ring. Next you make six lavender chain loops and cover them with stitches to form the eyelet petals. A cream outline round follows, and two cream border rounds add the mesh and the picot edge.
Finished Size and Construction
- Finished size: 6.5 in (16.5 cm) tip to tip, blocked
- Skill level: Easy intermediate
- Terminology: US crochet terms
- Yarn weight: DK (light worsted, #3) cotton
- Hook: 3.5 mm (US E-4)
- Number of pieces: 1
- Layout: Single six-petal motif, worked in the round
- Piece size: 6.5 in (16.5 cm) tip to tip
- Size before border (after Rnd 4): 5.25 in (13.3 cm) tip to tip
- Border depth (Rnds 5–6): 0.625 in (1.6 cm) on every side
Materials
Use a smooth, mercerized or combed cotton in DK weight. Cotton gives crisp stitch definition and blocks into sharp petal points. A fuzzy or very splitty yarn will hide the eyelet slits.
- Color A – Cream: 15 g, approx. 35 m (38 yd)
- Color B – Lavender: 8 g, approx. 18 m (20 yd)
These quantities include a margin of about 20% for your gauge swatch and weaving in ends.
Tools:
– 3.5 mm (US E-4) crochet hook
– Tapestry needle
– Scissors
– 1 locking stitch marker
– Blocking mat and rustproof pins
– Spray bottle with clean water
Abbreviations (US Terms)
- ch – chain
- sl st – slip stitch
- sc – single crochet
- hdc – half double crochet
- dc – double crochet
- sc3tog – single crochet 3 together
- sk – skip
- sp(s) – space(s)
- st(s) – stitch(es)
- rnd – round
Special stitches:
- Picot: Ch 3, sl st in the 3rd ch from hook.
- Sc3tog: (Insert hook in next st, yo, pull up a loop) 3 times, yo, pull through all 4 loops on hook.
- Standing sc: With a slip knot on your hook, insert hook in the indicated st or sp, yo, pull up a loop, yo, pull through both loops.
Gauge and Checkpoints
Gauge: 18 sc and 20 rows = 4 in (10.2 cm) in DK cotton with a 3.5 mm hook.
Gauge isn’t critical for a single motif, but it controls the finished size and how sharp the petals look. Before you start, make a quick swatch, or just work Rnd 1 and measure it.
Checkpoints (measured flat, lightly pressed):
- After Rnd 1: 1.25 in (3.2 cm) across the ring
- After Rnd 3: 4.75 in (12.1 cm) tip to tip
- After Rnd 4: 5.25 in (13.3 cm) tip to tip
- After Rnd 5: 6 in (15.2 cm) tip to tip
- After Rnd 6: 6.5 in (16.5 cm) tip to tip, blocked
If your motif is too big: Go down to a 3.25 mm (US D-3) hook, or tighten the chain loops in Rnd 2. Loose chains are the most common cause of oversized petals.
If your motif is too small: Go up to a 3.75 mm (US F-5) hook. If the petals look stubby, check that you aren’t pulling the ch-14 loops tight.
If you’re more than 0.25 in (0.6 cm) off at any checkpoint, change the hook before continuing. The error grows with every round.
Pattern
Rnd 1 – Center Ring (Cream)
With Color A, ch 6, sl st to the first ch to form a ring.
Ch 3 (counts as dc), work 23 dc in the ring. Sl st to the top of the beginning ch-3. (24 dc)
The ring should have a clear open hole, about 0.5 in (1.3 cm) across, in the centre. Fasten off Color A.
Rnd 2 – Petal Loops (Lavender)
Join Color B with a standing sc in any dc.
Ch 14, sc in the next dc (this forms a petal loop anchored over 2 sts). Ch 2, sk next 2 dc, sc in next dc. Repeat from * to * 4 more times.
Ch 14, sc in the next dc, ch 2, sk the last 2 dc. Sl st to the first sc.
(12 sc, 6 ch-14 petal loops, 6 ch-2 sps)
Check: each repeat uses 4 dc (2 anchor + 2 skipped), and 6 × 4 = 24 dc, so every stitch of Rnd 1 is used. Don’t fasten off.
Rnd 3 – Eyelet Petals (Lavender)
Sl st into the first ch-14 loop. Every petal stitch is worked into the loop as a space. The stitches cover the chain, and the inside of the loop stays open as the eyelet slit.
*In the ch-14 loop: 2 sc, 2 hdc, 5 dc, 2 hdc, sc, ch 2 (petal tip), sc, 2 hdc, 5 dc, 2 hdc, 2 sc.
Sc in the next ch-2 sp between petals.* Repeat from * to * 5 more times. Sl st to the first sc.
Per petal: 12 sts on the first side + 12 sts on the second side = 24 sts, plus 1 ch-2 tip sp.
Round total: (6 × 24) + 6 sc between petals = 150 sts, plus 6 ch-2 tip sps
Push the stitches together along the loop as you work so the petal looks dense and slightly ribbed. Fasten off Color B.
Checkpoint: 4.75 in (12.1 cm) tip to tip. Every petal should have an open slit about 0.75 in (1.9 cm) long.
Rnd 4 – Petal Outline (Cream)
This is a conversion round. Each st is worked 1 per existing st, except at the valleys, where 3 sts become 1, and at the tips, where 2 sc go into each ch-2 sp.
Join Color A with a standing sc in any petal-tip ch-2 sp, ch 2, sc in the same sp.
Sc in the next 11 sts. Sc3tog over the next 3 sts (the last st of this petal, the sc between petals, and the first st of the next petal). Sc in the next 11 sts. (Sc, ch 2, sc) in the next tip ch-2 sp. Repeat from * to * 5 times, but on the last repeat stop before the final tip sp. Sl st to the first sc.
Per repeat: 2 tip sc + 11 sc + 1 sc3tog + 11 sc = 25 sts, plus 1 ch-2 tip sp
Round total: 6 × 25 = 150 sts, plus 6 ch-2 tip sps
The count stays at 150. Each valley loses 2 sts (3 become 1) and each tip gains 2 (2 sc in the ch-2 sp), so 6 × (–2 + 2) = 0. The sc3tog pulls the outline into a neat V between petals.
Checkpoint: 5.25 in (13.3 cm) tip to tip. This is your size before the border.
Border
The border has two cream rounds that go all the way around the motif. In this pattern, one “side” means one petal repeat, from one tip ch-2 sp to the next. Each side starts Rnd 5 with exactly 25 sts from Rnd 4.
Border gauge: Each ch-3 loop plus its anchoring sc spans 3 sts of Rnd 4. Rnd 5 adds 0.375 in (1.0 cm) of depth and Rnd 6 adds 0.25 in (0.6 cm), for a total border depth of 0.625 in (1.6 cm).
Rnd 5 – Chain Mesh (Cream)
Don’t fasten off after Rnd 4. Sl st into the next tip ch-2 sp.
Ch 1, (sc, ch 3, sc) in the same tip sp.
Ch 3, sk the next 3 sts, sc in the next st. [Ch 3, sk 2 sts, sc in the next st] 6 times. Ch 3, sk the next 3 sts. (Sc, ch 3, sc) in the next tip ch-2 sp. Repeat from * to * 5 times, but on the last repeat end after the final ch 3 and sk 3. Sl st to the first sc.
Per side:
– 25 sts consumed: 3 skipped + 1 sc + (6 × 3) + 3 skipped = 25
– 9 sc: 2 at the tip + 7 along the side
– 9 ch-3 sps: 1 at the tip + 8 along the side
Round total: 6 × 9 = 54 sc and 54 ch-3 sps
The 4th sc on each side (the 13th st of the 25) lands exactly on the sc3tog. This puts one sc in the bottom of every valley, so the mesh follows the petal shape.
Checkpoint: 6 in (15.2 cm) tip to tip.
Rnd 6 – Picot Scallop Edge (Cream)
Sl st into the next tip ch-3 sp.
*Tip sp: (sc, hdc, dc, picot, dc, hdc, sc).
Each of the next 8 side ch-3 sps: (sc, hdc, picot, hdc, sc).*
Repeat from * to * 5 more times. Sl st to the first sc. Fasten off.
Per side: 6 tip sts + (8 × 4) side sts = 38 sts and 9 picots
Round total: 6 × 38 = 228 sts and 54 picots
The taller dc at each tip extends the petal point, while the shorter scallops along the sides keep the edge firm. One picot sits on every ch-3 sp, so the edge is evenly spaced and goes around without a jog.
Why the math works: Each petal repeat has 25 sts in Rnd 4. The mesh needs 3 + 1 + 18 + 3 = 25, so every repeat closes exactly at the next tip. Because every side matches, the border lies flat with no ruffling or cupping.
Final Blocking
- Weave in all ends on the wrong side, following the stitch direction. Hide lavender tails in lavender stitches and cream tails in cream stitches.
- Spray the motif evenly until it is damp, not dripping.
- Lay it right side up on the blocking mat.
- Pin the centre ring flat, keeping the hole round.
- Pin each of the 6 petal tips so it sits 3.25 in (8.3 cm) from the centre, giving 6.5 in (16.5 cm) tip to tip.
- Check that opposite tips line up and the spacing looks even all the way around.
- Pin the bottom of each valley so the V stays crisp.
- Lightly open each picot with a pin, and gently stretch each petal’s eyelet slit lengthwise.
- Leave it to dry completely before unpinning, usually 6 to 12 hours.
Final Quality-Control Checklist
- Ring has 24 dc and an open centre hole
- 6 lavender petals, each with an open eyelet slit
- Each petal has 24 sts plus a ch-2 tip
- Rnd 4 has 150 sts, with an sc3tog in every valley
- Rnd 5 has 54 ch-3 sps, 9 per side
- Rnd 6 has 54 picots, 9 per side
- Measures 6.5 in (16.5 cm) tip to tip after blocking
- All ends are woven in securely and invisible from the front
- Motif lies flat with no cupping or ruffling
Troubleshooting
Petals have no visible slit: The ch-14 loops were too short or the stitches were packed too tightly. Chain more loosely, or go up a hook size for Rnd 2 only.
Petals twist sideways: The loop was twisted when you anchored it. Before working the sc into the next dc, check that the chain lies flat.
Motif cups into a bowl: Your tension in Rnds 4–5 is too tight. Loosen up or use a larger hook for the border.
Edge ruffles: You probably added extra sts in Rnd 6. Recount: there should be 38 sts per side.
Valley sc doesn’t land on the sc3tog: You’ve miscounted the skipped sts. The first and last skips on each side are 3 sts, not 2.
Lavender shows through the cream: Weave the tails only into stitches of the same colour.
Care
Hand wash in cool water with a mild detergent and press out the water in a towel. Dry flat, re-pinning the petal tips if needed.
Final Notes
Here is the measurement chain: a 1.25 in (3.2 cm) ring grows to petals 4.75 in (12.1 cm) across. The outline brings it to 5.25 in (13.3 cm), and the 0.625 in (1.6 cm) border finishes the bloom at 6.5 in (16.5 cm). The stitch counts are 24, then 150 and 150, then 54 loops and 54 picots. If those numbers match and each checkpoint is right, your bloom will block into a crisp six-pointed flower.
Happy crocheting!