

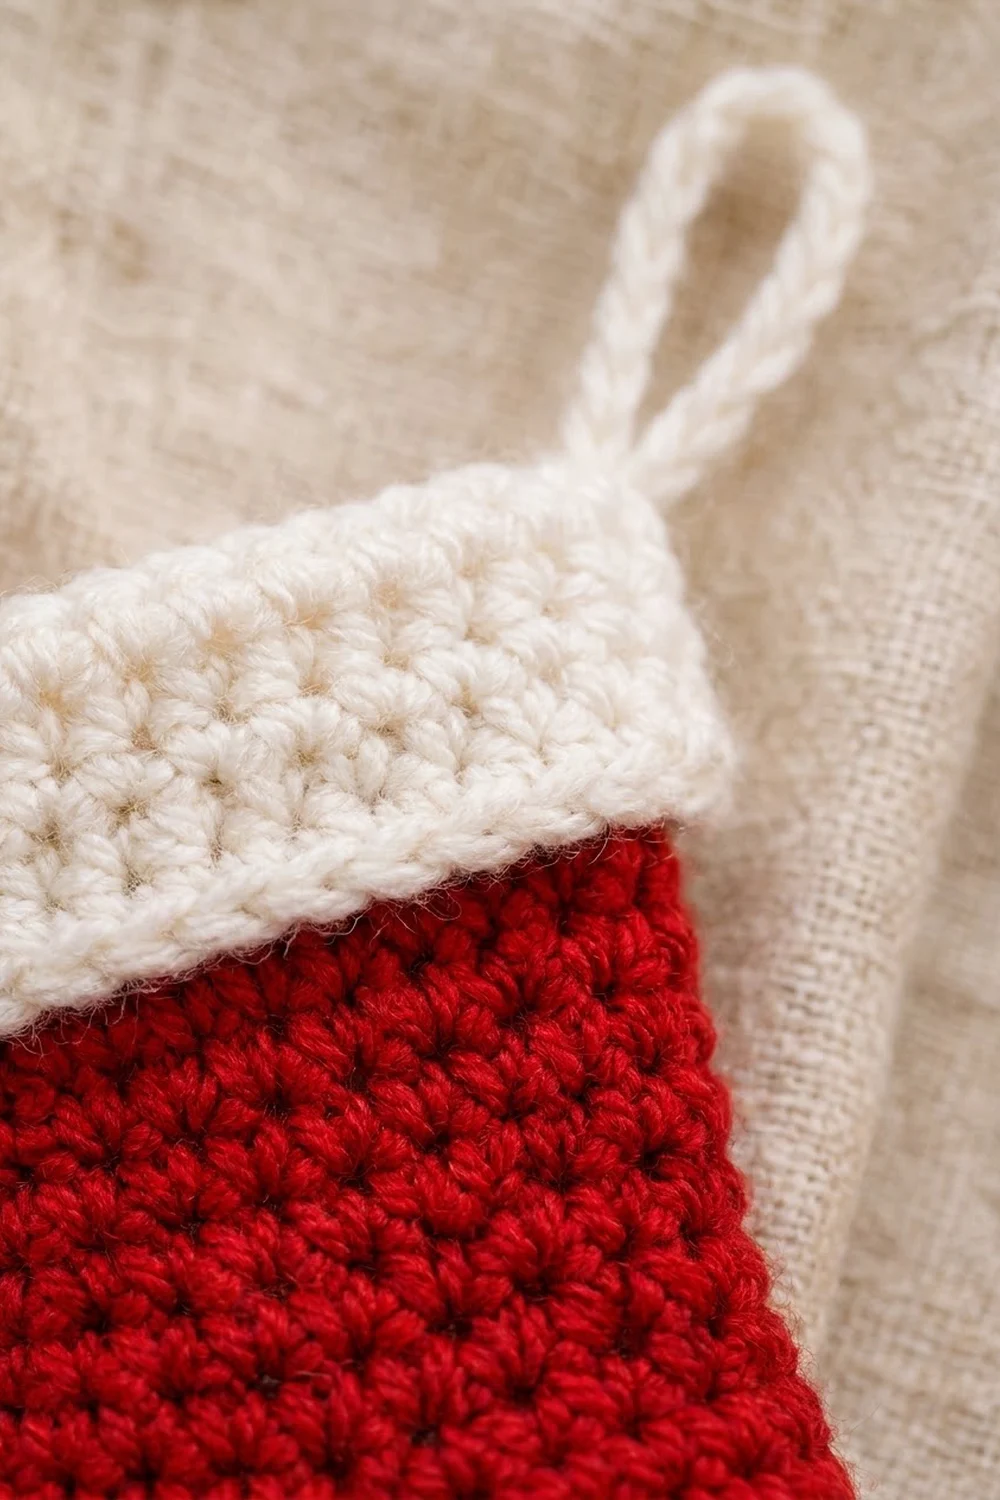
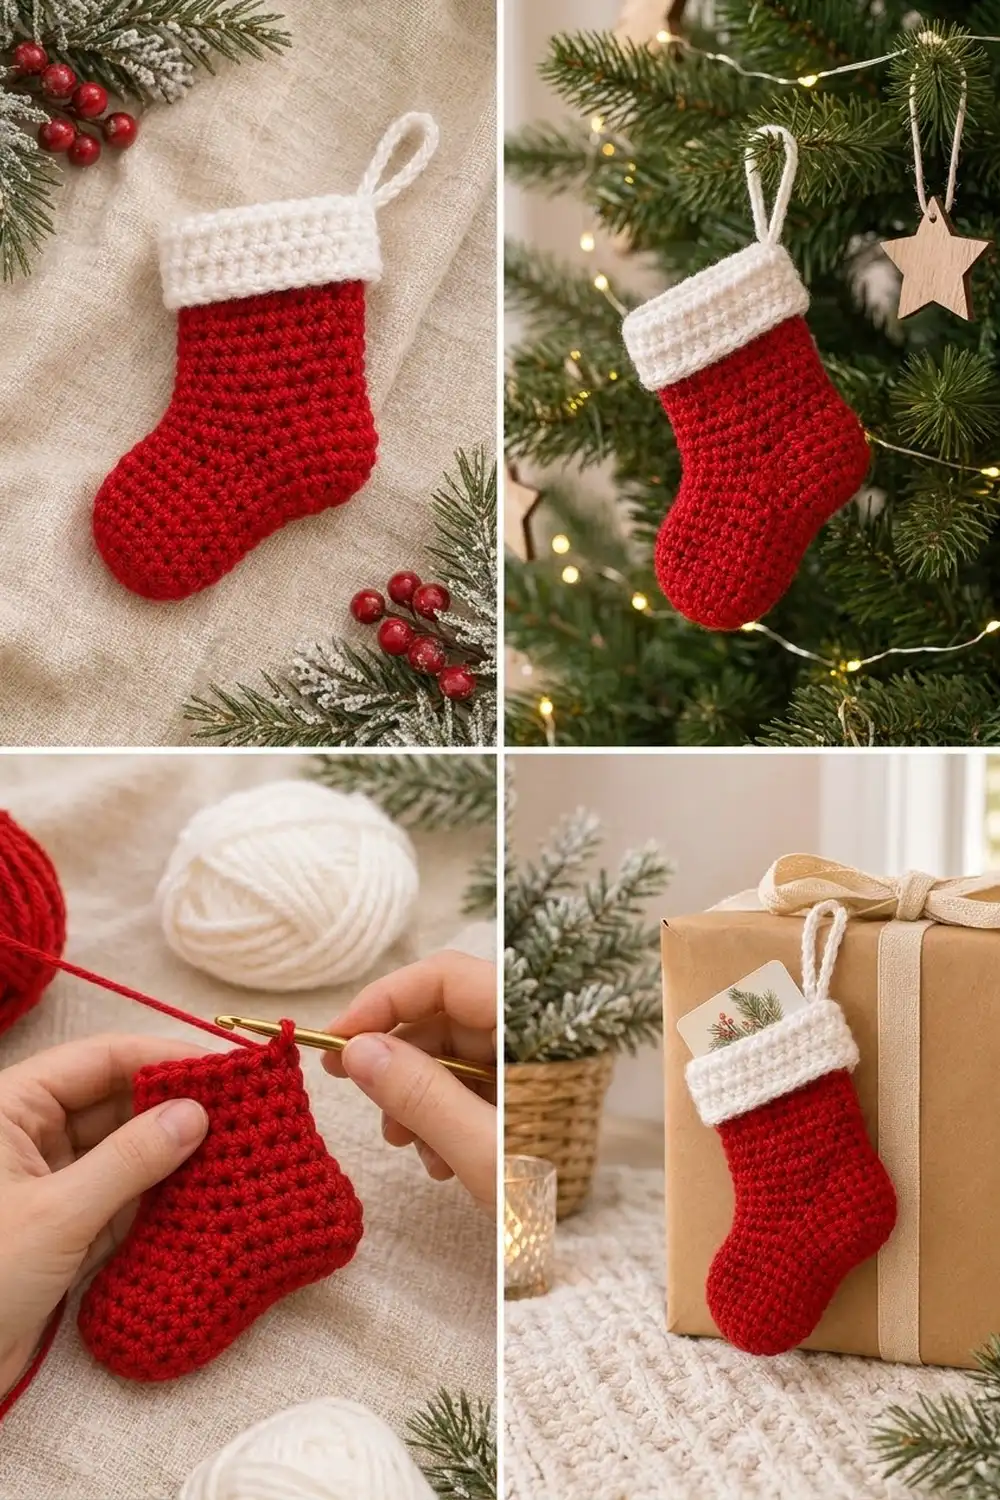
This little stocking is a classic Christmas shape made small enough for a pocket. The body is bright cherry red single crochet, which gives a dense, pebbly texture. The top has a crisp cream-white cuff and a small matching hanging loop.
It is a real three-dimensional stocking, not a flat appliqué. The foot has a rounded toe and a soft heel curve, and the leg is open at the top. You can tuck a gift card, a folded note or a few candies inside. Lay it flat as a decoration, hang it on the tree or tie it to the outside of a wrapped present.
The pattern uses US crochet terms throughout. The finished stocking measures about 3.5 in (8.9 cm) from toe to heel. It is 5 in (12.7 cm) tall from the base of the foot to the top of the cuff, not counting the loop. Laid flat, the leg opening is about 2.7 in (6.9 cm) wide, so a standard gift card about 2.1 in (5.3 cm) wide fits inside.
Construction is simple and seamless:
1. Start with an oval sole.
2. Work the sides of the foot straight up.
3. Shape the toe with decreases on top of the foot.
4. Work the leg in even rounds.
5. Work the white cuff directly onto the leg, then add the loop last.
Finished Size and Construction
- Finished size: 3.5 in (8.9 cm) toe to heel; 5 in (12.7 cm) tall without loop; 6.5 in (16.5 cm) tall with loop
- Skill level: Easy
- Terminology: US crochet terms
- Yarn weight: Worsted (#4)
- Hook: 4.0 mm (US G-6)
- Number of pieces: 1, worked seamlessly in one piece
- Layout: One stocking, toe pointing left when laid flat, loop on the heel side
- Piece size before cuff: about 4 in (10.2 cm) tall; leg 2.7 in (6.9 cm) wide flat
- Size before border: same as above (the white cuff is the border)
- Border (cuff) depth: 1 in (2.5 cm), 5 rounds
Materials
Choose a smooth worsted-weight acrylic or acrylic blend with good stitch definition. A plain, non-fuzzy yarn shows the single crochet texture best. It also keeps the stocking firm enough for a card to be slipped in and out.
- Red (main color): 15 g, about 30 m
- Cream white (cuff and loop): 6 g, about 12 m
These quantities include a margin of roughly 20 percent for checking gauge and for tails.
Tools:
- 4.0 mm (US G-6) crochet hook
- 1 locking stitch marker
- Tapestry needle
- Scissors
- Measuring tape or ruler
- Spray bottle, plus a piece of card stock cut to 2.5 x 3.5 in (6.4 x 8.9 cm) for blocking
Abbreviations (US Terms)
- ch – chain
- sc – single crochet
- sc2tog – single crochet 2 together: insert hook in next st, pull up a loop, insert hook in following st, pull up a loop, yarn over and draw through all 3 loops
- sl st – slip stitch
- st(s) – stitch(es)
- inc – 2 sc in the same st
- rnd(s) – round(s)
- [ ] – repeat the instructions inside the brackets as stated
Joined rounds: Every round is joined.
– Start each round with ch 1. The ch 1 does not count as a stitch.
– Work the first sc into the same st as the join.
– End the round with a sl st into the first sc.
Joined rounds keep the color change at the cuff clean and make the start of each round easy to find. Keep your stitch marker in the first sc of each round.
Gauge and Checkpoints
Gauge: 18 sc and 20 rnds = 4 in (10.2 cm), in sc worked in the round.
That works out to 4.5 sts and 5 rnds per inch (2.5 cm). Single crochet in the round should feel firm. If light shows easily through the fabric, go down a hook size.
Because the stocking is small, the sole itself is your test piece. Work Rnds 1–3, then measure before you continue.
Checkpoints:
- After Rnd 3 (sole): about 3.4 in (8.6 cm) long and 1.4 in (3.6 cm) wide, lying flat.
- After Rnd 10 (foot finished): foot sides about 1.4 in (3.6 cm) high above the sole edge.
- After Rnd 22 (leg finished): about 4 in (10.2 cm) tall from the base of the foot; leg 2.7 in (6.9 cm) wide flat.
- After Rnd 27 (cuff finished): 5 in (12.7 cm) tall; cuff 2.9 in (7.4 cm) wide flat.
If your sole is too big by more than 0.2 in (0.5 cm), start again with a 3.75 mm (US F-5) hook.
If your sole is too small by more than 0.2 in (0.5 cm), start again with a 4.5 mm (US 7) hook.
Don’t change the stitch counts. They are what keep the toe and leg in proportion.
Pattern: Sole
With red, ch 12.
Rnd 1: Sc in 2nd ch from hook (this is the first st), sc in next 9 ch, 3 sc in last ch. Turn the work so you can crochet along the other side of the starting chain. Sc in next 9 ch, then 2 sc in the same ch as the first st. Join. (24 sts)
Count check: 10 + 3 + 9 + 2 = 24.
Rnd 2: Ch 1, inc in first st, sc in next 9, inc in each of next 3, sc in next 9, inc in each of last 2. Join. (30 sts)
Count check: 2 + 9 + 6 + 9 + 4 = 30. That is 6 new sts, 3 at each rounded end.
Rnd 3: Ch 1, sc in first st, inc in next st, sc in next 9, [sc in next st, inc in next st] 3 times, sc in next 9, [sc in next st, inc in next st] 2 times. Join. (36 sts)
Count check: 1 + 2 + 9 + 9 + 9 + 6 = 36.
The end where you made the 3-sc group in Rnd 1 is the toe end. The end where each round begins is the heel end. Measure the sole now (Checkpoint 1).
Pattern: Foot
Rnds 4–7: Ch 1, sc in each st around. Join. (36 sts in each rnd)
The edges will start to curve up into the sides of the foot. Keep the right side facing out.
Toe shaping: The decreases sit over the toe end of the sole. They pull in the top of the foot and form the rounded toe.
Rnd 8: Ch 1, sc in next 10, [sc2tog] 6 times, sc in next 14. Join. (30 sts)
Count check: 10 + 12 + 14 = 36 sts used; 10 + 6 + 14 = 30 sts made.
Rnd 9: Ch 1, sc in next 9, [sc2tog] 3 times, sc in next 15. Join. (27 sts)
Count check: 9 + 6 + 15 = 30 sts used; 9 + 3 + 15 = 27 sts made.
Rnd 10: Ch 1, sc in next 8, [sc2tog] 3 times, sc in next 13. Join. (24 sts)
Count check: 8 + 6 + 13 = 27 sts used; 8 + 3 + 13 = 24 sts made.
Lay the foot flat with the toe to the left. It should measure about 3.5 in (8.9 cm) from toe to heel and stand 1.4 in (3.6 cm) above the sole (Checkpoint 2).
Pattern: Leg
Rnds 11–22: Ch 1, sc in each st around. Join. (24 sts in each rnd)
These 12 rounds add 2.4 in (6.1 cm) of height. With 24 sts around, each flat side (front and back) of the leg holds 12 sts. That gives a flat width of 12 ÷ 4.5 = 2.7 in (6.9 cm).
Fasten off red at the end of Rnd 22, leaving a 4 in (10.2 cm) tail. The stocking should be about 4 in (10.2 cm) tall from the base of the foot (Checkpoint 3).
Border: White Cuff
The cuff is the border of this piece. It frames the opening, flares out slightly and gives the stocking its classic look.
Border gauge: same as the body, 4.5 sts and 5 rnds per inch (2.5 cm). Five rounds give a cuff 1 in (2.5 cm) deep.
Before you start, flatten the leg with the toe pointing left. The start of the round sits near the heel side. Each flat side has 12 sts.
Rnd 23: Join white with a sl st in the first st of the round. Ch 1, sc in the same st and the next 2 sts, inc in next st, sc in next 11, inc in next st, sc in next 8. Join. (26 sts)
Count check: this round works 1 sc into each of the 24 existing sts and adds 2 extra sts, for 24 + 2 = 26. The increases fall on the 4th and 16th sts, roughly the middle of each flat side.
Per side: front 12 + 1 = 13 sts; back 12 + 1 = 13 sts. 13 + 13 = 26.
Rnds 24–27: Ch 1, sc in each st around. Join. (26 sts in each rnd; 13 per side)
At the end of Rnd 27, fasten off and weave in the tail.
Why the math works: The leg has 12 sts per side, or 2.7 in (6.9 cm) flat. Adding 1 st per side gives 13 sts, or 13 ÷ 4.5 = 2.9 in (7.4 cm) flat. That extra 0.2 in (0.5 cm) per side makes the cuff look slightly wider than the leg, like a real stocking cuff, without ruffling. Five rounds at 5 rnds per inch give exactly 1 in (2.5 cm) of cuff. The total height becomes 4 + 1 = 5 in (12.7 cm).
Hanging Loop
Flatten the stocking with the toe pointing left. Find the top stitch of the cuff on the right-hand folded edge, directly above the heel.
- Join white with a sl st in that stitch.
- Ch 14.
- Sl st in the same stitch to form a loop.
- Work 20 sc into the loop, wrapping them around the chain rather than into its stitches, until the chain is fully covered.
- Sl st in the base stitch. Fasten off and weave the tail down into the cuff.
The covered loop stands about 1.5 in (3.8 cm) above the cuff, for an overall height of 6.5 in (16.5 cm).
Weave in the red tail from the start of the sole and the red tail at the top of the leg. Run them through red stitches so they stay hidden.
Final Blocking
Small single crochet pieces benefit from a light blocking. It evens out the stitches and sets the flat stocking shape.
- Slip the card stock rectangle into the stocking so it fills the leg and opening without stretching them.
- Lay the stocking flat on a towel with the toe pointing left and the loop at the top right.
- Gently shape the toe into a smooth curve and the heel into a soft, round bump.
- Straighten the cuff so the top edge is level and both sides measure 2.9 in (7.4 cm) wide.
- Mist lightly with water until damp, not soaked.
- Pat flat with your palm. Check that the height is 5 in (12.7 cm) without the loop.
- Let it dry completely, at least 4 hours, then remove the card stock.
If acrylic yarn won’t hold its shape after water blocking, hold a steam iron 1 in (2.5 cm) above the fabric for a few seconds. Never press the iron onto the stitches.
Final Quality-Control Checklist
- Sole measured 3.4 x 1.4 in (8.6 x 3.6 cm) after Rnd 3
- Foot is 3.5 in (8.9 cm) from toe to heel
- Rnd 10 ended with 24 sts, and every leg round has 24 sts
- Every cuff round has 26 sts, 13 per side
- Stocking is 5 in (12.7 cm) tall without the loop
- Laid flat, the leg is 2.7 in (6.9 cm) wide and the cuff is 2.9 in (7.4 cm) wide
- The color change at Rnd 23 shows no red bumps on the right side
- Loop sits above the heel and is fully covered with sc
- A gift card slides in and out without forcing
- All tails are woven in and trimmed
Troubleshooting
The sole curls into a bowl after Rnd 3. Check that Rnd 2 has 30 sts and Rnd 3 has 36 sts. If the counts are right, your tension is tight; go up half a hook size.
The sole ruffles. There are too many increases, or your tension is loose. Recount Rnds 2 and 3 (30 and 36 sts).
The toe looks pointed or lumpy. The decreases have drifted off center. Make sure the decreases in Rnd 8 start after exactly 10 sts from the start of the round.
The leg slants to one side. This is normal for joined sc rounds and blocks out. Keep your joins neat, and always work the first sc into the joining stitch.
The cuff flares too much. Your white yarn may be thicker than the red. Work Rnd 23 with no increases (24 sts) for a straight cuff.
The gift card doesn’t fit. Your gauge is tight. Pull back to the end of Rnd 10 and remake the leg and cuff with a 4.5 mm (US 7) hook.
The line of joins shows. Keep the ch 1 snug, and pull the joining sl st firmly before starting the next round.
Care
Hand wash in cool water with mild soap. Press out the water in a towel and dry the stocking flat over the card stock form. Avoid the dryer, which can blur the stitch texture and shrink the cuff.
Final Notes
Every measurement in this stocking follows from the gauge of 4.5 sts and 5 rnds per inch:
– The 36-st sole gives a 3.5 in (8.9 cm) foot.
– The toe decreases bring you to 24 sts for a 2.7 in (6.9 cm) leg.
– Twelve leg rounds bring the height to 4 in (10.2 cm).
– The 26-st white cuff adds 1 in (2.5 cm) and a gentle flare, for a finished 5 in (12.7 cm) stocking.
– The loop adds another 1.5 in (3.8 cm).
Check the sole first and keep your counts accurate at Rnds 3, 10 and 23, and the rest falls into place. Make one for every name on your gift list.
Happy crocheting!