
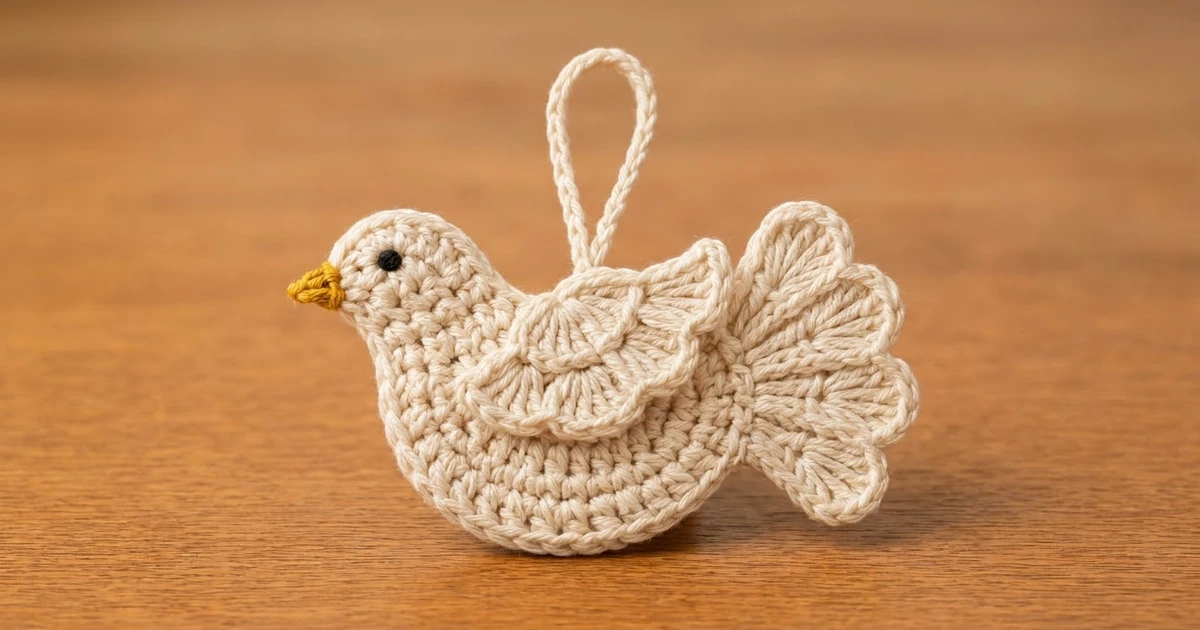
This little dove is a flat Christmas ornament in soft cream cotton. It has a smooth single crochet body, a fanned tail of long stitches and a layered scallop wing. A tiny mustard-yellow beak and a dark eye add just enough color.
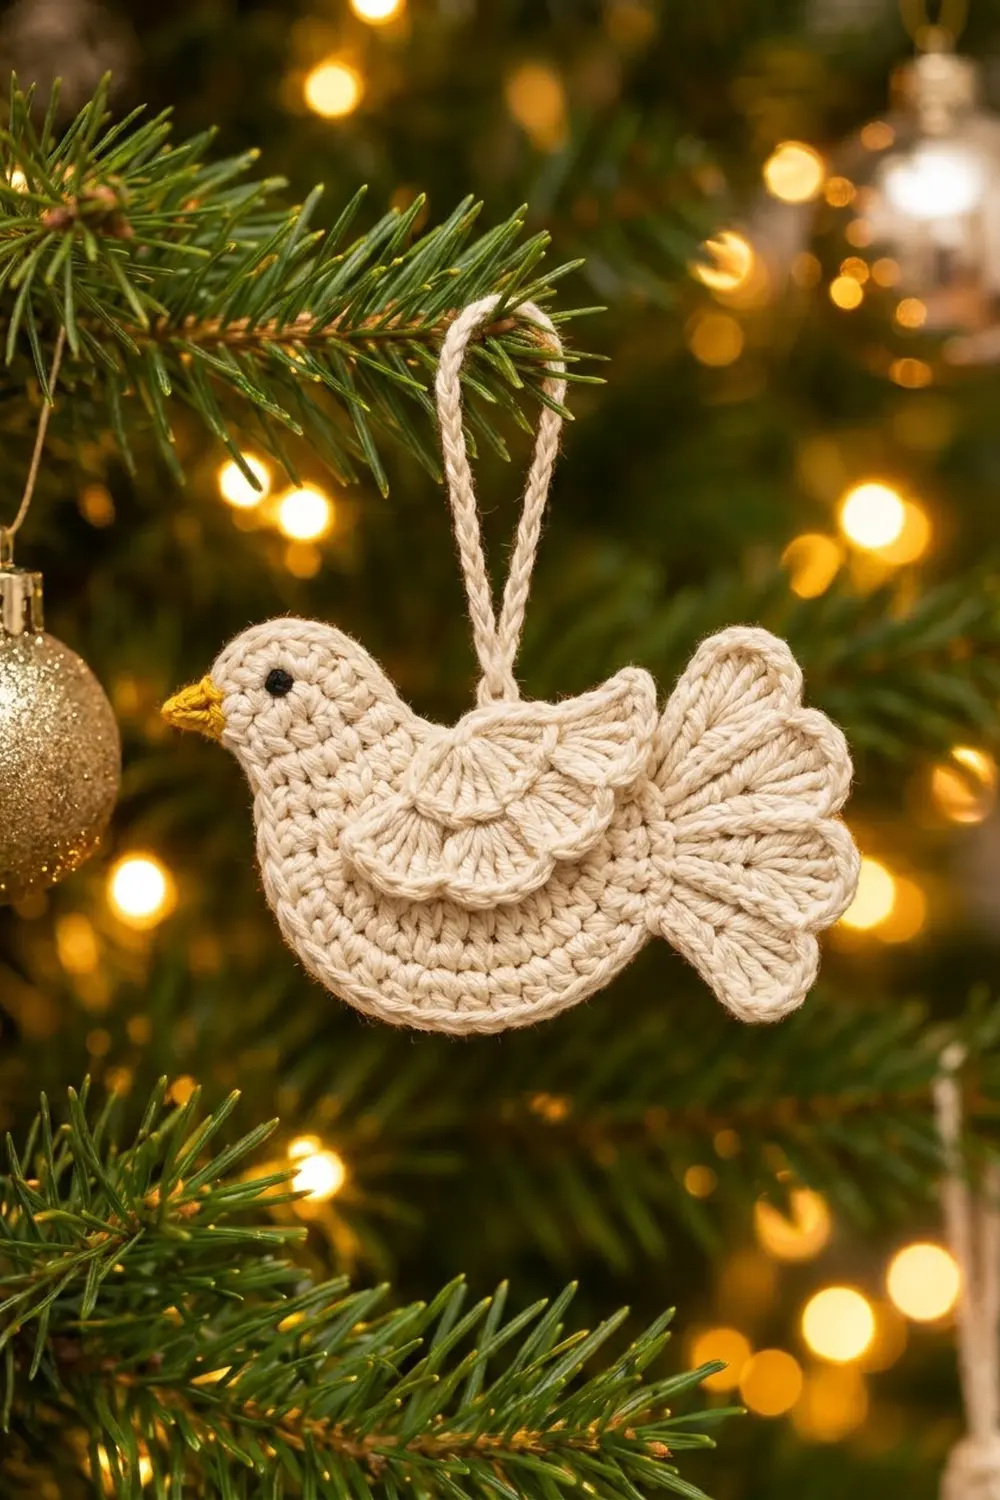
The colors are quiet: cream for every crocheted part, plus small amounts of mustard yellow and black or dark brown. It suits rustic and natural-themed trees, and also works as a gift tag.
The pattern uses US crochet terms. The finished dove measures about 6 in (15.2 cm) from beak to tail tip and 3 in (7.6 cm) tall, not counting the hanging loop.
Construction is simple. You make an oval body in joined rounds, add the head in short rows, then work one edging round around the outline. You make the tail and the layered wing separately and sew them on. A slip-stitch cord forms the loop.
Finished Size and Construction
- Finished size: 6 in x 3 in (15.2 cm x 7.6 cm), loop not included
- Skill level: Easy-intermediate
- Terminology: US
- Yarn weight: Light worsted / DK (CYC 3) cotton
- Hook: 4.0 mm (G-6)
- Number of pieces: One ornament, made from 3 crocheted parts (body, tail, wing) plus a beak, eye and loop
- Layout: Tail sewn behind the back of the body; wing sewn on the front
- Body size with edging: 4.4 in x 2.5 in (11.2 cm x 6.4 cm), head included
- Body size before edging: oval 4.0 in x 2.1 in (10.2 cm x 5.3 cm)
- Edging depth: 1 round of sc, about 0.2 in (0.5 cm)
Materials
Use a smooth, tightly twisted cotton. It shows the shells and spokes clearly and blocks flat.
- Cream (main color): 12 g, about 30 m
- Mustard yellow (beak): 1 g, about 2 m
- Black or dark brown (eye): less than 1 g, about 1 m
These amounts include extra for your gauge check and for weaving in ends.
Tools:
- 4.0 mm (G-6) crochet hook
- Tapestry needle
- 4 locking stitch markers
- Scissors
- Rustproof pins and a blocking mat
- Spray bottle with water
Abbreviations (US Terms)
- ch – chain
- sl st – slip stitch
- sc – single crochet
- dc – double crochet
- tr – treble crochet
- sc2tog – single crochet 2 together
- FLO / BLO – front loop only / back loop only
- st(s) – stitch(es)
- RS / WS – right side / wrong side
Special stitch – sc2tog: Insert hook in next st, yarn over, pull up a loop; insert hook in following st, yarn over, pull up a loop; yarn over and draw through all 3 loops on hook.
Shell: 5 dc (or 5 tr, as stated) worked into the same stitch.
Gauge and Checkpoints
Gauge: 18 sc and 20 rounds = 4 in (10.2 cm) with a 4.0 mm hook. Exact gauge matters less for an ornament, but it decides how well the tail and wing fit the body.
Make the body first and use it as your test piece. Check it at these points:
- After Round 1: about 2.4 in x 0.5 in (6.1 cm x 1.3 cm)
- After Round 3: about 3.2 in x 1.3 in (8.1 cm x 3.3 cm)
- After Round 5: about 4.0 in x 2.1 in (10.2 cm x 5.3 cm)
- After the edging: about 4.4 in x 2.5 in (11.2 cm x 6.4 cm)
If the oval is more than 0.2 in (0.5 cm) too large, go down half a hook size. If it is too small, go up half a size. If the oval cups, your stitches at the ends are too tight; if it ruffles, they are too loose. Fix this before you make the tail and wing.
Body
With cream, ch 11.
Round 1 (RS): Sc in 2nd ch from hook, sc in next 8 ch, 3 sc in last ch. Rotate and work along the other side of the chain: sc in next 8 ch, 2 sc in the same ch as the first sc. Join with sl st to first sc. (22 sts: 8 per side, 3 per end)
From here, each end grows by 3 sts per round, like a half circle. The 8 sts on each long side never change.
Round 2: Ch 1. Work 2 sc in each of the 3 end sts at each end, and 1 sc in each of the 8 side sts. Join. (28 sts: 8 per side, 6 per end)
Round 3: Ch 1. Sc in each side st; at each end work (sc in next st, 2 sc in next st) 3 times. Join. (34 sts: 8 per side, 9 per end)
Round 4: Ch 1. Sc in each side st; at each end work (sc in next 2 sts, 2 sc in next st) 3 times. Join. (40 sts: 8 per side, 12 per end)
Round 5: Ch 1. Sc in each side st; at each end work (sc in next 3 sts, 2 sc in next st) 3 times. Join. Fasten off. (46 sts: 8 per side, 15 per end)
Stitch map: Lay the oval RS up with the long axis horizontal. The right-hand end is the front (head) end. Mark the center st (8th of 15) of each end. Each end now has 7 sts on either side of its marker.
Head
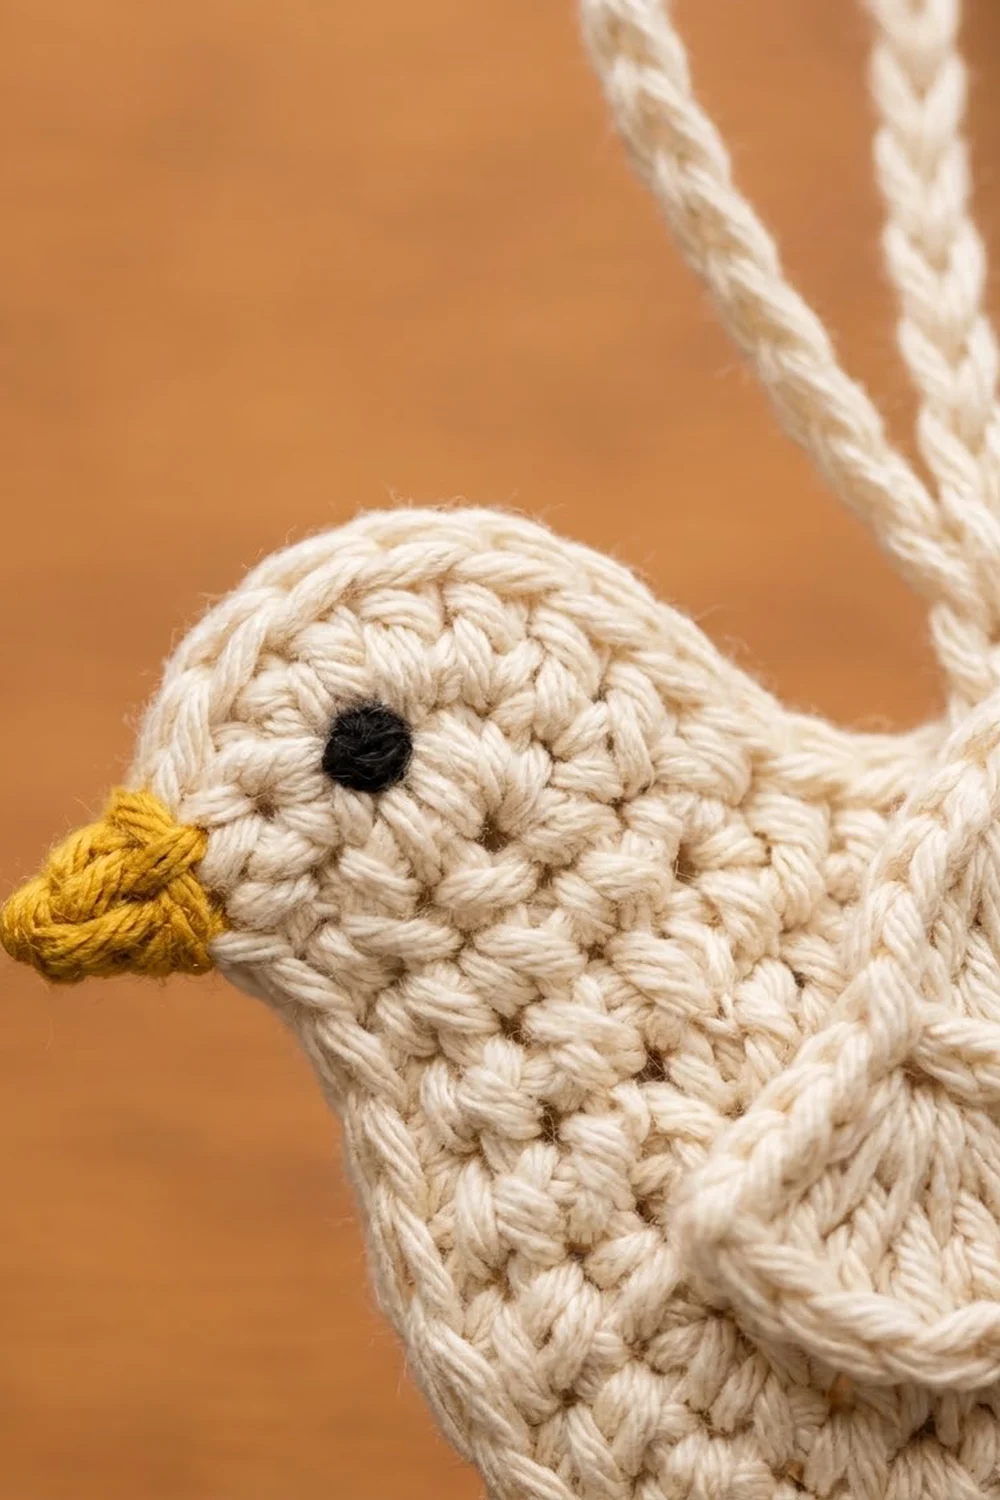
Row 1 (RS): Join cream in the marked center st of the front end. Working upward toward the top side, sc in the marked st and each of the next 7 sts. Turn. (8 sc)
Row 2: Ch 1, sc in each st across. Turn. (8 sc)
Row 3: Ch 1, sc2tog, sc in next 4 sts, sc2tog. Turn. (6 sts)
Row 4: Ch 1, sc2tog, sc in next 2 sts, sc2tog. Turn. (4 sts)
Row 5: Ch 1, sc2tog twice. Fasten off. (2 sts)
The decreases make a small dome that rises above the back. The head is about 1.0 in (2.5 cm) tall.
Tail
With cream, ch 4 and join with sl st to form a ring.
Row 1 (RS): Ch 3 (counts as dc), 4 dc in ring. Turn. (5 dc)
Row 2: Ch 4 (counts as tr), tr in same st, 2 tr in each of next 3 sts, 3 tr in last st (top of turning ch). Turn. (11 tr)
These long stitches form the spokes of the fan.
Row 3: Ch 1, sc in first st, *5 dc in next st, sc in next st*; repeat from * 4 more times. (5 shells and 6 sc; 31 sts)
The shells sit in sts 2, 4, 6, 8 and 10. The sc anchors sit in sts 1, 3, 5, 7, 9 and 11. Do not turn.
Edging round:
– Ch 1 and work down the side: 1 sc in the Row 3 row-end, 3 sc in the Row 2 row-end and 2 sc in the Row 1 row-end (6 sc).
– Work 2 sc into the ring (2 sc).
– Work up the other side: 2 sc, 3 sc, 1 sc (6 sc).
– Across the top: sc in the first anchor sc. For each shell, sc in next 2 dc, 2 sc in center dc, sc in next 2 dc (6 sc per shell). Sl st in each of the 4 inner anchor sc between shells. Sc in the last anchor sc.
– Join and fasten off, leaving a 12 in (30.5 cm) yarn tail.
Edging count: 6 + 2 + 6 + (5 x 6) + 4 sl sts + 2 end sc = 50 sts. The slip stitches pull in the dips between shells so the five scallops stay distinct.
Tail checkpoints: after Row 2, about 1.25 in (3.2 cm) tall; after Row 3, about 1.8 in (4.6 cm) tall and 2.2 in (5.6 cm) wide; after edging, about 2.0 in x 2.4 in (5.1 cm x 6.1 cm).
Wing
The wing has three stacked tiers: a bottom row of dc shells, a taller middle row of tr shells behind it, and a small fan at the tip.
With cream, ch 14.
Row 1: Sc in 2nd ch from hook and in each ch across. Turn. (13 sc)
Row 2 (bottom tier): Ch 1. Working in FLO, sc in first st, *skip 1 st, 5 dc in next st, skip 1 st, sc in next st*; repeat from * 2 more times. (3 shells; 19 sts)
Do not turn. Ch 1 and rotate the piece so you can work back along the free back loops of Row 1.
Row 3 (middle tier): Working in BLO of Row 1, sc in first st, *skip 1 st, 5 tr in next st, skip 1 st, sc in next st*; repeat from * 2 more times. (3 shells; 19 sts)
These shells stand behind the bottom tier. Because tr is taller than dc, their tops show above the dc shells.
Row 4 (top tier): Ch 1, turn. Sc in first st, skip 2 sts, 7 dc in next st (center tr of the last shell made), skip 2 sts, sc in next st, sl st in next st. Fasten off, leaving a 12 in (30.5 cm) yarn tail. (9 sts plus 1 sl st)
This end is the wing tip. Wing checkpoint: about 2.9 in (7.4 cm) long and 1.4 in (3.6 cm) tall.
Border: Body Edging Round
Border gauge: 18 sc = 4 in (10.2 cm), the same as the body.
With RS facing, join cream in the top st of the back end. Work 1 round of sc in this order:
- Back end: sc in each of 15 sts (15 sc)
- Bottom side: sc in each of 8 sts (8 sc)
- Front end below the head: sc in each of 7 sts (7 sc)
- Head, front edge: 1 sc in each of 5 row-ends (5 sc)
- Head, top: 2 sc in each of the 2 Row 5 sts (4 sc)
- Head, back edge: 1 sc in each of 5 row-ends (5 sc)
- Top side: sc in each of 8 sts (8 sc)
Join with sl st to first sc. Fasten off. (52 sc)
Why the math works: Round 5 has 46 sts. The head covers 8 of them, leaving 38 open: 15 + 8 + 7 + 8 = 38. The head edges add 5 + 4 + 5 = 14 sts, so 38 + 14 = 52.
– One sc in each sc keeps the oval flat.
– One sc per sc row-end works because a sc row is about as tall as a sc is wide.
– The 2 extra sts at the top of the head turn the curve without puckering.
At 18 sc per 4 in, 52 sc is about 11.6 in (29.5 cm). That fits the outline of a 4.4 in x 2.5 in (11.2 cm x 6.4 cm) shape.
Beak, Eye, and Hanging Loop
Beak: With yellow, insert hook in the 4th of the 5 front-edge head sts, counting up from the body. Sl st, ch 3, sl st in 2nd ch from hook, sc in last ch, sl st in the same head st. Fasten off. The beak points forward about 0.25 in (0.6 cm).
Eye: With black or dark brown, make a 3-wrap French knot between head Rows 3 and 4, about 0.4 in (1.0 cm) behind the beak.
Hanging loop: With cream, ch 26. Sl st in the back bump of the 2nd ch from hook and of each ch across. (25 sl sts) The cord is about 5 in (12.7 cm) long.
Assembly
- Tail: Place the tail behind the body so its ring end overlaps the back end by 0.6 in (1.5 cm), with the fan angled slightly upward. Whipstitch through the back loops of the body edging so no stitches show on the front.
- Wing: Place the wing on the RS with Row 1 running across the middle of the body. Its front end sits about 0.4 in (1.0 cm) behind the head, and the tip fan points up toward the tail. Sew along the Row 1 foundation and the two short ends only, leaving all shells free.
- Loop: Fold the cord in half. Sew both ends to the WS of the top side, above the center of the wing, overlapping them 0.5 in (1.3 cm). The loop stands about 2 in (5.1 cm) high.
Assembled checkpoint: 4.4 in body + 2.0 in tail − 0.6 in overlap + 0.2 in beak = 6.0 in (15.2 cm) long, and about 3 in (7.6 cm) tall.
Final Blocking
- Weave in all ends on the WS, through stitches of the same color.
- Mist the ornament until it is damp but not soaked.
- Pin it RS up at 6 in x 3 in (15.2 cm x 7.6 cm), pinning the body outline first.
- Pin each tail scallop into a round lobe.
- Shape the wing shells with your fingers; pin only the tip fan.
- Let it dry completely, at least 6 hours. Then unpin it and check that it hangs level.
Final Quality-Control Checklist
- The body edging has exactly 52 sc and lies flat.
- The head is a smooth dome with no step where it meets the body.
- The tail shows 5 distinct scallops and 11 straight spokes.
- The wing shows 3 bottom shells, 3 taller shells behind them and 1 tip fan.
- The beak points forward, and the eye sits level with it.
- The ornament measures 6 in x 3 in (15.2 cm x 7.6 cm).
Troubleshooting
- Oval curls up: The ends are too tight. Work the increases more loosely or go up half a hook size.
- Oval ruffles: Recount; each end should gain exactly 3 sts per round.
- Head looks pointed: Make sure the edging has 2 sc in each of the 2 head-top sts.
- Tail spokes lean: Check that Row 2 has 11 tr, and block the spokes straight.
- Wing tiers merge: Check that Row 2 is in FLO and Row 3 is in BLO, then fluff the middle tier upward.
- Dove tips forward: Move the loop 0.2 in (0.5 cm) toward the tail.
Care
Hand wash in cool water with mild soap, roll in a towel to remove water, and dry flat, reshaping the scallops. Store flat between seasons.
Final Notes
A gauge of 18 sc per 4 in (10.2 cm) gives a 4.0 in x 2.1 in (10.2 cm x 5.3 cm) oval after Round 5. The head and the 52-st edging bring the body to 4.4 in x 2.5 in (11.2 cm x 6.4 cm). Add the 2.0 in (5.1 cm) tail, overlapped by 0.6 in (1.5 cm), plus the beak, and you get a 6 in x 3 in (15.2 cm x 7.6 cm) dove. If each checkpoint matches, the tail and wing will fit without any changes.
Happy crocheting!