
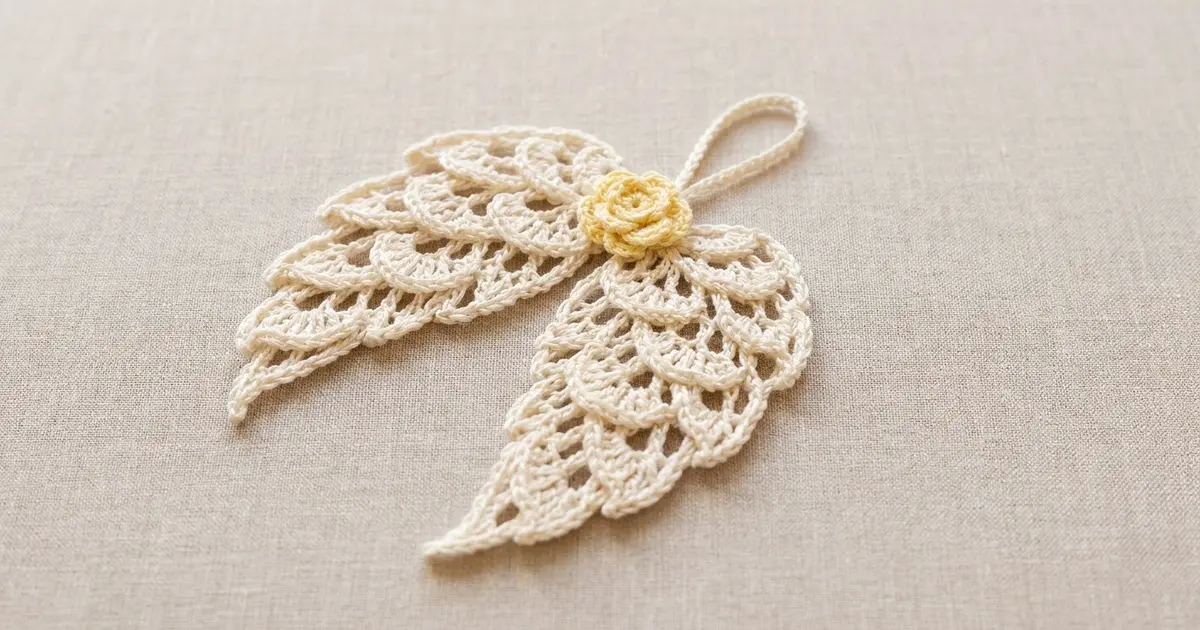
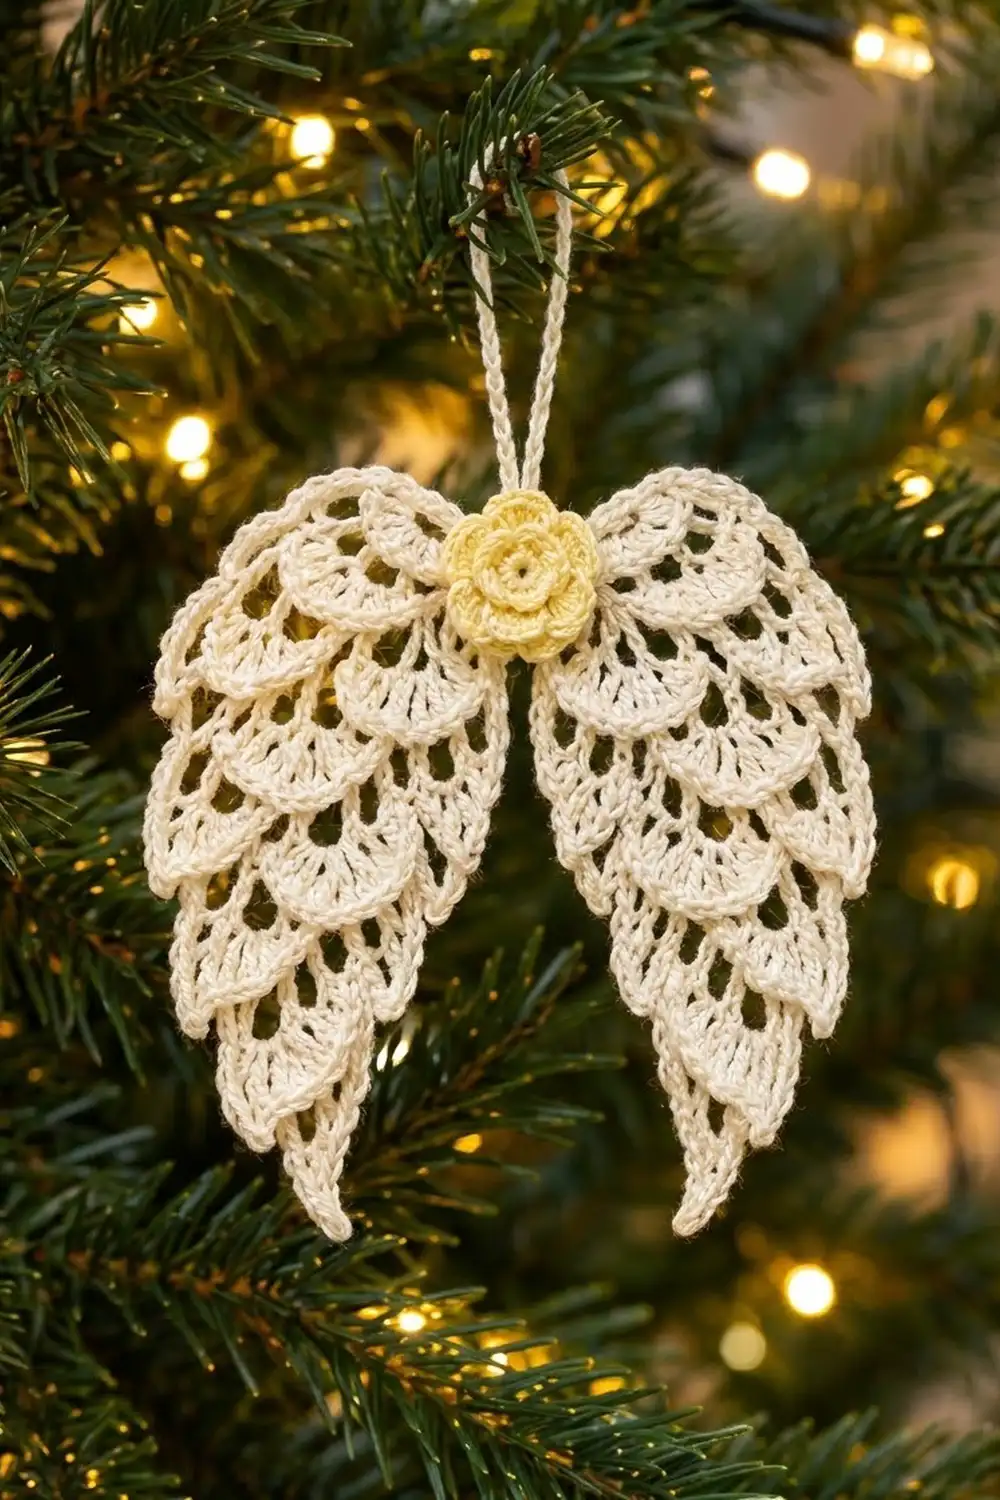
These lace angel wings are a small ornament that makes a good gift. Each wing is built from tiers of rounded fan shells. The tiers overlap like feathers and narrow to a soft, curved point. A small butter-yellow rose covers the center where the wings meet, and a crocheted loop at the top lets the ornament hang from a tree branch, a gift tag or a window latch.
The wings are cream or ivory cotton thread and the rose is pale yellow. The style is vintage and lacy, but the stitches are basic: chains, single crochet, double crochet and slip stitches. This pattern uses US crochet terms throughout.
The finished ornament is about 5.5 in (14.0 cm) wide and 4.75 in (12.1 cm) tall. The hanging loop adds about 2 in (5.1 cm), so the total height is about 6.75 in (17.1 cm).
You’ll crochet two identical wings from the top down and flip one over so they mirror each other. Then you’ll sew them together at their top inner corners and work a top edging across both wings that creates the hanging loop. Last, you’ll make the rose and sew it over the center.
Finished Size and Construction
- Finished size: 5.5 in (14.0 cm) wide × 4.75 in (12.1 cm) tall, plus a 2 in (5.1 cm) loop
- Skill level: Easy-intermediate
- Terminology: US
- Yarn weight: Size 3 cotton crochet thread (lace/fingering)
- Hook: 2.25 mm (US B-1)
- Number of pieces: 3 (2 wings, 1 rose)
- Layout: Wings side by side, joined at their top inner corners, rose on top at center
- Piece size: Each wing is 2.75 in (7.0 cm) wide × 4.5 in (11.4 cm) long
- Size before border: 5.5 in (14.0 cm) wide × 4.5 in (11.4 cm) tall
- Border depth: 0.25 in (0.6 cm), along the top edge only
Materials
Use mercerized cotton thread. It holds stitch definition, keeps the shells crisp and takes stiffener well. Acrylic thread will work, but the shells won’t hold their shape as well.
- Color A, cream/ivory: 20 g, about 27 m (30 yd)
- Color B, pale butter yellow: 4 g, about 5.5 m (6 yd)
These quantities assume size 3 thread at about 137 m per 100 g (150 yd per 3.5 oz). They include a margin for a test wing section and for weaving in ends.
Tools:
– 2.25 mm (US B-1) crochet hook
– Tapestry needle with a small eye
– Scissors
– Rust-proof pins and a foam blocking mat
– Optional: fabric stiffener or a starch solution
– Stitch marker
Abbreviations (US Terms)
- ch – chain
- sl st – slip stitch
- sc – single crochet
- hdc – half double crochet
- dc – double crochet
- sk – skip
- sp – space
- st(s) – stitch(es)
- RS / WS – right side / wrong side
Special stitches:
– Shell: 7 dc worked into the same ch-5 arch.
– Center dc: the 4th dc of a shell.
Gauge and Checkpoints
Gauge for lace ornaments is flexible, but it controls whether the wings sit as a matched pair. Make one complete wing before starting the second, and check it at each stage below.
- Row 1 (17 sc) measures 2.5 in (6.4 cm) wide.
- After Row 3: the wing is 2.75 in (7.0 cm) wide and 1 in (2.5 cm) long.
- After Row 7: 2.25 in (5.7 cm) long.
- After Row 11: 3.25 in (8.3 cm) long.
- After Row 15: 4 in (10.2 cm) long.
- With the tip: 4.5 in (11.4 cm) long.
If Row 1 is wider than 2.5 in (6.4 cm), go down to a 2.0 mm hook. If it is narrower, go up to a 2.5 mm hook. If the width matches but the shells look ruffled, the ch-5 arches are too tight, so loosen your chains. Don’t add chains to the arches, because the shell counts depend on them.
Wing (Make 2)
Use Color A. Both wings are worked exactly the same way. You’ll create the mirror image by flipping one wing over before joining.
The side where the RS rows begin becomes the inner edge. It narrows slowly in steps. The opposite side loses half a shell on every tier and becomes the curved outer edge.
Foundation: Ch 18.
Row 1 (WS): Sc in 2nd ch from hook and in each ch across. Turn. (17 sc)
Row 2 (RS, arch row): Ch 1, sc in first sc, [ch 5, sk 3 sc, sc in next sc] 4 times. Turn. (4 ch-5 arches, 5 sc)
Row 3 (shell row): Ch 1, sc in first sc, [shell in next ch-5 arch, sc in next sc] 4 times. Turn. (4 shells, 5 sc = 33 sts)
Checkpoint: the wing should be 2.75 in (7.0 cm) wide.
From here, each tier is two rows: an arch row and a shell row. Some arch rows keep the shell count the same and others reduce it by one.
Row 4 (keep row): Ch 5, sc in center dc of first shell, [ch 5, sc in center dc of next shell] 3 times. Turn. (4 arches, 4 sc) The turning ch-5 counts as the first arch. The outer half of the last shell is left unworked and forms that edge’s scallop.
Row 5: Ch 1, sc in first sc, [shell in next arch, sc in next sc] 3 times, shell in the turning ch-5 arch, sc in the sc at the base of that ch-5. Turn. (4 shells, 5 sc = 33 sts)
Row 6 (decrease row): Sl st in first sc and next 4 dc (you are now in the center dc of the first shell), [ch 5, sc in center dc of next shell] 3 times. Turn. (3 arches, 3 sc, plus 5 sl sts)
Row 7: Ch 1, sc in first sc, [shell in next arch, sc in next sc] 3 times. Work the last sc into the sl st in the center dc. Turn. (3 shells, 4 sc = 25 sts)
Checkpoint: 2.25 in (5.7 cm) long.
Row 8 (keep row): Ch 5, sc in center dc of first shell, [ch 5, sc in center dc of next shell] 2 times. Turn. (3 arches, 3 sc)
Row 9: Work as Row 5 with 3 shells: ch 1, sc in first sc, [shell in next arch, sc in next sc] 2 times, shell in turning ch-5 arch, sc at base of ch-5. Turn. (3 shells, 4 sc = 25 sts)
Row 10 (decrease row): Sl st in first 5 sts to reach the center dc, [ch 5, sc in center dc of next shell] 2 times. Turn. (2 arches, 2 sc)
Row 11: Ch 1, sc in first sc, [shell in next arch, sc in next sc] 2 times, with the last sc in the sl st. Turn. (2 shells, 3 sc = 17 sts)
Checkpoint: 3.25 in (8.3 cm) long.
Row 12 (keep row): Ch 5, sc in center dc of first shell, ch 5, sc in center dc of next shell. Turn. (2 arches, 2 sc)
Row 13: Ch 1, sc in first sc, shell in next arch, sc in next sc, shell in turning ch-5 arch, sc at base of ch-5. Turn. (2 shells, 3 sc = 17 sts)
Row 14 (decrease row): Sl st in first 5 sts to reach the center dc, ch 5, sc in center dc of next shell. Turn. (1 arch, 1 sc)
Row 15: Ch 1, sc in first sc, shell in arch, sc in sl st. Turn. (1 shell, 2 sc = 9 sts)
Checkpoint: 4 in (10.2 cm) long.
Row 16 (tip): Sl st in first sc and next 3 dc, then sl st in the center dc. Ch 6. Working back along the chain: sl st in 2nd ch from hook, sc in next ch, hdc in next ch, dc in next 2 ch, then sl st in the center dc at the base. (5 sts along the tip)
The stitches get taller as they move back toward the shell, which makes a tapered, pointed tip. Fasten off and weave in the ends. The wing should now be 4.5 in (11.4 cm) long.
Make All Pieces
- Color A: 2 wings
- Color B: 1 rose (worked in the Rose section below)
Layout, viewed from the front:
        [ loop ]
[ Wing 1 ][rose][ Wing 2 ]
  (flipped)      (as worked)
Lay Wing 2 RS up. Lay Wing 1 WS up beside it. The foundation edges of both wings should run across the top, and the inner edges (where the RS rows began) should face each other. The tips point down and slightly outward.
Joining
Method: Whipstitch with Color A and a tapestry needle.
Stitch-to-stitch logic: The two inner top corners meet at the slip-knot ends of the foundation chains. Sew the last foundation chain of one wing to the last foundation chain of the other. Then sew the row-ends of Rows 1–3 together down the inner edges, one row-end to one row-end. That is 3 stitches in all and makes a joint about 0.75 in (1.9 cm) long. Below Row 3, leave the wings free so they open into a V.
Tension: Pull each stitch just snug enough to close the gap. Thread doesn’t stretch much, so a tight seam will pucker the top shells.
Size checkpoint: Measure straight across from outer top corner to outer top corner. The joined wings should be 5.5 in (14.0 cm) wide and 4.5 in (11.4 cm) tall.
Top Border and Hanging Loop
Border gauge: 2 rows of sc add 0.25 in (0.6 cm) of depth. The stitch gauge is the same as Row 1: 17 sc across 2.5 in (6.4 cm).
Border Row 1: With RS facing, join Color A at the outer top corner of the left wing. Work 1 sc into each of the 17 free loops on the underside of its foundation chain. Ch 36 for the loop. Then work 1 sc into each of the 17 free loops of the right wing’s foundation chain. Turn.
(34 sc + ch-36 loop)
Border Row 2: Ch 1, sc in each of the 17 sc of the right wing, sc in each of the 36 loop chains, sc in each of the 17 sc of the left wing. Fasten off.
(17 + 36 + 17 = 70 sc)
Why the math works: Each wing’s top edge is its 17-chain foundation, so the starting count is 2 wings × 17 = 34 sc. No stitches are added at the seam because the wings only touch at their corner chains, and those chains are already part of the 17. The loop is attached between the last sc of one wing and the first sc of the other, which sit side by side. That makes its chain fold into a closed loop instead of lying flat. The 36 sc on the loop make a firm cord that stands about 2 in (5.1 cm) tall.
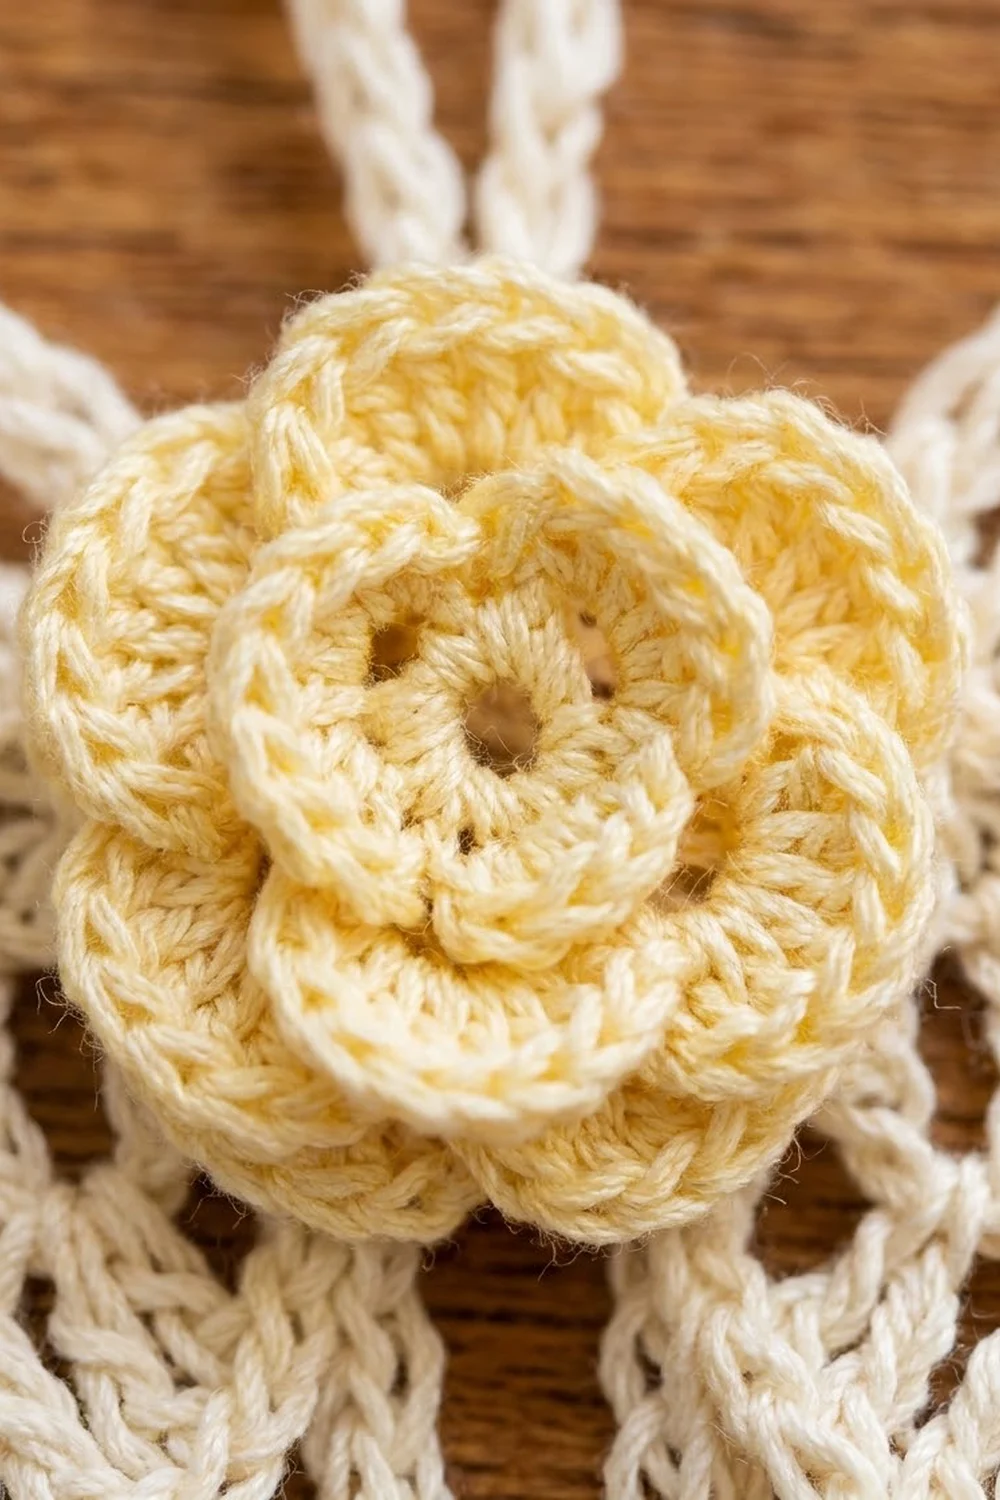
Rose
Use Color B.
Start: Ch 4, sl st in first ch to form a ring.
Round 1: Ch 5 (counts as dc + ch 2), [dc in ring, ch 2] 4 times, sl st in 3rd ch of the beginning ch-5.
(5 dc, 5 ch-2 sps)
Round 2: In each ch-2 sp work (sc, hdc, 3 dc, hdc, sc). Sl st in first sc.
(5 petals, 7 sts each = 35 sts)
Round 3: Working behind the petals, sc around the back post of the first dc of Round 1. Then [ch 4, sc around the back post of next dc of Round 1] 4 times, ch 4, sl st in first sc.
(5 ch-4 loops)
Round 4: In each ch-4 loop work (sc, hdc, 5 dc, hdc, sc). Sl st in first sc.
(5 petals, 9 sts each = 45 sts)
Fasten off, leaving a 12 in (30.5 cm) tail for sewing. The rose measures about 1.25 in (3.2 cm) across. The inner petals sit in front of the outer petals, and the ring stays open in the center.
Attach: Center the rose over the wing join, just below the border, so it covers the base of the loop. Sew around the Round 3 loops from behind so the stitches stay hidden under the petals.
Final Blocking
- Soak the ornament in cool water for 10 minutes. Gently press out the water in a towel.
- Pin the top border straight across at 5.5 in (14.0 cm).
- Pin each wing tip so the total height is 4.75 in (12.1 cm), with the tips angled slightly outward.
- Pin the outer curve of every shell into a smooth scallop. Use one pin at the center dc of each edge shell.
- Pin the loop upright to 2 in (5.1 cm).
- If you’re using stiffener, dab it on now and avoid the rose so it stays soft. Let the ornament dry completely, about 6–8 hours.
- Unpin and puff the rose petals with your fingers.
Final Quality-Control Checklist
- Both wings are 4.5 in (11.4 cm) long and mirror each other.
- Each wing has tiers of 4, 4, 3, 3, 2, 2 and 1 shells, plus the tip.
- The top border has 70 sc in Row 2, with 17 sc above each wing.
- The loop is centered and stands 2 in (5.1 cm) tall.
- The rose fully hides the seam and the loop base.
- All ends are woven into solid stitches, not into chain arches.
- The finished ornament is 5.5 in × 4.75 in (14.0 × 12.1 cm), plus the loop.
Troubleshooting
Shells cup or ruffle: The arches are too short. Chain more loosely, or go up 0.25 mm in hook size.
Wings are different lengths: Count the tiers. A missed keep row shortens the wing by about 0.5 in (1.3 cm).
Tip is crooked: Rework Row 16 and anchor the final sl st in the center dc, not in an outer dc.
Loop flops over: Make sure every chain in the loop got an sc in Border Row 2, then stiffen just the loop.
Rose looks flat: Work Round 3 strictly around the back posts so the outer petals sit behind the inner petals.
Seam gaps below the rose: Add one more whipstitch at the Row 3 row-ends.
Care
Hand wash in cool water, reshape and dry flat. If you used stiffener, re-stiffen after washing. Store the ornament flat between tissue paper so the shells don’t get crushed.
Final Notes
Everything follows from one measurement: Row 1 is 17 sc across 2.5 in (6.4 cm). The shell tiers then build each wing to 2.75 in × 4.5 in (7.0 × 11.4 cm). Two wings side by side make 5.5 in (14.0 cm) and 34 border stitches, and the border adds 0.25 in (0.6 cm) for a finished height of 4.75 in (12.1 cm). Check each step against these numbers and your two wings will match.
Happy crocheting!